Gearing up for Artisans & Antiques!

What if I told you about this quaint little town nestled in a valley at the foot of a beautiful mountain range? You would want to  go visit, right?

What if I told you that this little town comes alive with the energy of the townspeople and visitors that frequent the local shops and eateries? You would want to go visit, right? 

Well, that quaint little town is OUR town! Gardnerville, Nevada has so much to offer! Our Main Street Gardnerville District has a number of shops and eateries all within walking distance from Eddy Street Vintage Market's front door. I wanted to use my shop to help bring awareness about this great district where we are located. Our First Annual Artisans & Antiques show was a way for us to do just that!

We wanted to showcase each of the businesses within walking distance, so we created the "Shop Local" Compass. It was a matter of breaking out the paint and applying it to the parking lot! Now you know exactly which direction to head after you've finished your shopping at Eddy Street! It's so colorful, you can't miss it!

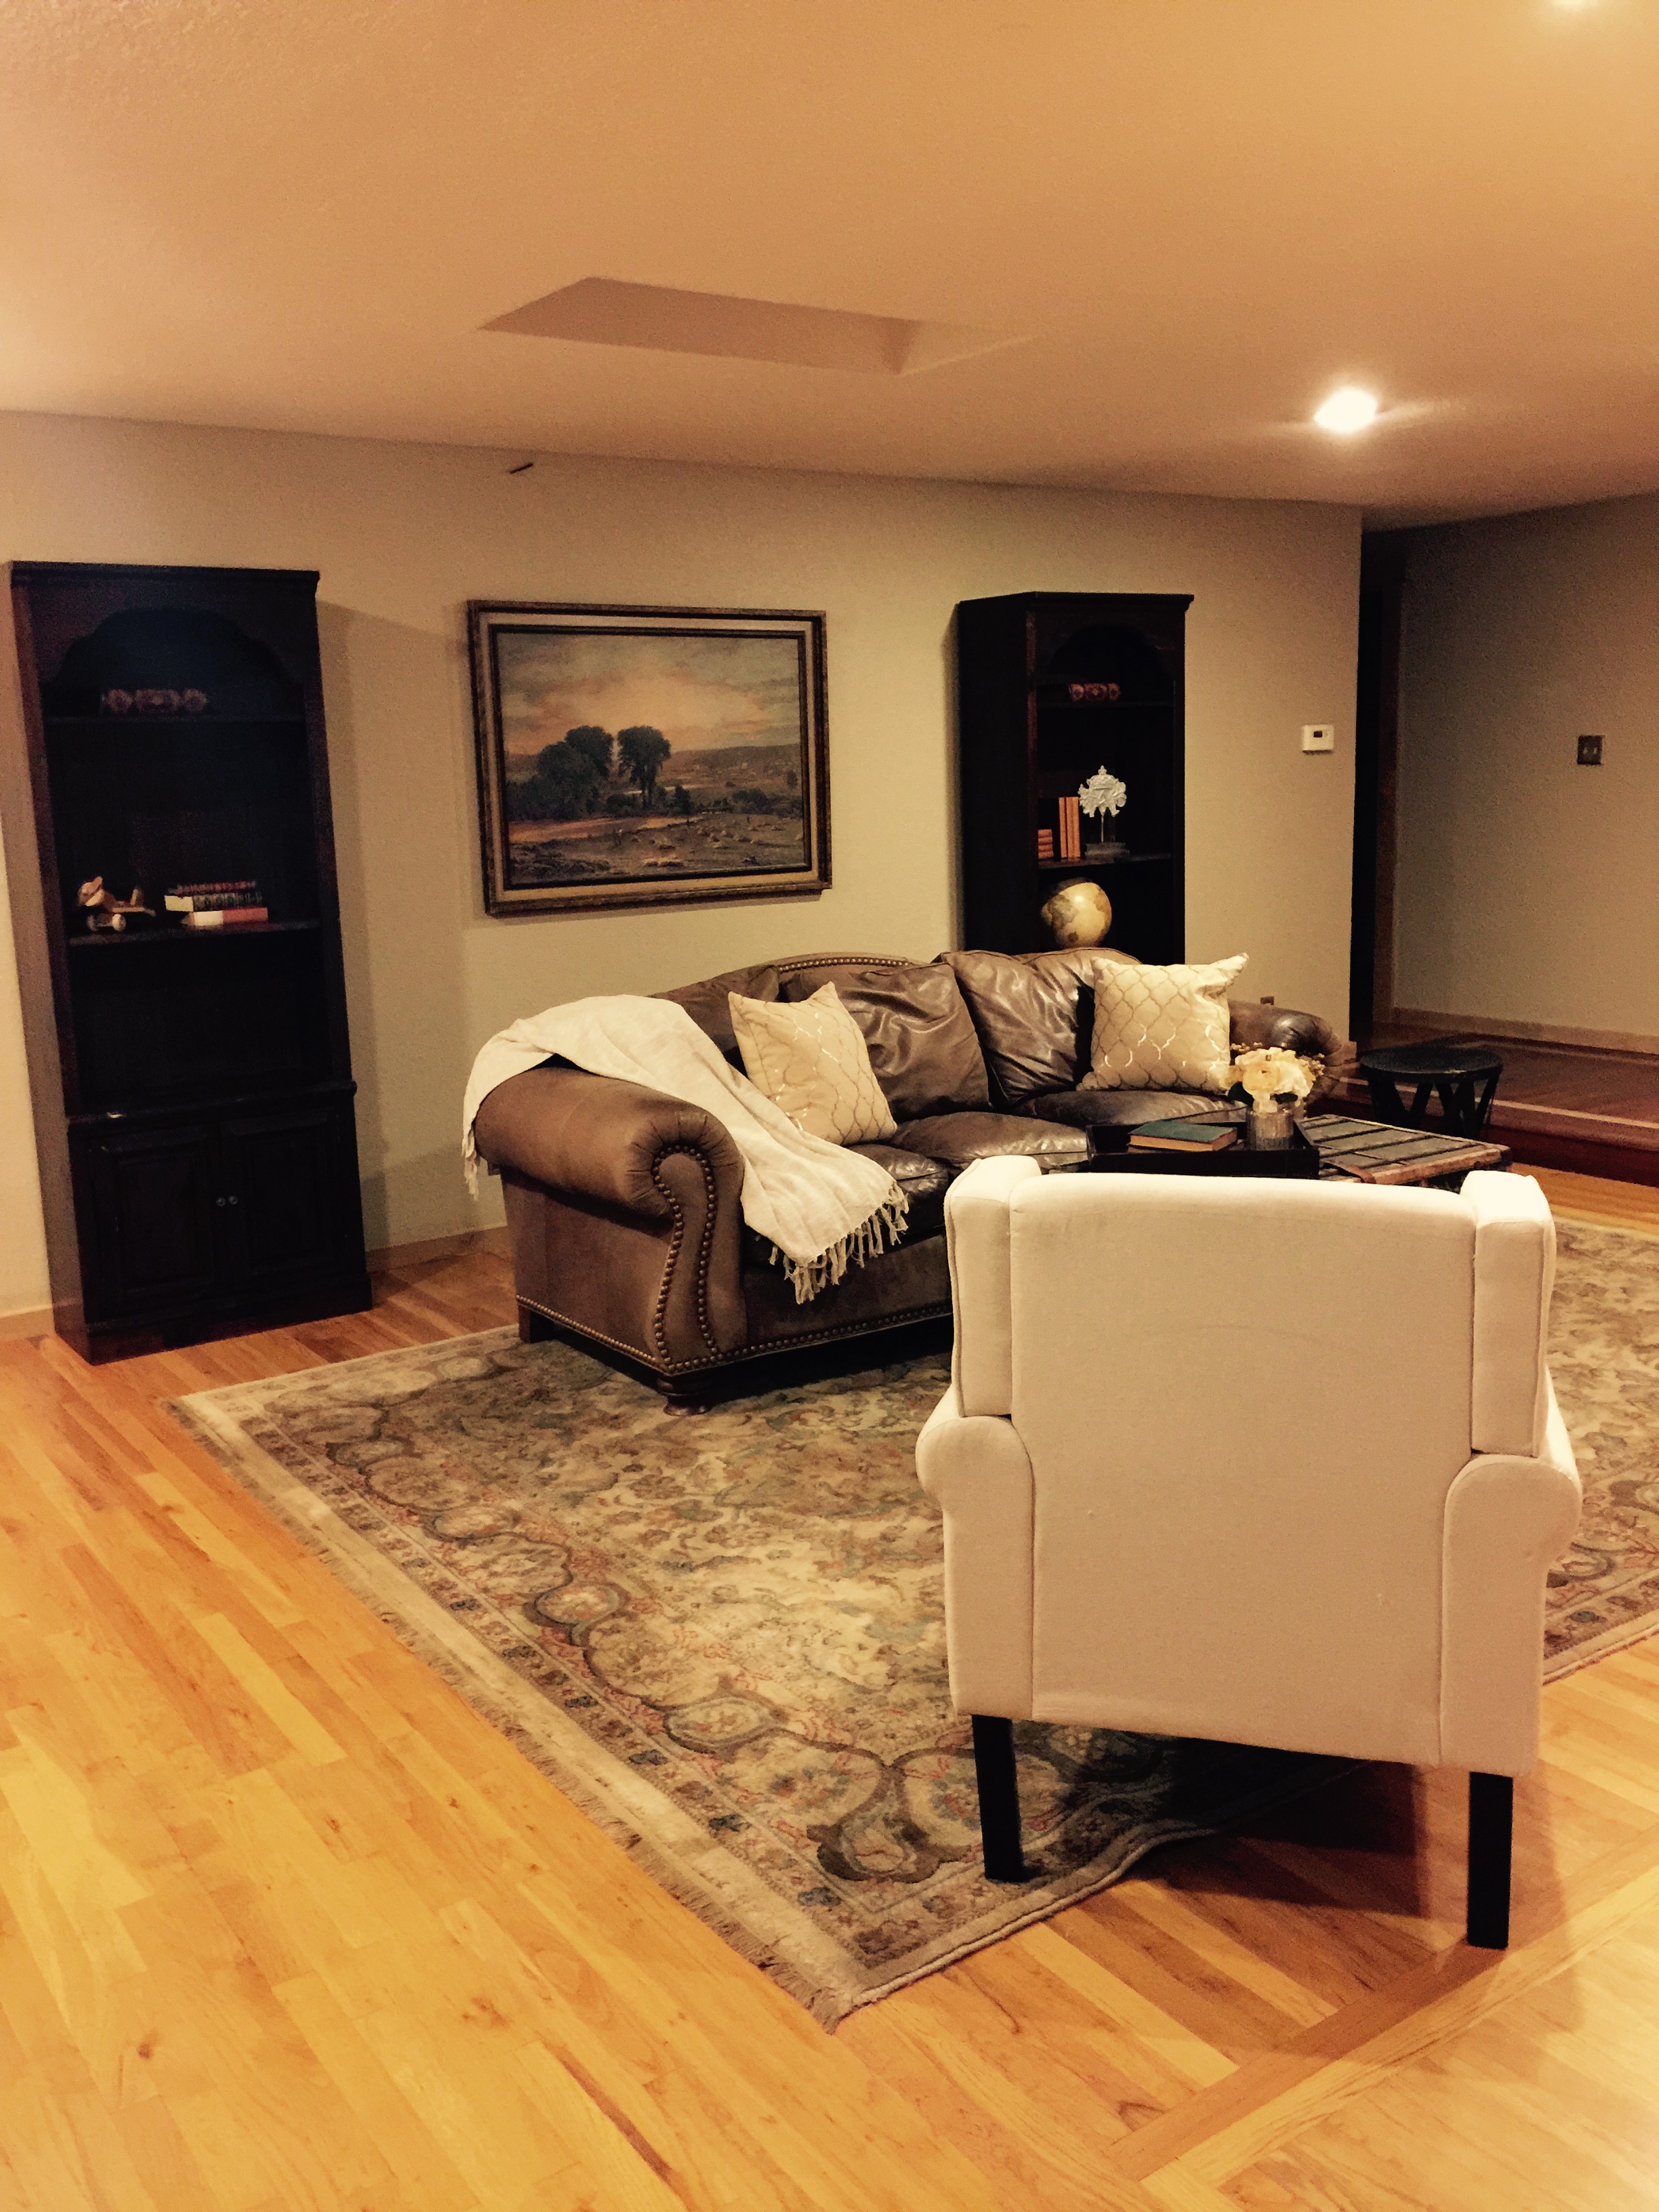
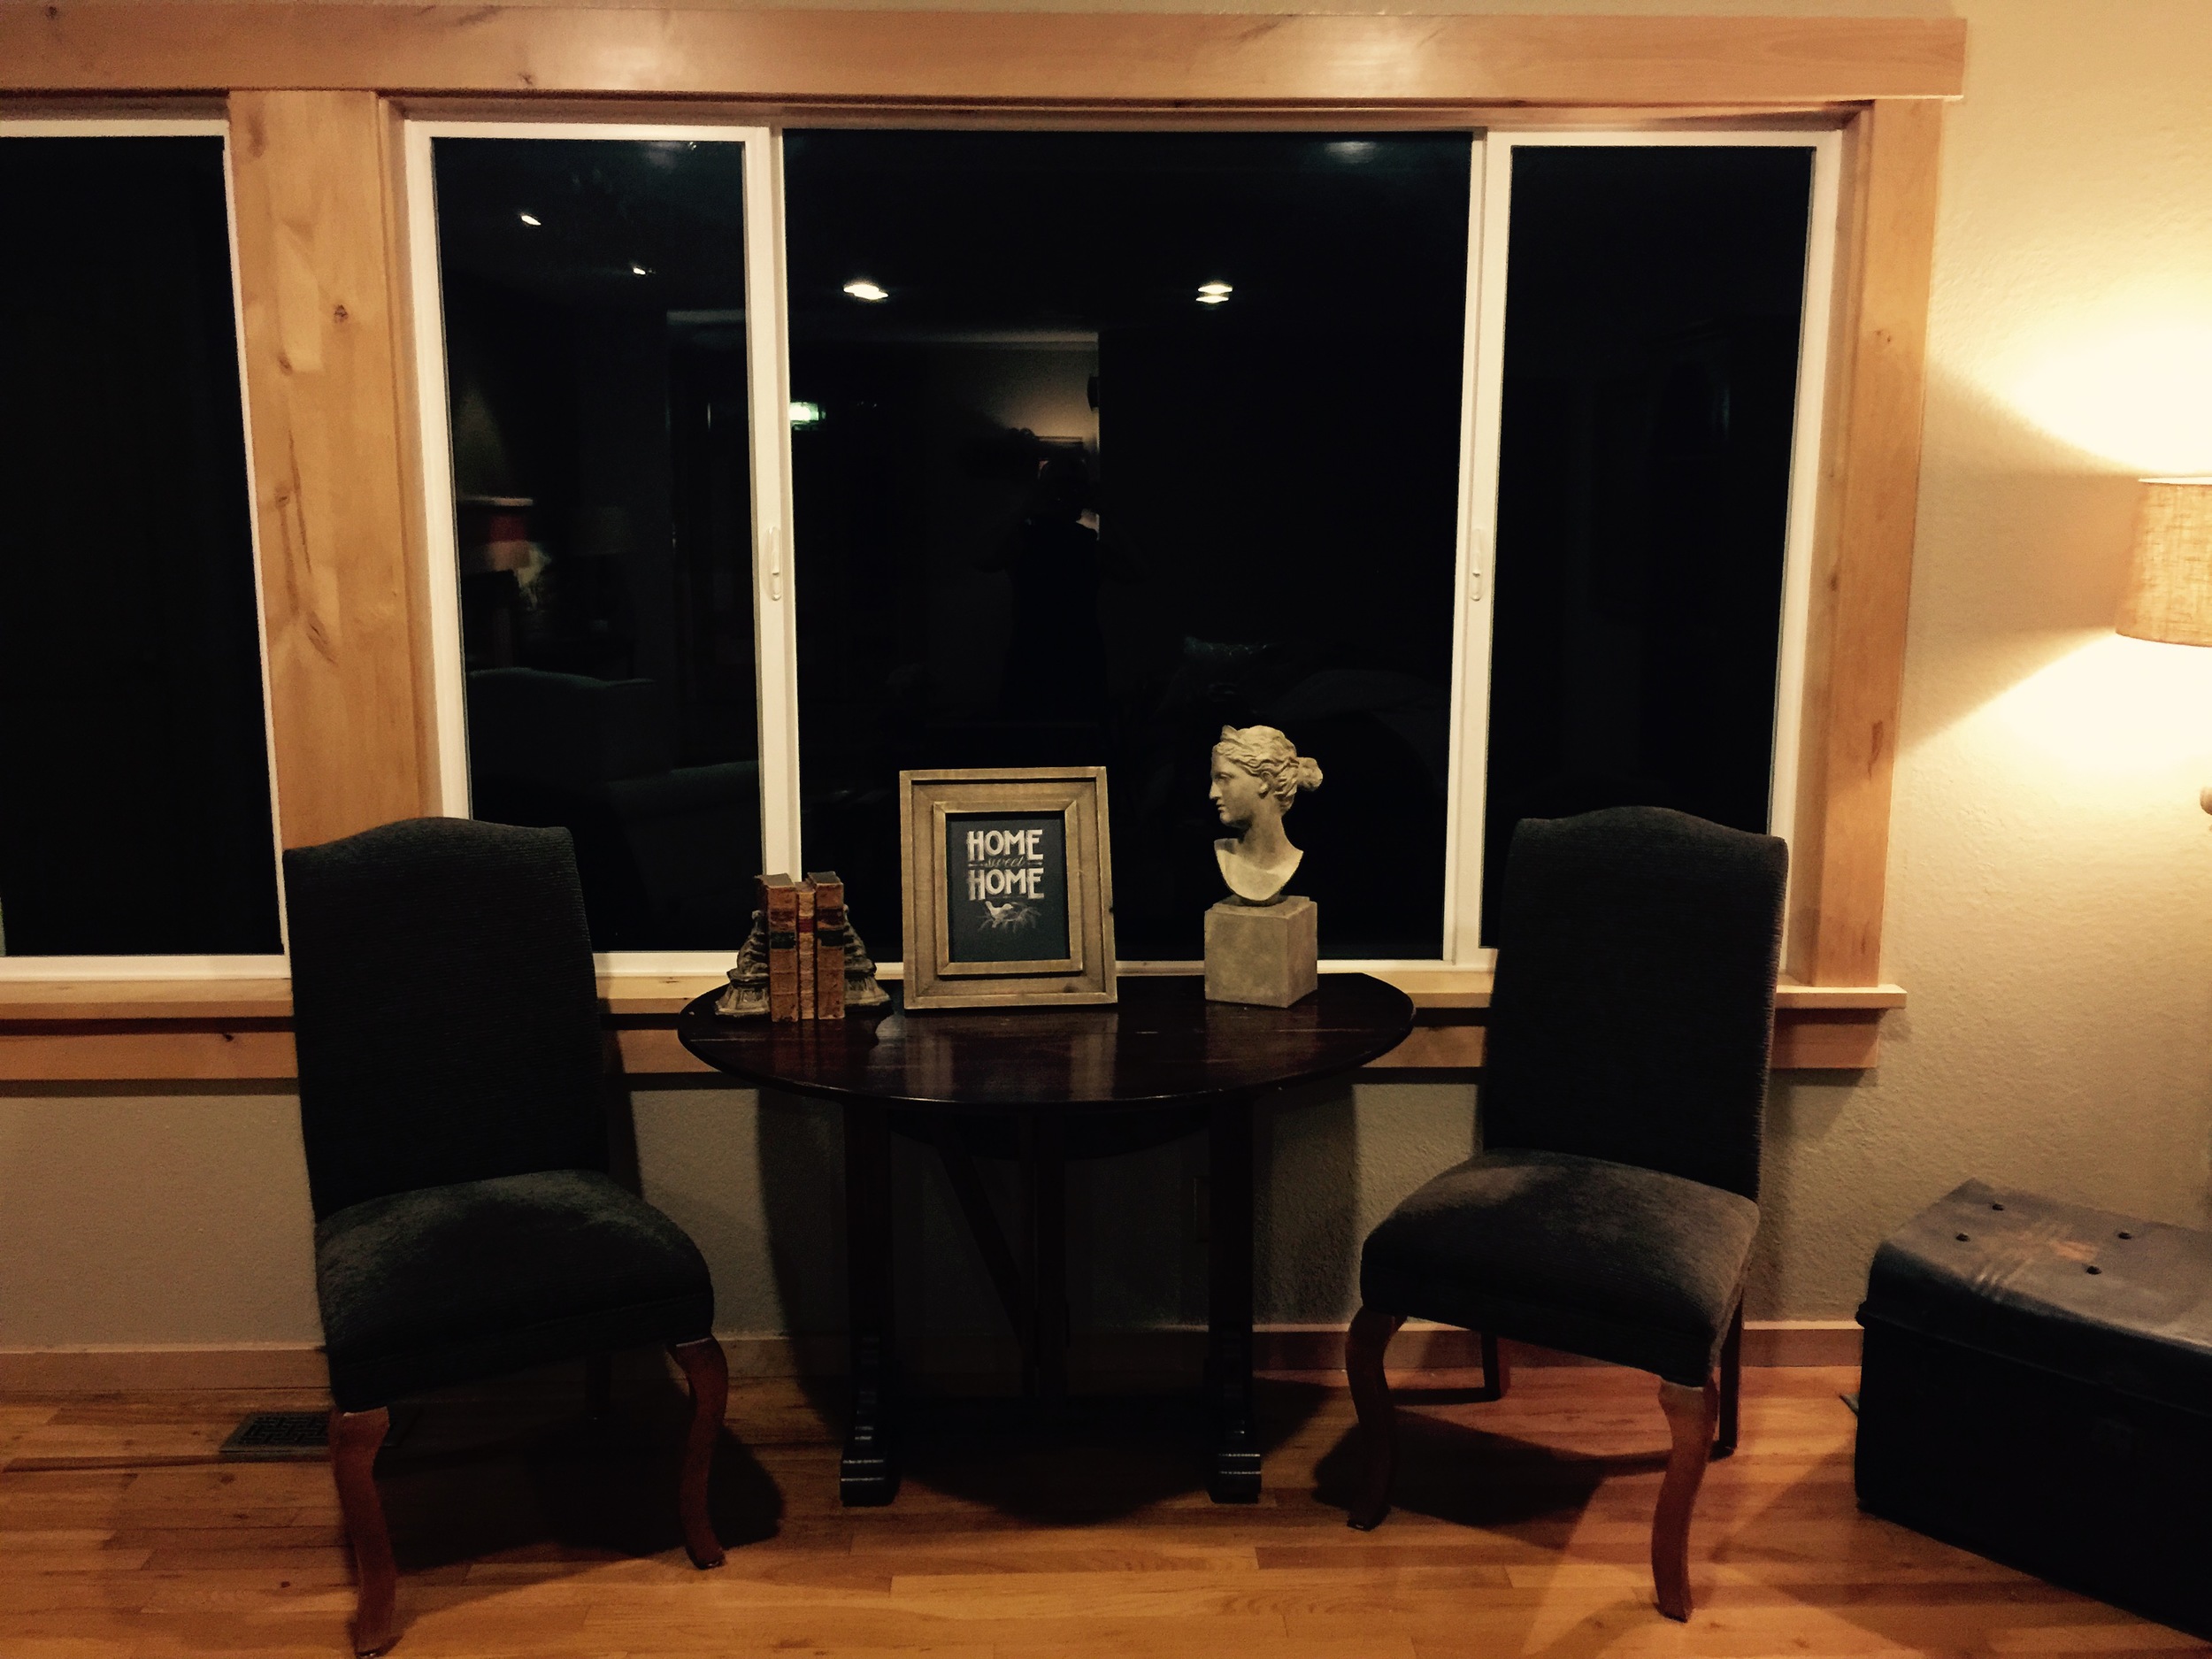
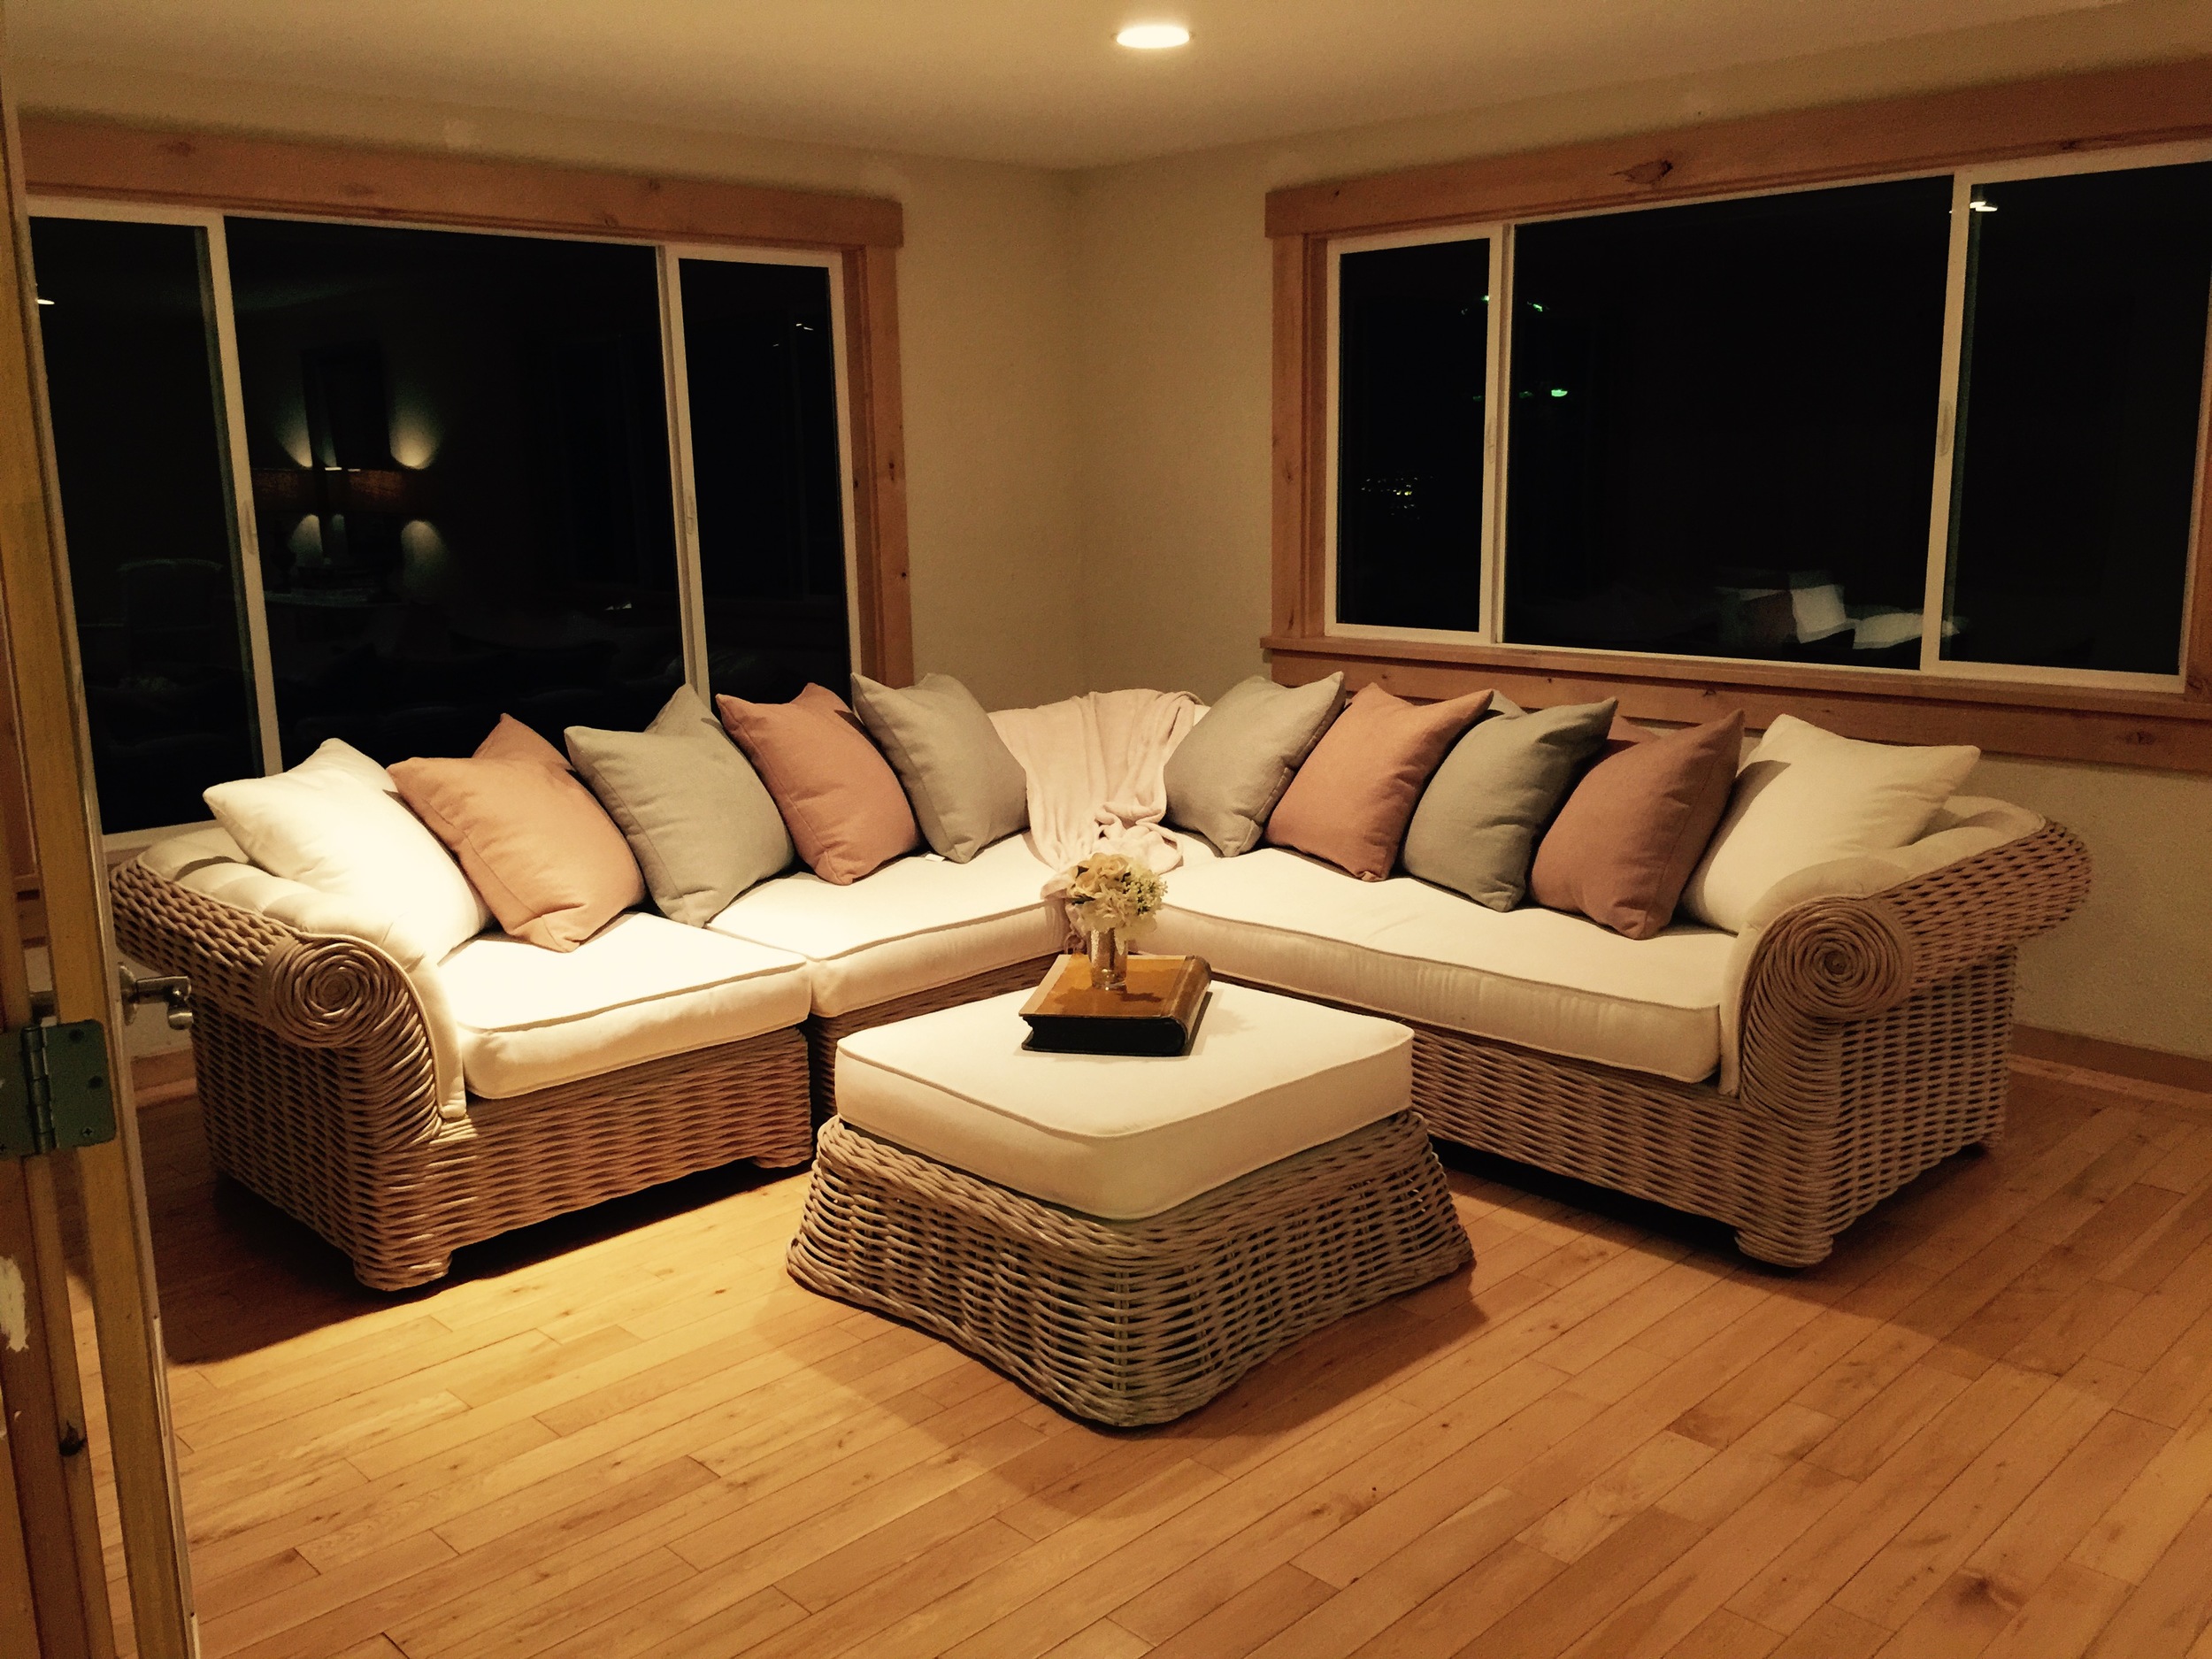
Additionally, I am so inspired by the number of talented people in our community that I wanted to help bring awareness to what each of them is creating! I am beyond thrilled with our vendor lineup for this show. The talent is unbelievable. We have chalk painted furniture, custom jewelry, handmade wine barrel gifts and home decor, antiques, handpainted glassware, beautiful oil-painted artwork, portrait photography and even LIVE MUSIC! For more detailed biographies on each of our vendors, head on over to the Artisans & Antiques 2015 show page on our Main Menu. 

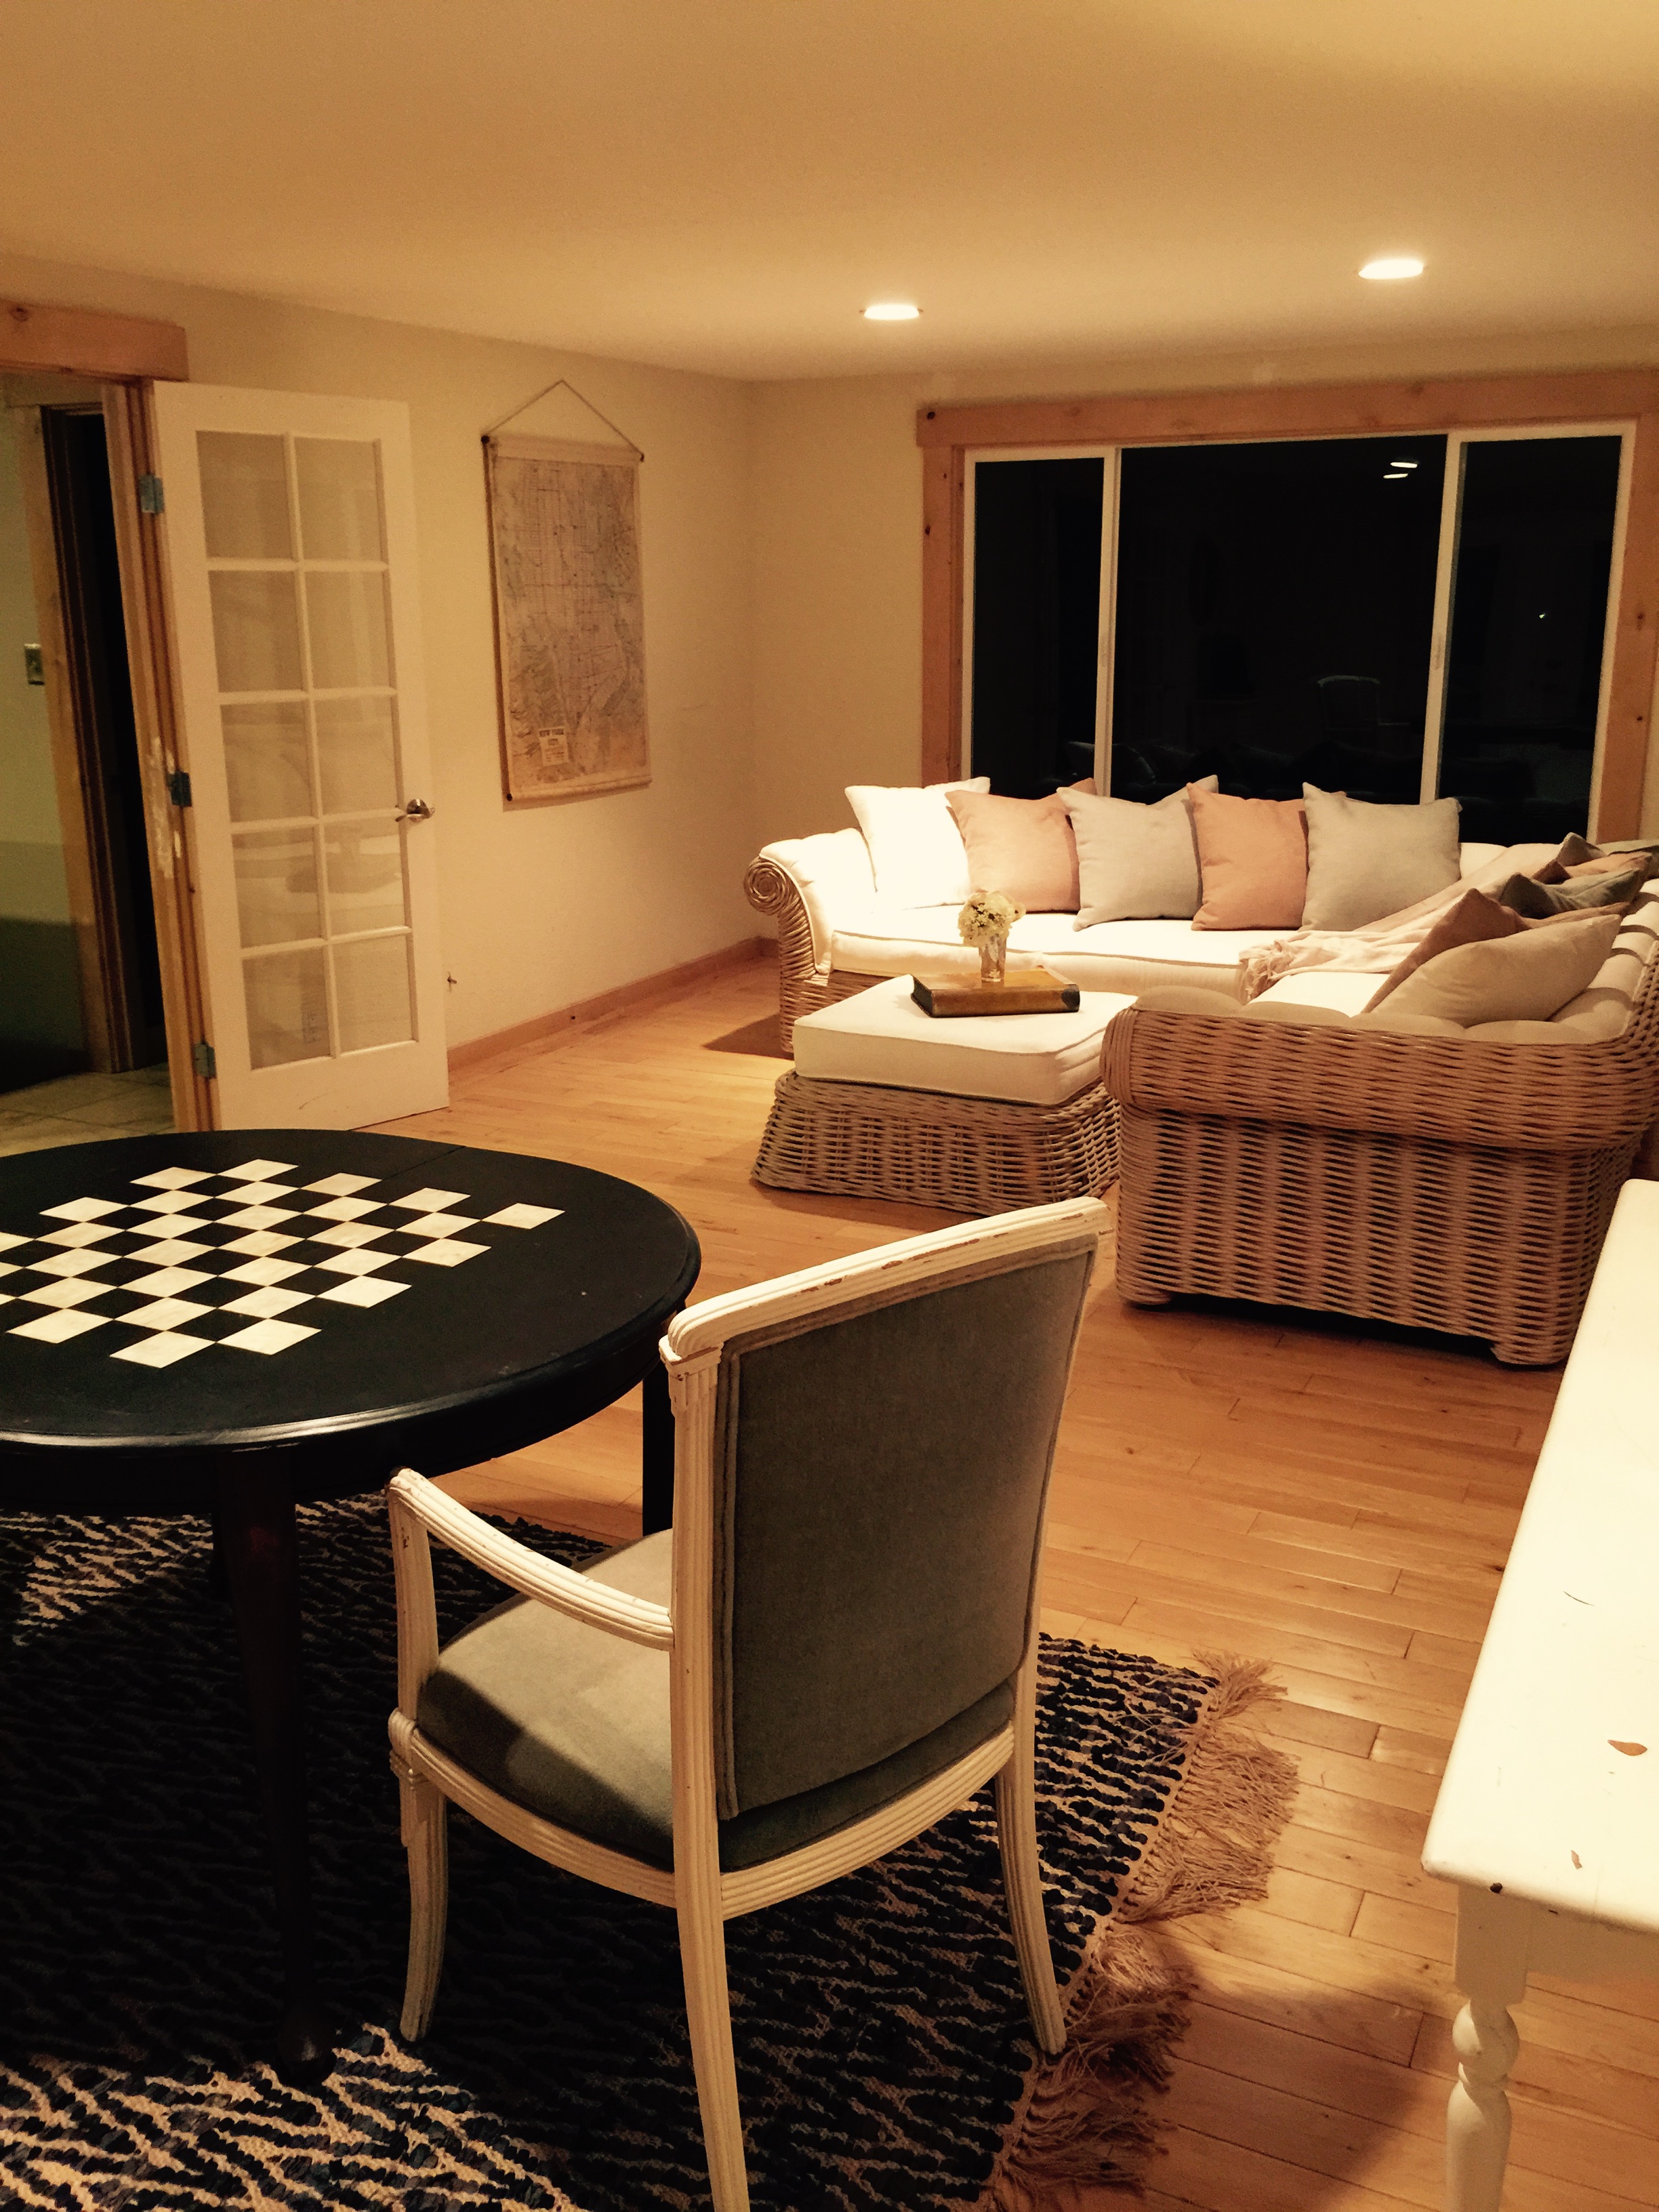
Of course, I'm partial to the venue because I love my shop but we wanted to make it extra special so we have some fun things in store but I am really excited about the market lighting we've woven through our apple trees. It adds the perfect amount of sparkle!

I hope you are coming to visit us on Saturday and checkout what these very special Artisans & Antiquers have curated for you! Make it "A Day in the District" and plan on shopping and dining with us! You won't be disappointed! 


French Country in the City: Damonte View Drive

Walking into the house on Damonte View, I was immediately excited to begin this staging process. This home boasts numerous expansive windows looking out onto the Nevada landscape. The large, open space concept provides the perfect setting for entertaining. The master bedroom has the same beautiful views and is the perfect retreat due to its isolation from the the rest of the rooms in the house. This home, located in Mountaingate, is just over 3,000 sq.ft. with 3 bedrooms, 3 full bathrooms and 1 half bath. 

The current owners have already moved leaving the house mostly empty with the exception of a couple of items. We were called in to focus on the main living areas: living room, dining room, kitchen and master bedroom and bath. 

I'll let the pictures speak for themselves. Take a look at these before and afters:

IMG_4993.JPG

If you are interested in taking a closer look at this home, there will be an open house this Saturday, August 15th from 11am-2pm. Contact Cathy Deal for more information 775-762-7684

Otherwise, check out the full tour, just copy and paste this link in your browser:  http://www.realtor.com/realestateandhomes-detail/13375-Damonte-View-Ln_Reno_NV_89511_M27029-93382

Polishing Up Diamond Ridge

There is a big difference between living in a home and living in a listed home. Even though a house is beautiful, when you are preparing to sell, sometimes it can require a little polishing. 

The house on Diamond Ridge is easy to love. A grand entry welcomes you and invites you into an open-concept floor plan that you can easily see yourself entertaining in. Both formal and informal dining allow you to set the tone for your dinner party. The kitchen has an unlimited amount of storage making it the perfect place for culinary creations.  The floorplan of the house gives a great deal of privacy to the master suite given that the additional two bedrooms are located on the opposite end of the house. The master bedroom and bath leave little to be desired, making it quite possibly my favorite room in the house! Two vanities are separated by a beautiful bathtub fit for the best bubble bath ever!

With this description, you are likely asking yourself, why was I called into stage this home? Sometimes an outside perspective can really help focus on your goals when selling the house. I offer various staging packages. In this case, I provided the couple with a homework list to complete before I arrived. Let me tell you, they aced the test! They checked off each item on the list I provided making it easy for me to come in and complete all of the finishing touches. 

Pictured below is the entry way before and after staging. The first picture shows a great table that became a catchall, which is pretty typical for things close to the front door.

We kept things bright and cheery in the entry by adding a white floor length mirror, a smaller rounded-front table, a coat rack and some decorative accessories to welcome guests upon entering the house.  

From there, we worked our way into the living room. The couch was set against the window, the love seat created a barrier between the kitchen and dining room and a recliner sat next to the love seat. A coffee table, an ottoman, several baby toys and a dog bed filled up the floor.

We simplified the decor in the space, removed the recliner and the ottoman. Also, we switched the positioning of the couch and the love seat and brought it out into the room a little more. Above the fireplace, we added a mirror and simplified the decorative accessories; added new decorative pillows to the couch and a cozy throw blanket. We moved the existing table lamps to the master and brought in a new set that tied in the warm wood tones from the kitchen and formal dining. There was a large ornately carved console table (not pictured) that was also removed. 

Moving onto the kitchen and casual dining, we asked the clients to remove everything from countertops. We removed the existing oak dining table and brought in a farm style table with a black base that matched the client's existing chairs. Instead of keeping all 6 chairs, we removed the two arm chairs and kept the 4 side chairs making it feel a little more spacious. 

The Master Suite: This is a room that I could spend some time in. Spacious, great natural light and a master bath the size of a spa. I'll let the before and after photos do the talking on this one:

Home Office: These clients work from home so the office area was one of the heavily used areas and was full of personal momentos. One piece of advice I give to all of my staging clients is to de-personalize the space as much as possible. You want to appeal to the masses and allow them to visualize themselves in the space. As I mentioned earlier, these clients aced their homework list especially when it came to removing items from the office leaving it organized, roomy and ready to work!

Spare Bedrooms and Guest Bath: These rooms needed a little fine tuning. We tagged some items for removal and re-positioned others. The result was better flow in the guest bedroom and a charming baby's room. 

Formal Dining: Lastly, we used the existing furniture in the formal dining room with the exception of the original dining chairs. (I didn't get a very good before picture so I will leave you to imagine the rest). We brought in more modern Crate and Barrel dining chairs to modernize the original set. Then we set it for a dinner party and rearranged the items in the china cabinet. Small details can go a long way. If you have items that you feel are outdated in your home, making a simple change can completely alter the look. 

Final Tip: Remember all the pain is worth the gain. De-personalizing and de-cluttering may not be the most fun but they are essential to selling your home in the shortest amount of time for the highest amount of money. 

If you would like more details on this home, contact Chris Smith: csmithrealty@yahoo.com          775-843-0657 or if you would like to see it in person, there will be an open house this Sunday, July 26th from 11:00am-2:00pm

Property Details: 3259 Diamond Ridge Drive, Reno, NV 

3 bedrooms, 2.5 bathrooms, 2,440 sqft

You can see a virtual tour here: http://tours.in1spot-photography.com/public/vtour/display/377552


Setting the Stage on Skyline

This past month has been a whirlwind! A good whirlwind of course! We've had a lot going on and on top of that, two homes came up that need to be staged. "No" has never been in my vocabulary so that meant it was time to load up the U-haul and prepare to move! 

Staging Skyline: The house on Skyline boasts over 2,500 sqft, 3 bedrooms, 3 bathrooms, two fireplaces, and a large bonus space with french doors out to a backyard that is your own private sanctuary. The home was vacant so when I came in, it wasn't a matter of de-cluttering the space or re-arranging existing furniture. Instead it was taking a space void of personality and creating a welcoming environment focused on capturing someone's heart and allowing them to visualize calling this space home. 

Instead of staging the whole home, we focused on the main living areas: living room, dining room, office and bonus room. One thing I love about this house is the number of windows in the space and who doesn't love multiple fireplaces. Click through the before pictures to see how the space started: 

After touring through the house for the first time, my mind immediately started developing the staging plan and I never go anywhere without my notebook so I jotted a few notes down. Then it was off to the races; time to start tagging items in the warehouse.

Weather has been a little tough and unpredictable this month. You can imagine my enthusiasm when we were loading the U-haul and the sky broke into an immediate down-pour followed by a hail storm. Yes, those little white specks in the picture are huge pieces of hail!

IMG_4235.JPG

Needless to say we took a short break until the weather subsided before we finished loading up the U-haul and then it was off to stage. It took it a couple of hours to complete the staging process, but I loved the way it came together! The living room went from cold to cozy. The kitchen and dining room are ready to entertain and the bonus space became the perfect game room! Click through the slide show to see all the after photos.

There will be an Open House this Saturday, July 25th from 1pm-3pm so if you are in the neighborhood, be sure to stop by and see this beauty in person! 

Property Details:                                                                                                                                   2075 Skyline Drive, Reno, NV. 3 bedrooms, 3 bathrooms, 2,576 sqft                                             For more information contact Mike Hays: 775-771-9801  Email: Mike@mikehays.net

Be the Hostess with the Mostess this 4th of July

4th of July is one of my favorite holidays! Each year I do a little something different. Here are my top 5 tips for how to throw an unforgettable 4th of July party this weekend! 

1. You don't have to get fancy but your BBQ Party can still be "put together": It's a bbq and the last thing you want to do is make your guests feel like they should be wearing a tuxedo. Simultaneously, you don't have to go all paper and plastic either. Have some mason jars lying around? Place utensils in a napkin, tie with jute or raffia and place in the mason jar and you not only have style you also have function. If you want to take it one step further, use gift tags to personalize each jar.  

2. Use festive scrapbook paper as placemats, the best part is you can dispose of it afterwards. 

3. Short on tables and chairs? No problem! Place blankets or quilts on the lawn, borrow toss pillows from indoors and create a picnic park! 

4. Have something fun to do during the party: Bring back some early Americana games. How about sack races, frisbee, bubble wands, or even croquet? Games will keep the energy level of the party fun and guests will be talking about it until next year's party. 

5. Don't forget the dessert! Firecracker popcorn is festive and sure to please. Not to mention it's easy on the hostess to make. Here's our secret recipe (only share it with your best friends!)

Firecracker Popcorn: 

What you will need: 

INGREDIENTS:

3 bags Pop Secret Homestyle microwave popcorn

1 cup white candy melts

1 cup red candy melts

1 cup blue candy melts

3 packages Strawberry Pop Rocks (Michaels Craft store has these)

Blue Sprinkles

DIRECTIONS:

• Prepare popcorn according to package directions. Spread onto a cookie sheet and allow to cool. Remove all un-popped kernels.

• Meanwhile, melt the candy melts, one color at a time and drizzle onto the popcorn.

• Sprinkle Strawberry Pop Rocks on the popcorn.

• Add sprinkles and allow to harden completely.

• Serve in festive popcorn boxes and enjoy!

From our family to yours we hope you have a fun and safe holiday weekend! If you try any of our tips, be sure to share the results with us! Happy Independence Day Friends!