Gardnerville, Nevada
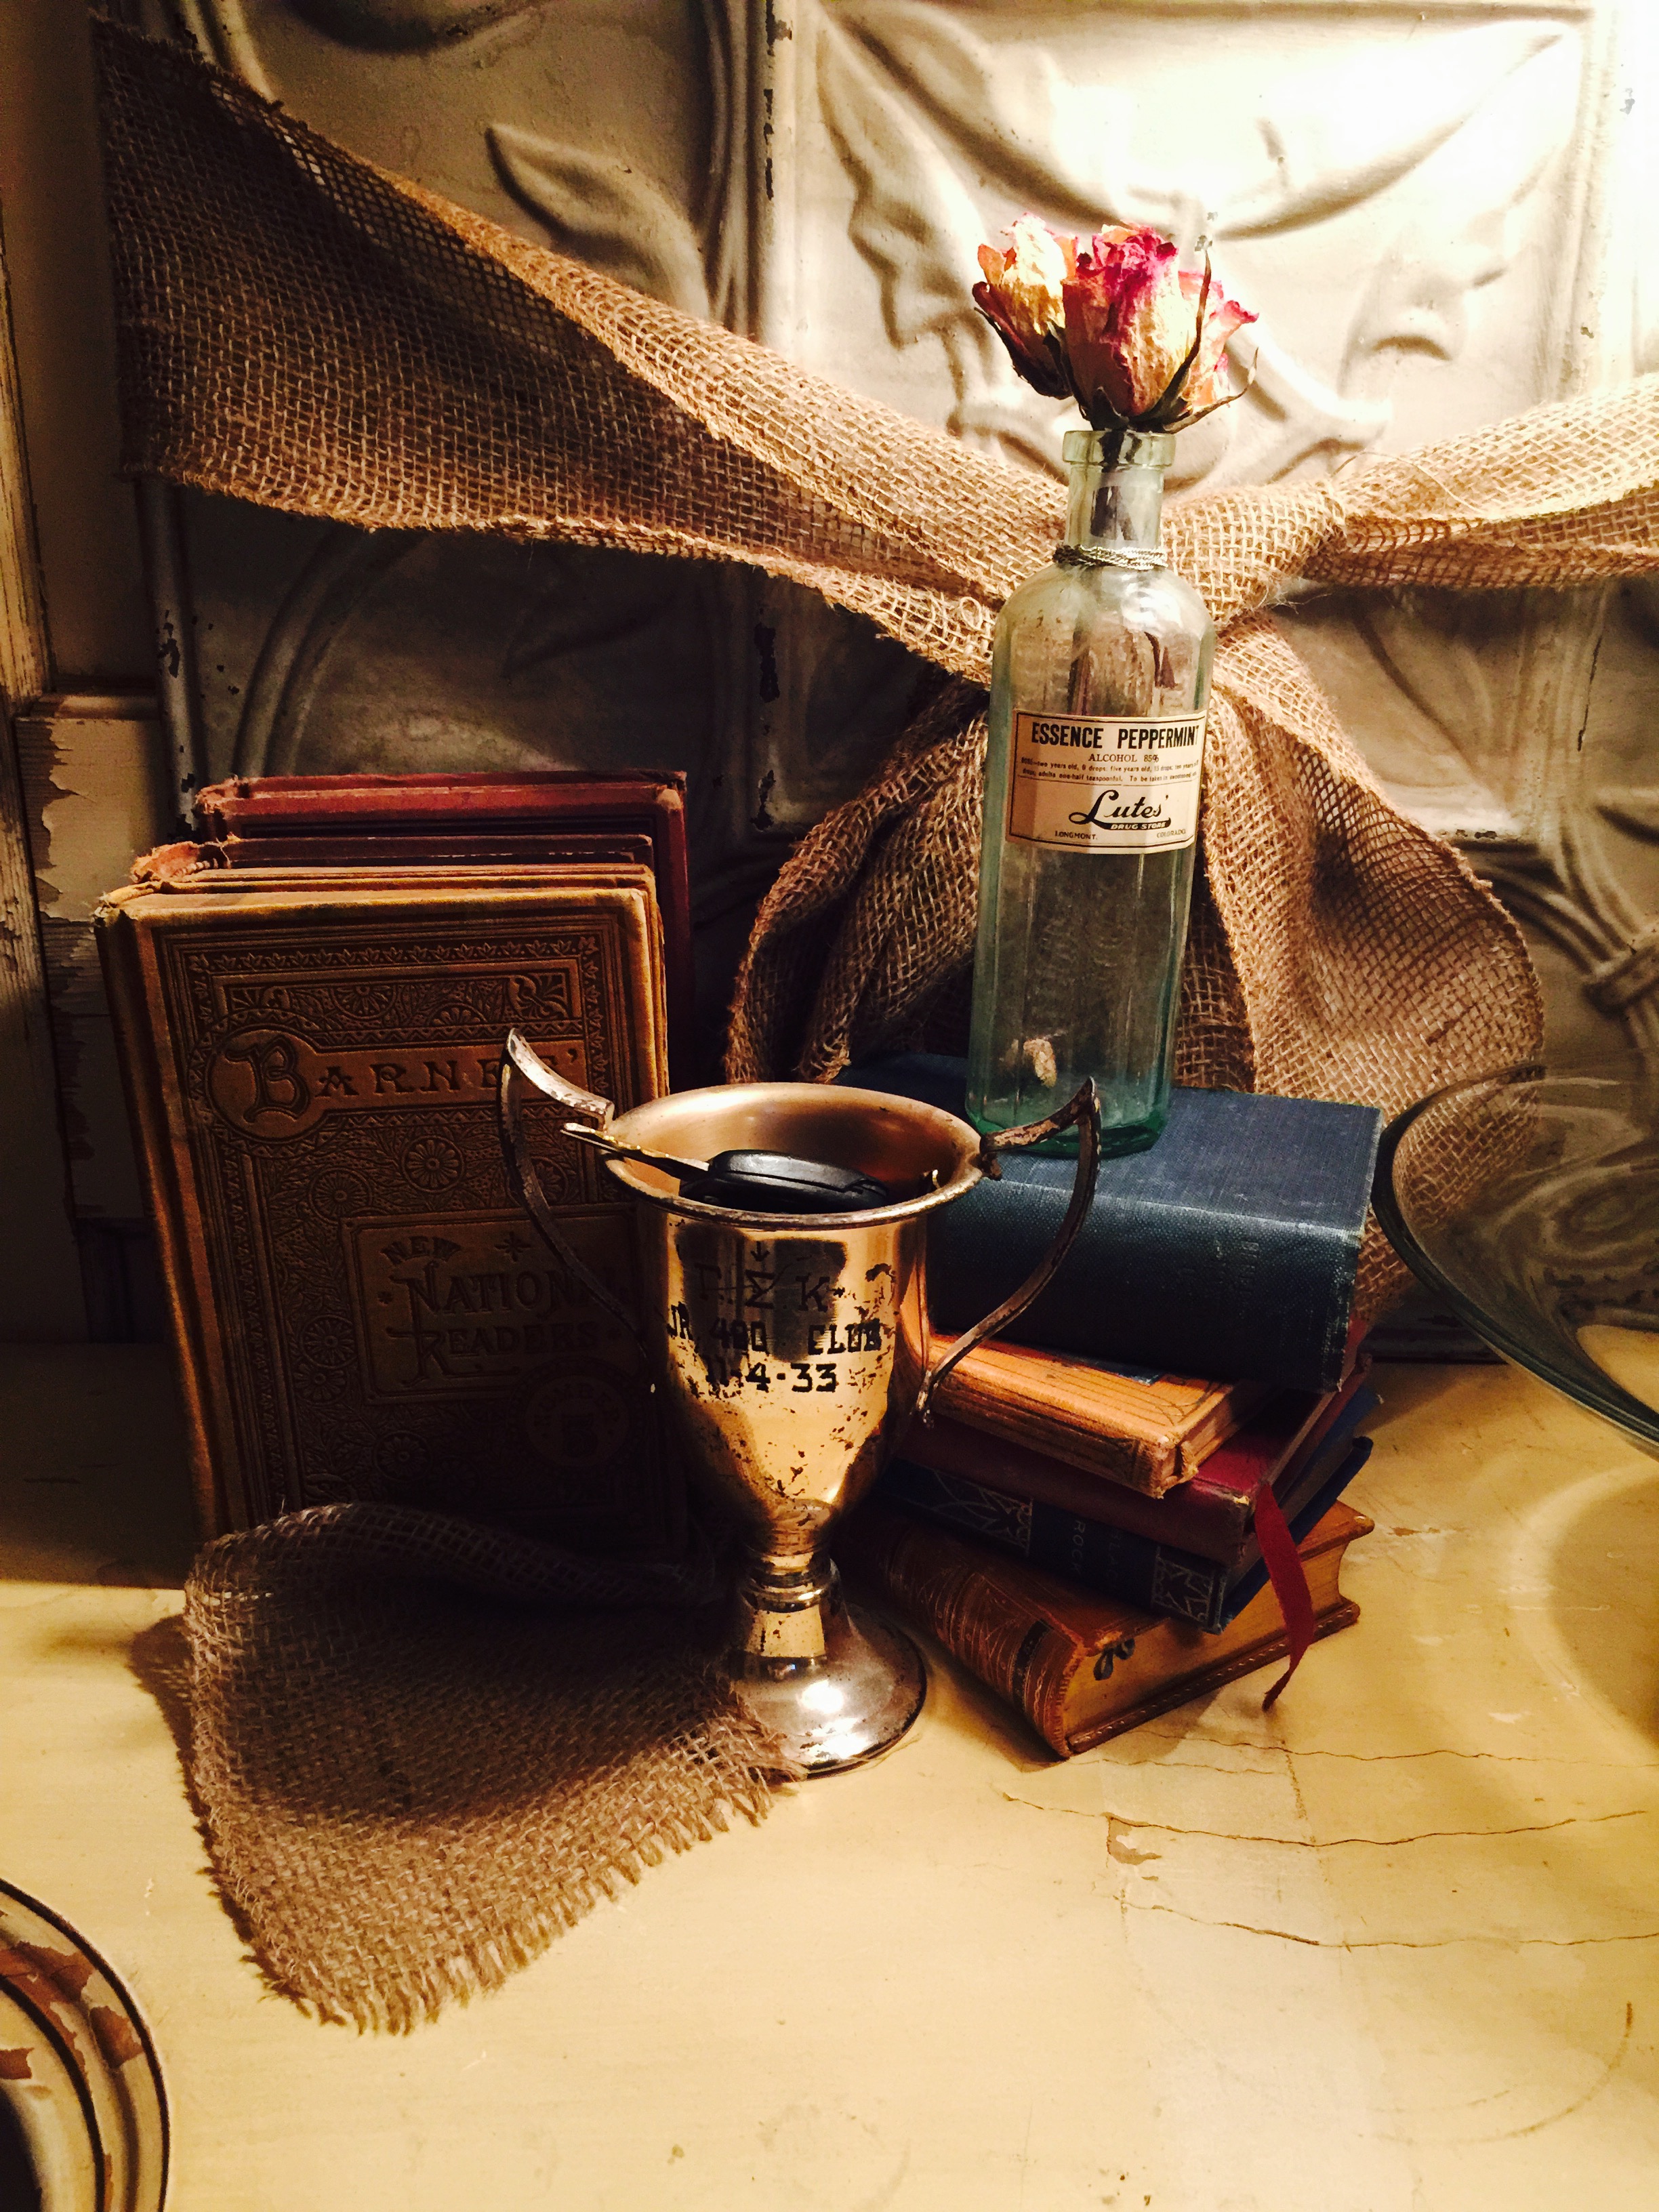
Behind the counter at the shop has always been a bit of a free-for-all meaning, we throw a little bit of everything back there. Sometimes it can get a little chaotic especially when we are holding items for customers during shopping hours.
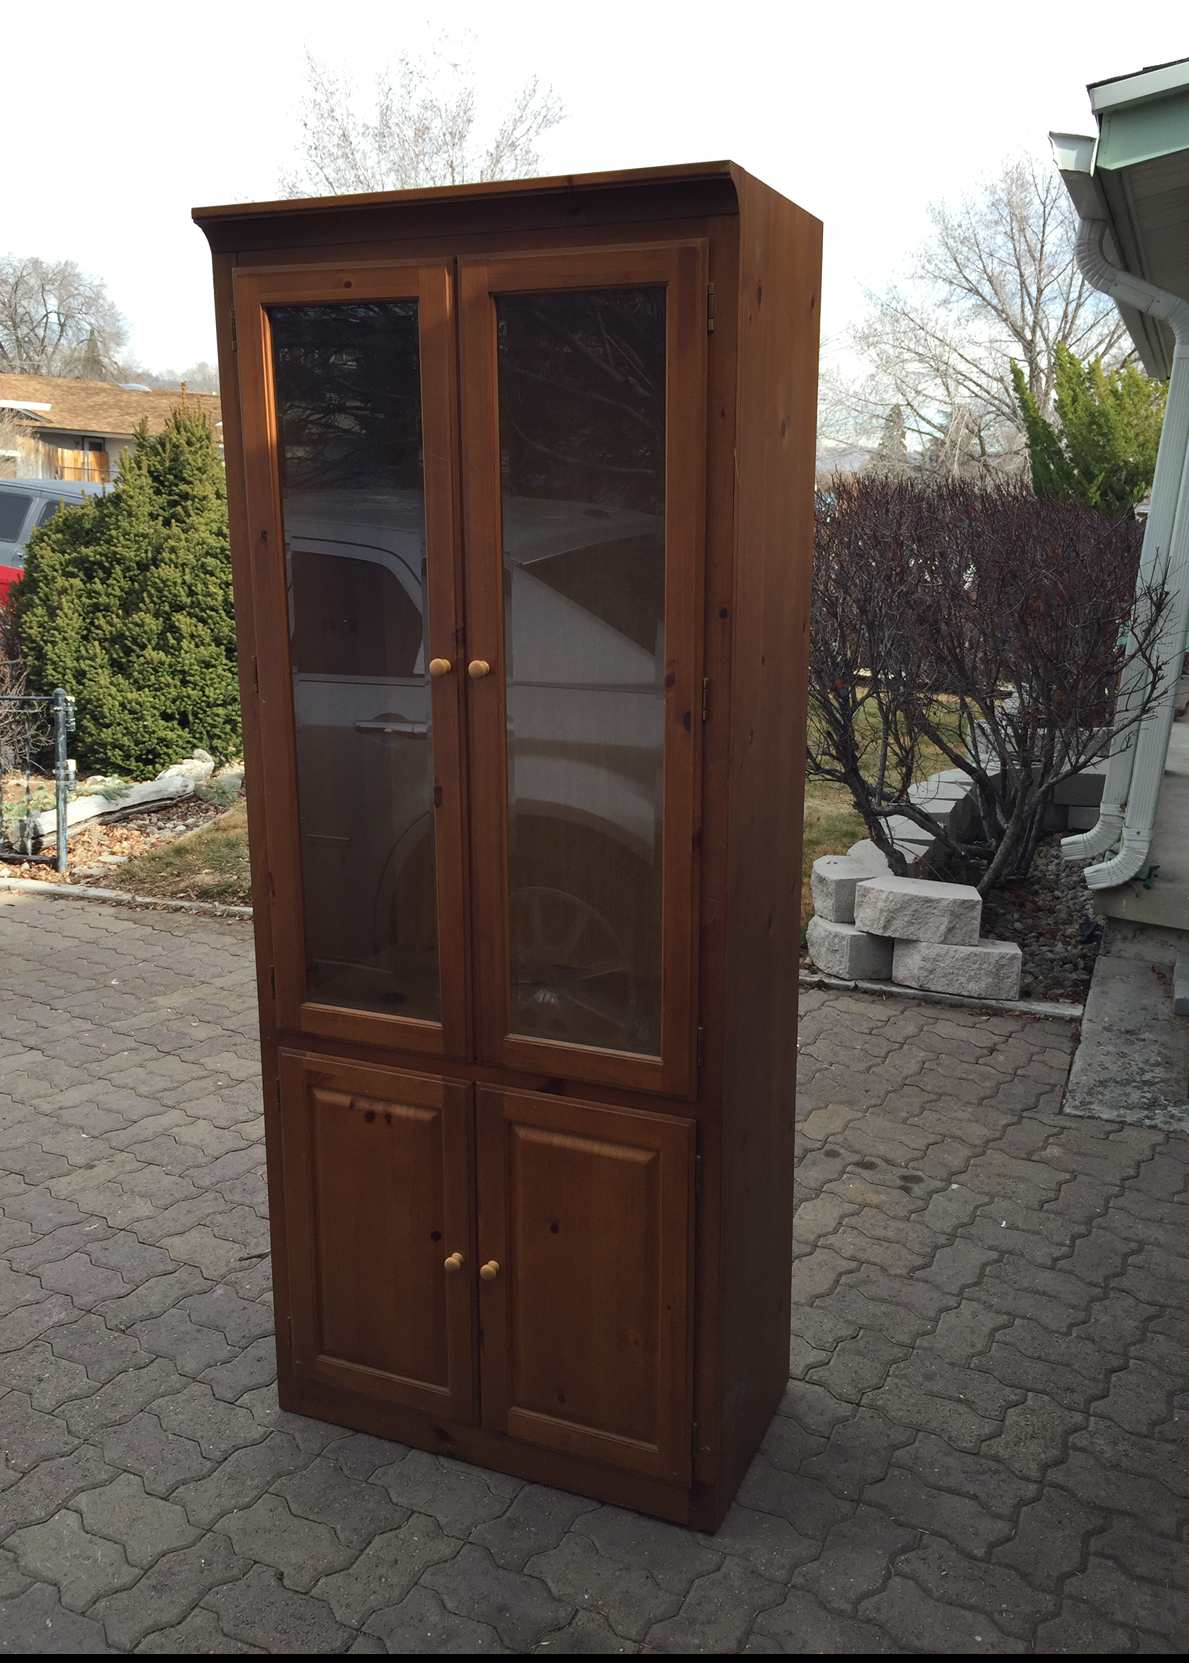
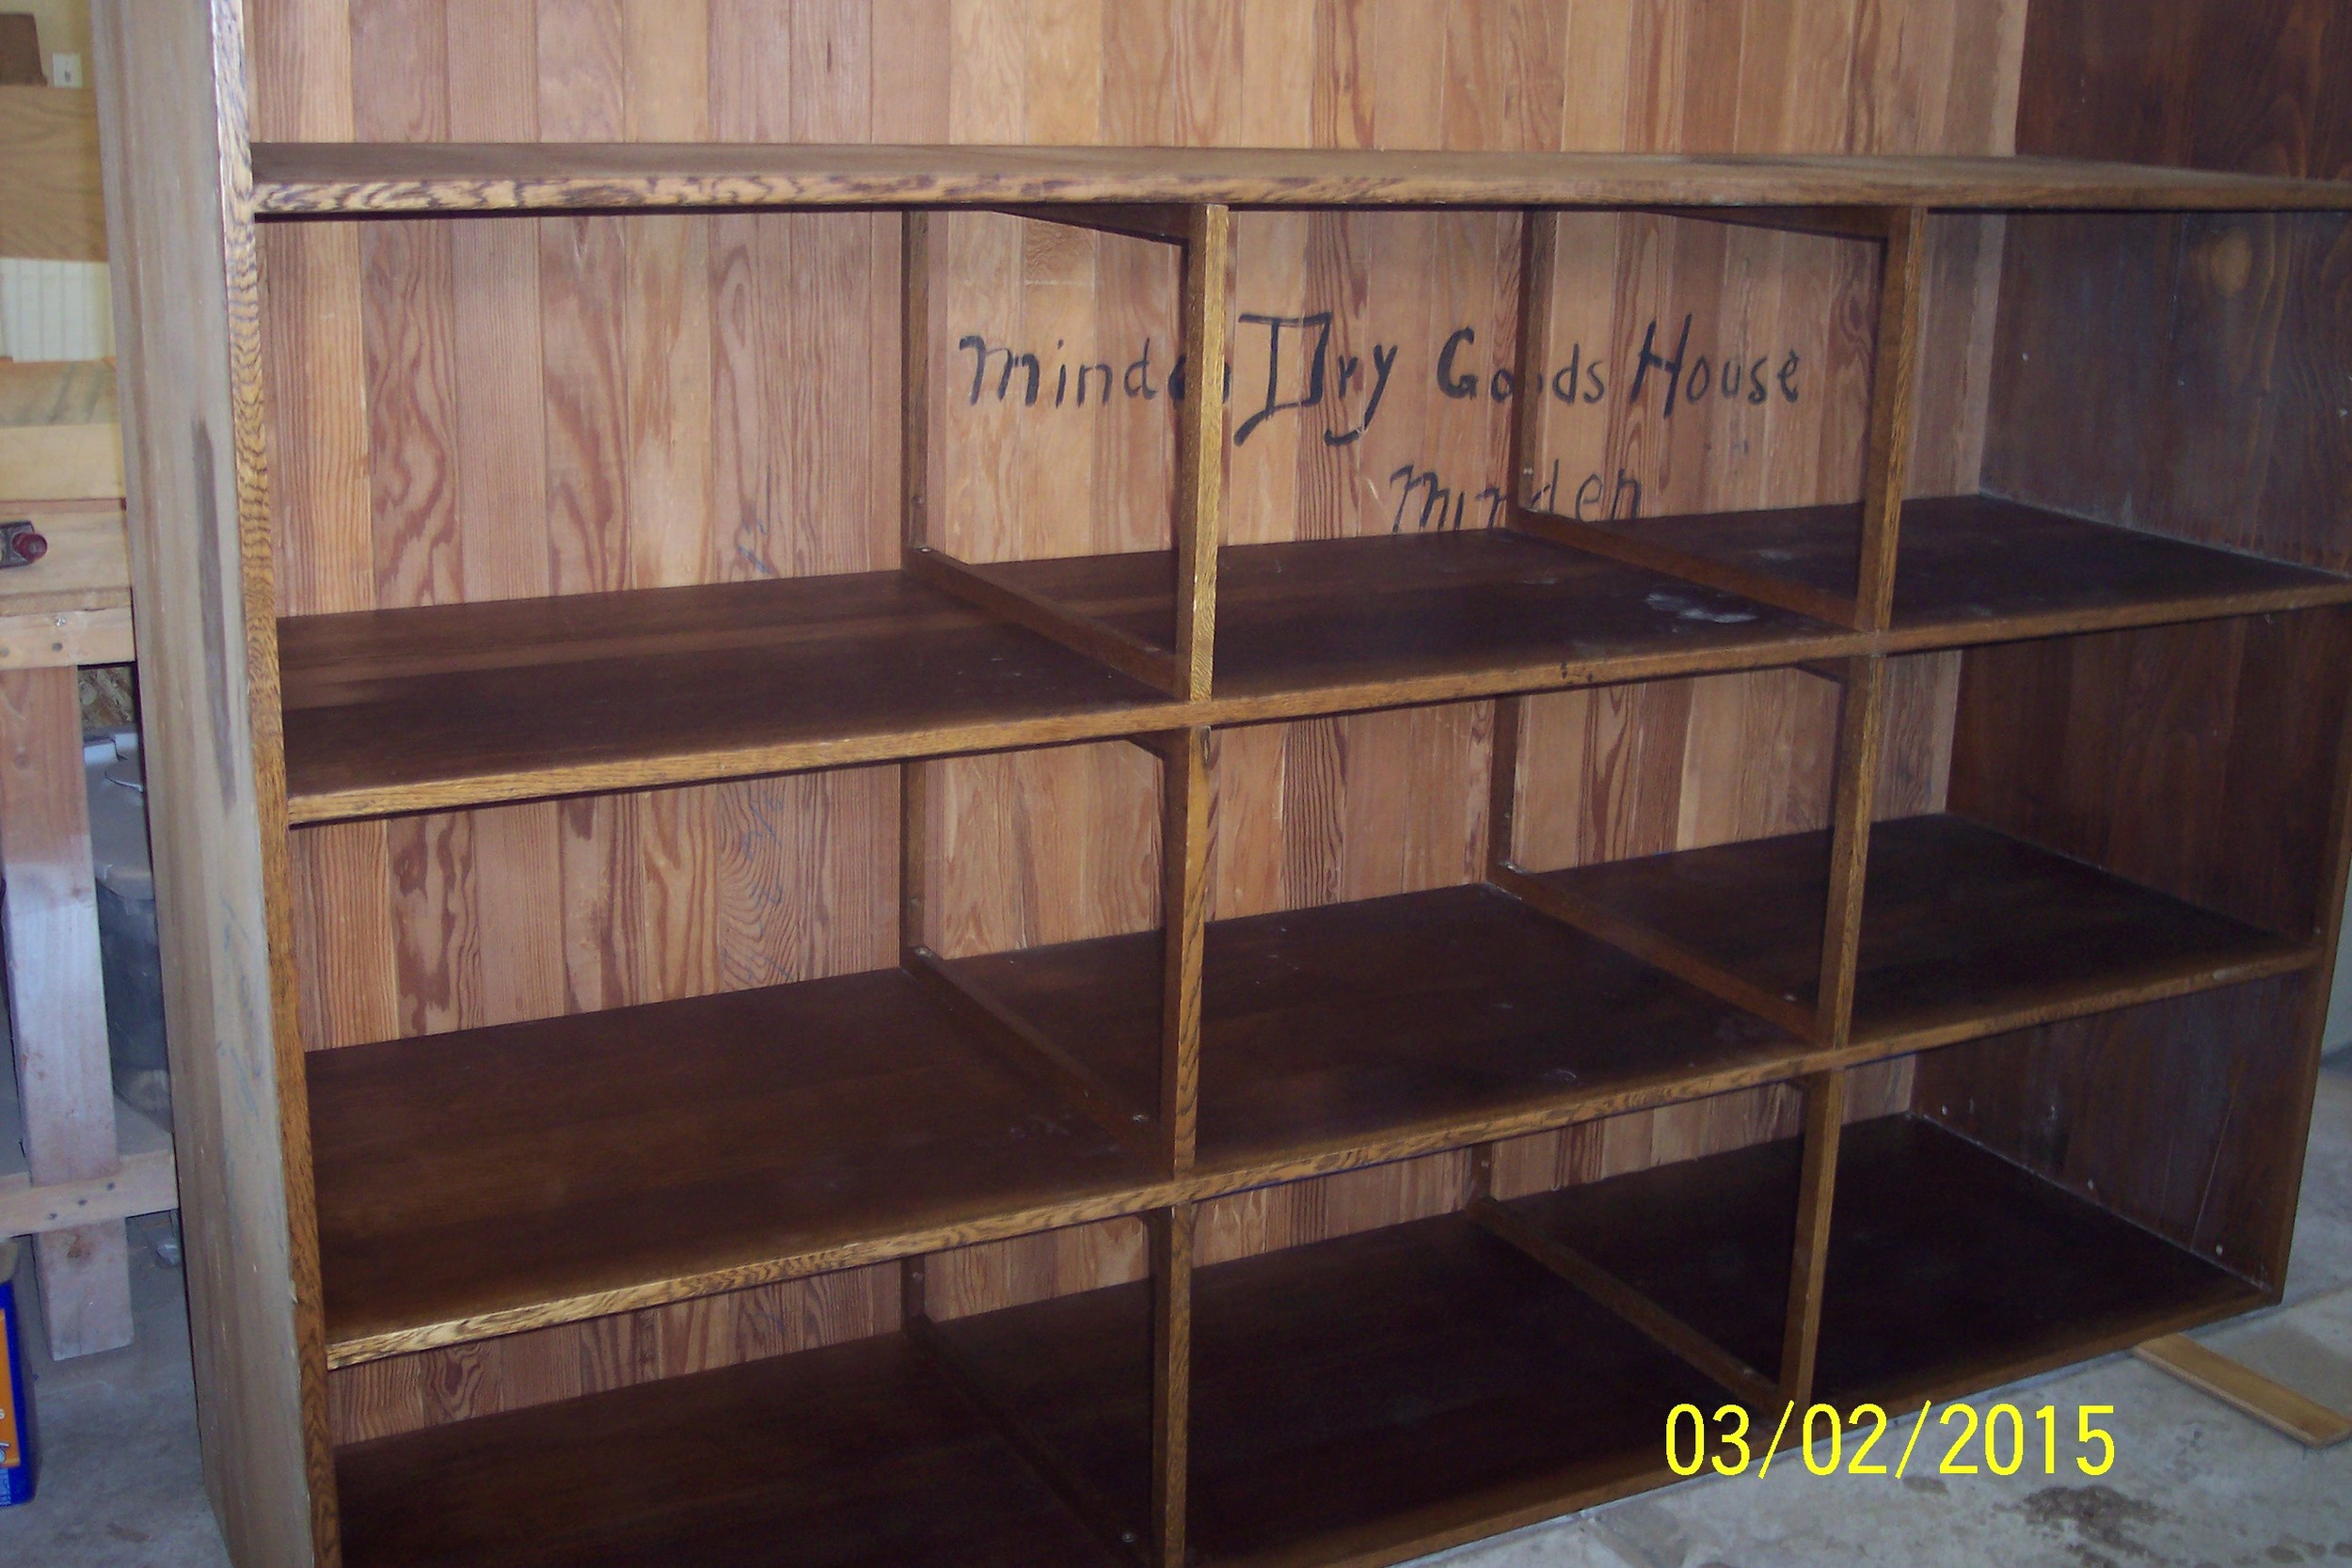
After MW Custom Furniture finished our rolling island, a lightbulb went off about the remaining piece of our Minden Dry Goods cabinet. I had this piece sitting in the warehouse filled with odds and ends but definitely not living up to its potential. When my wheels get to turnin... people usually start getting a little nervous. Luckily, Mike didn't run the other way when I told him I wanted to re-do this cabinet as well.

I know what you are thinking:
"What the heck is that thing?"
"Is that a life-size board game?"
"Are you on your way to the dump?"
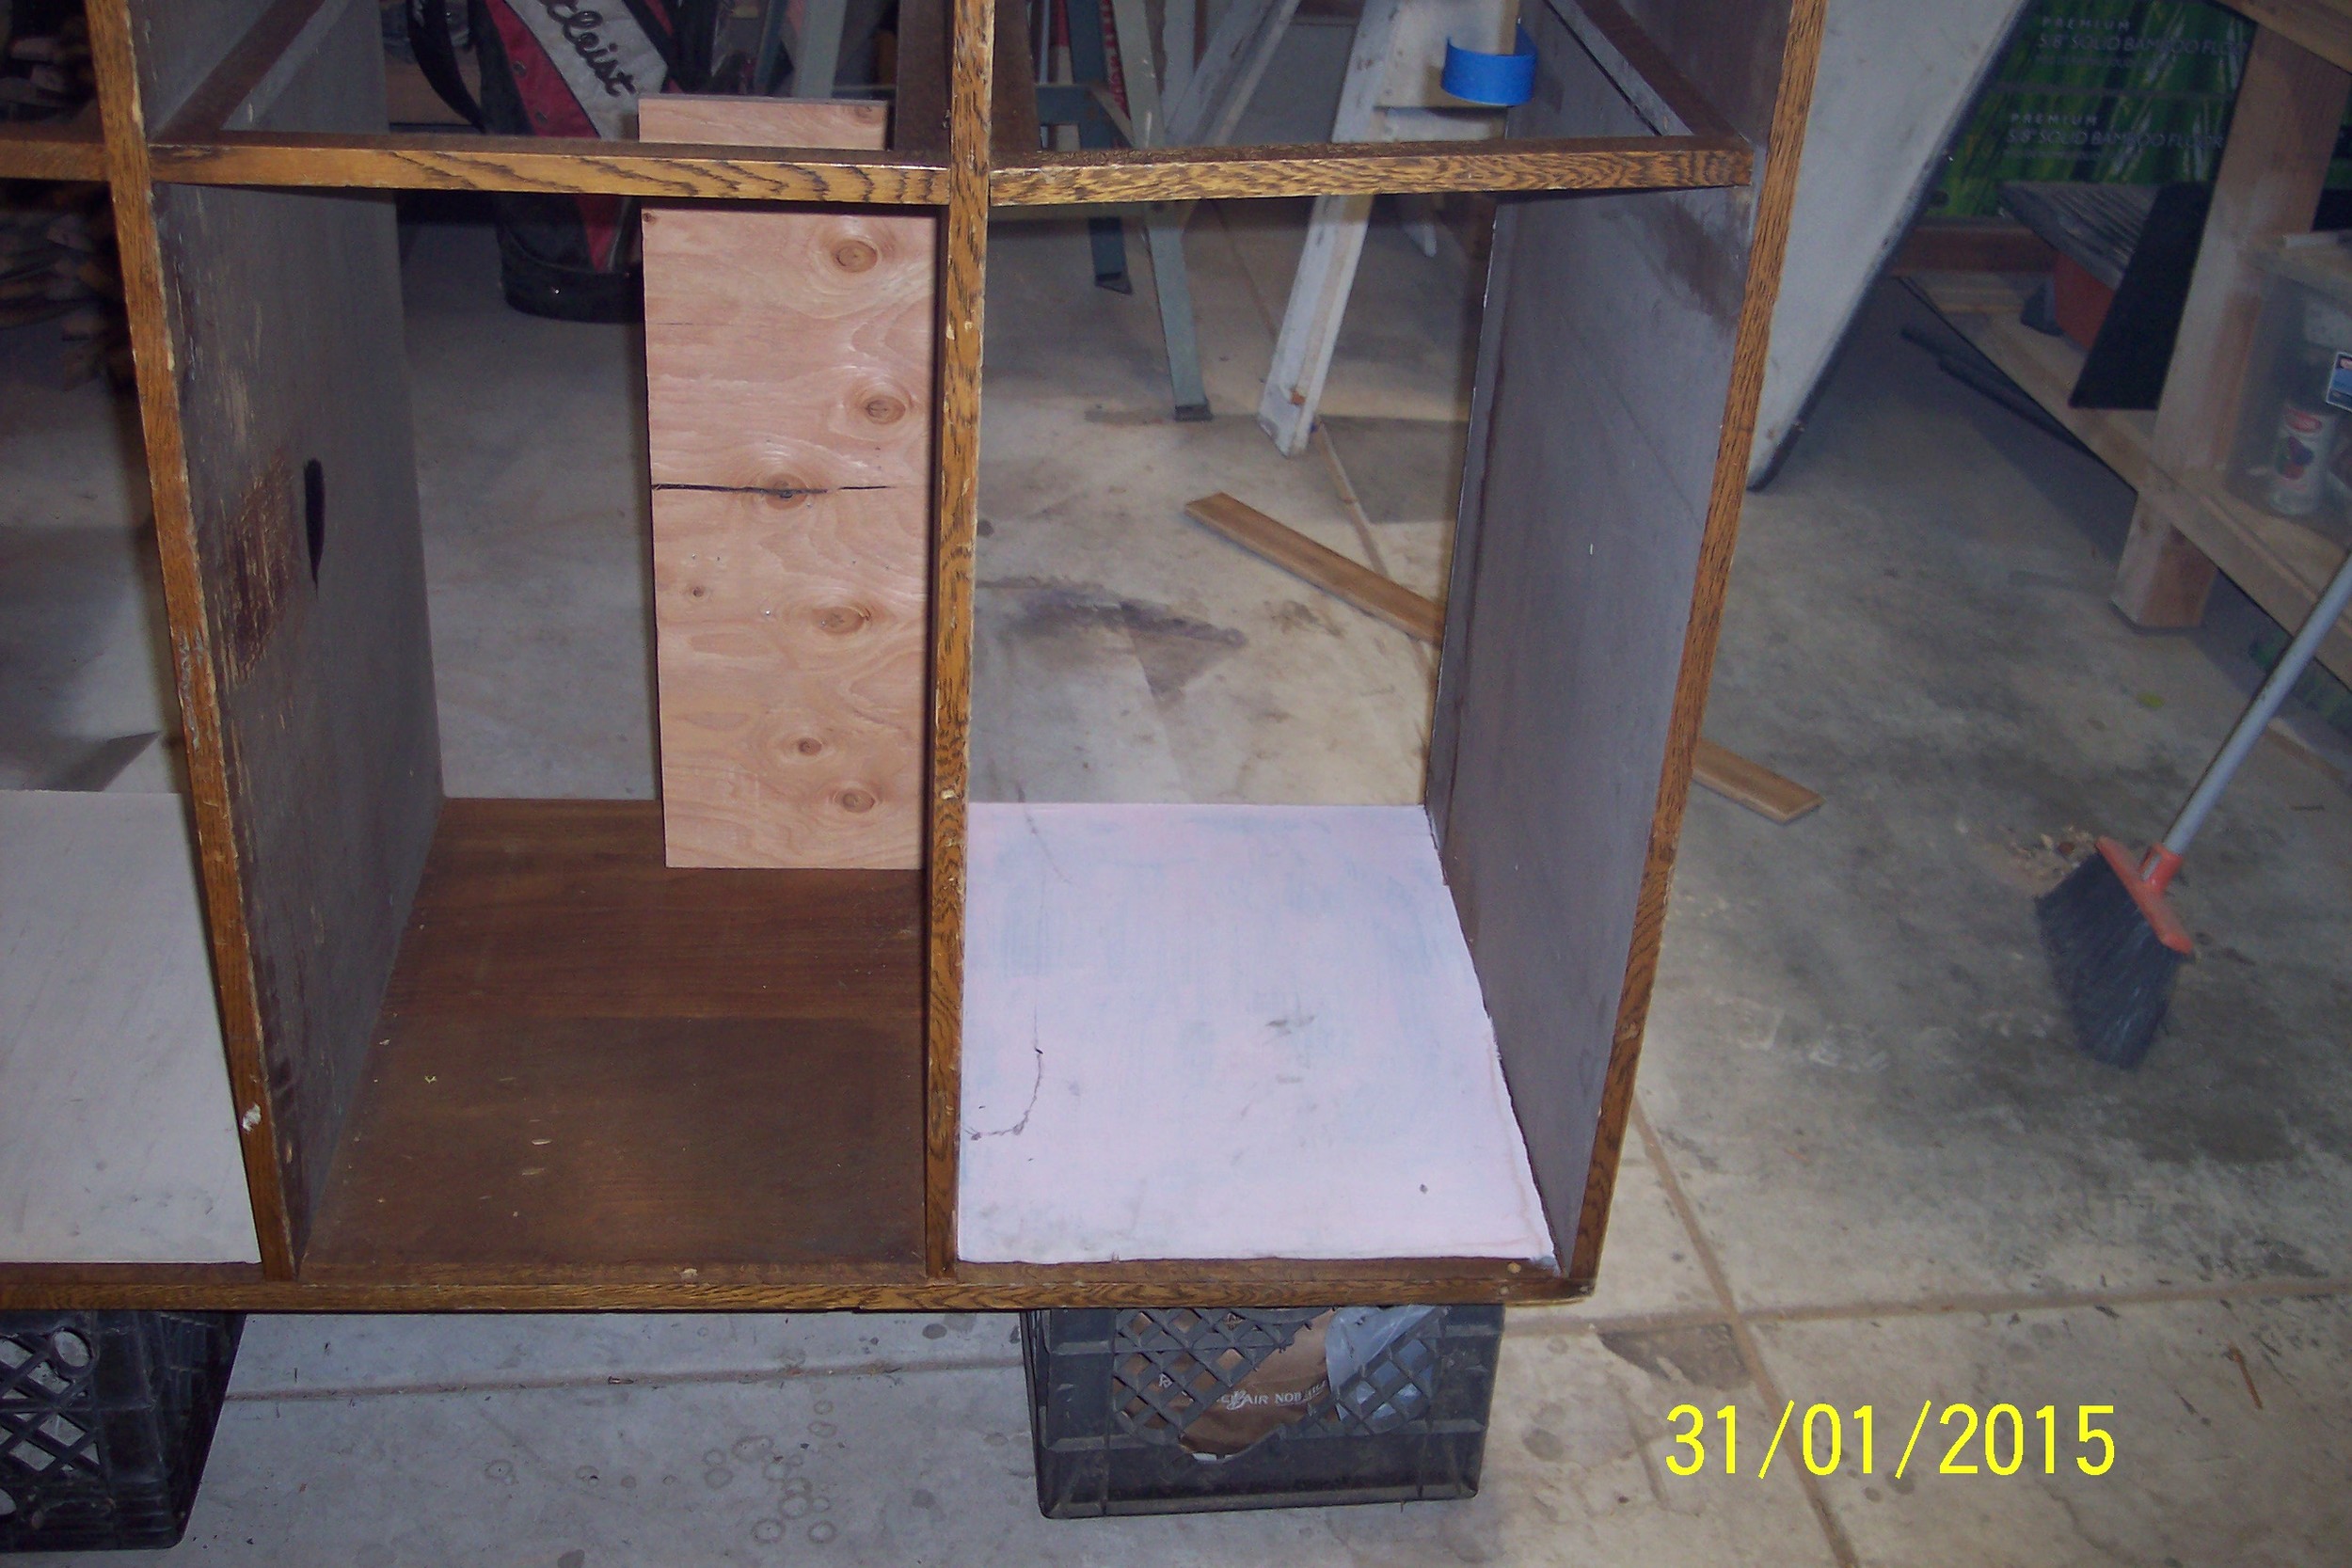
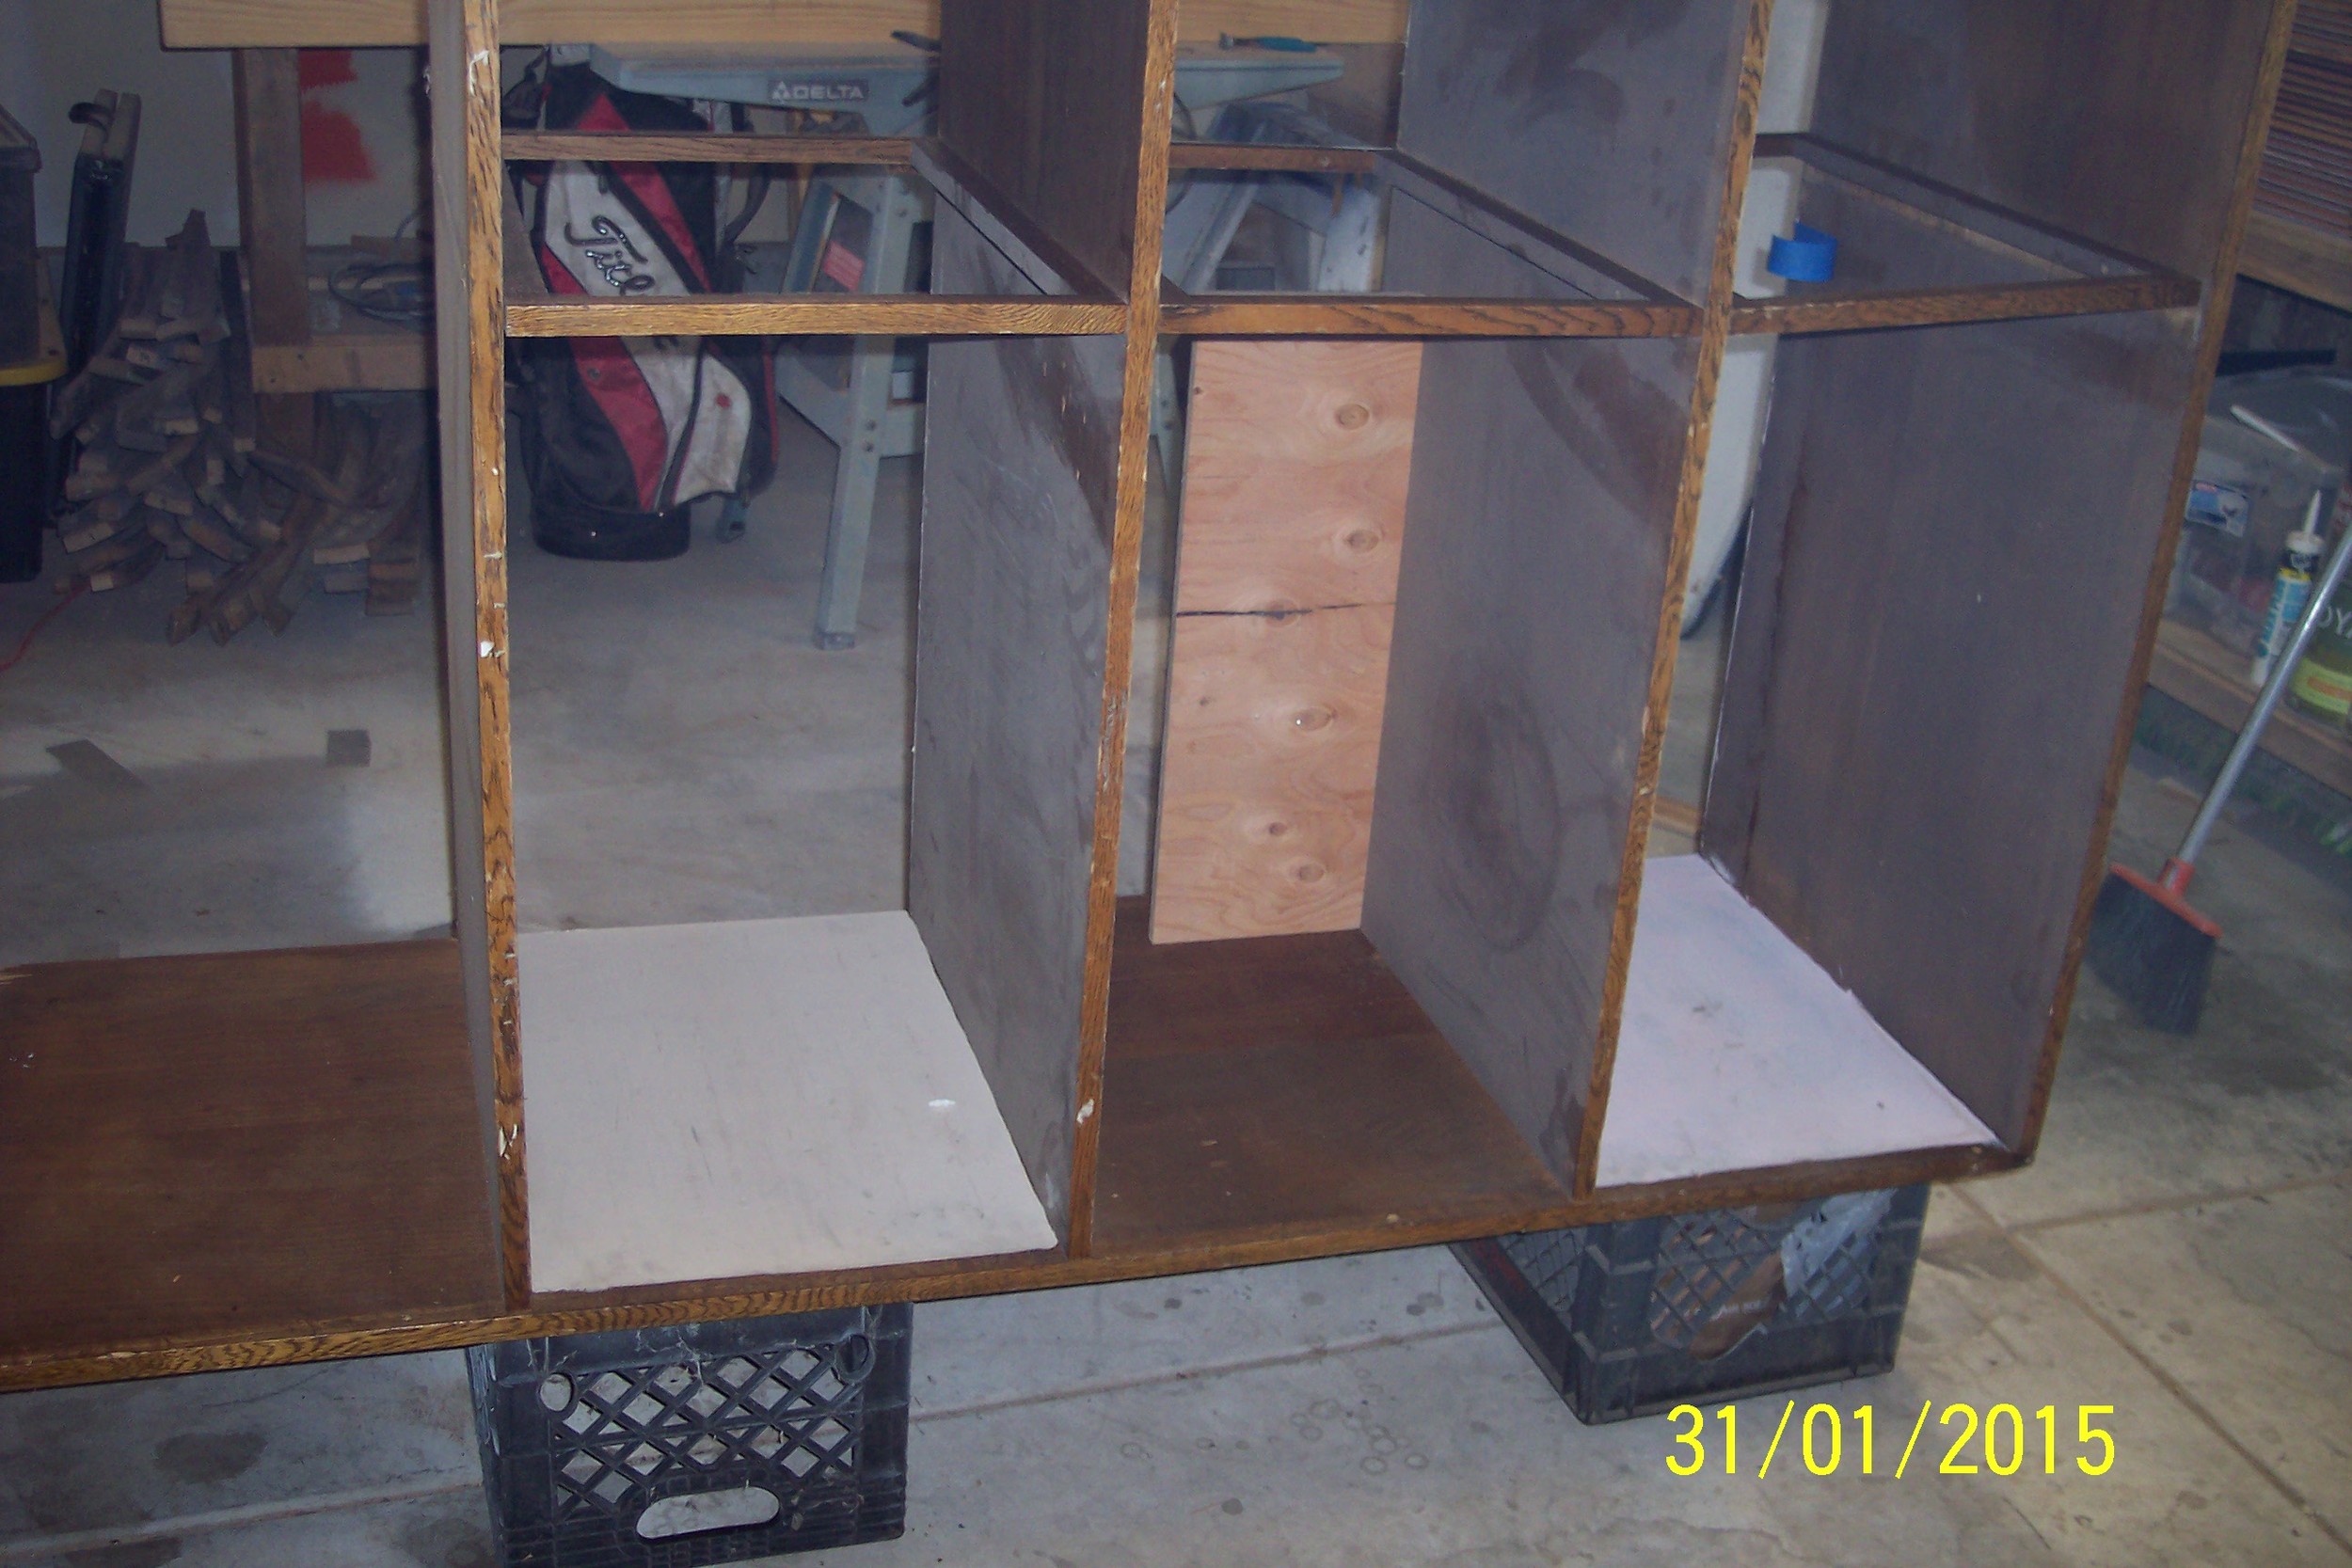
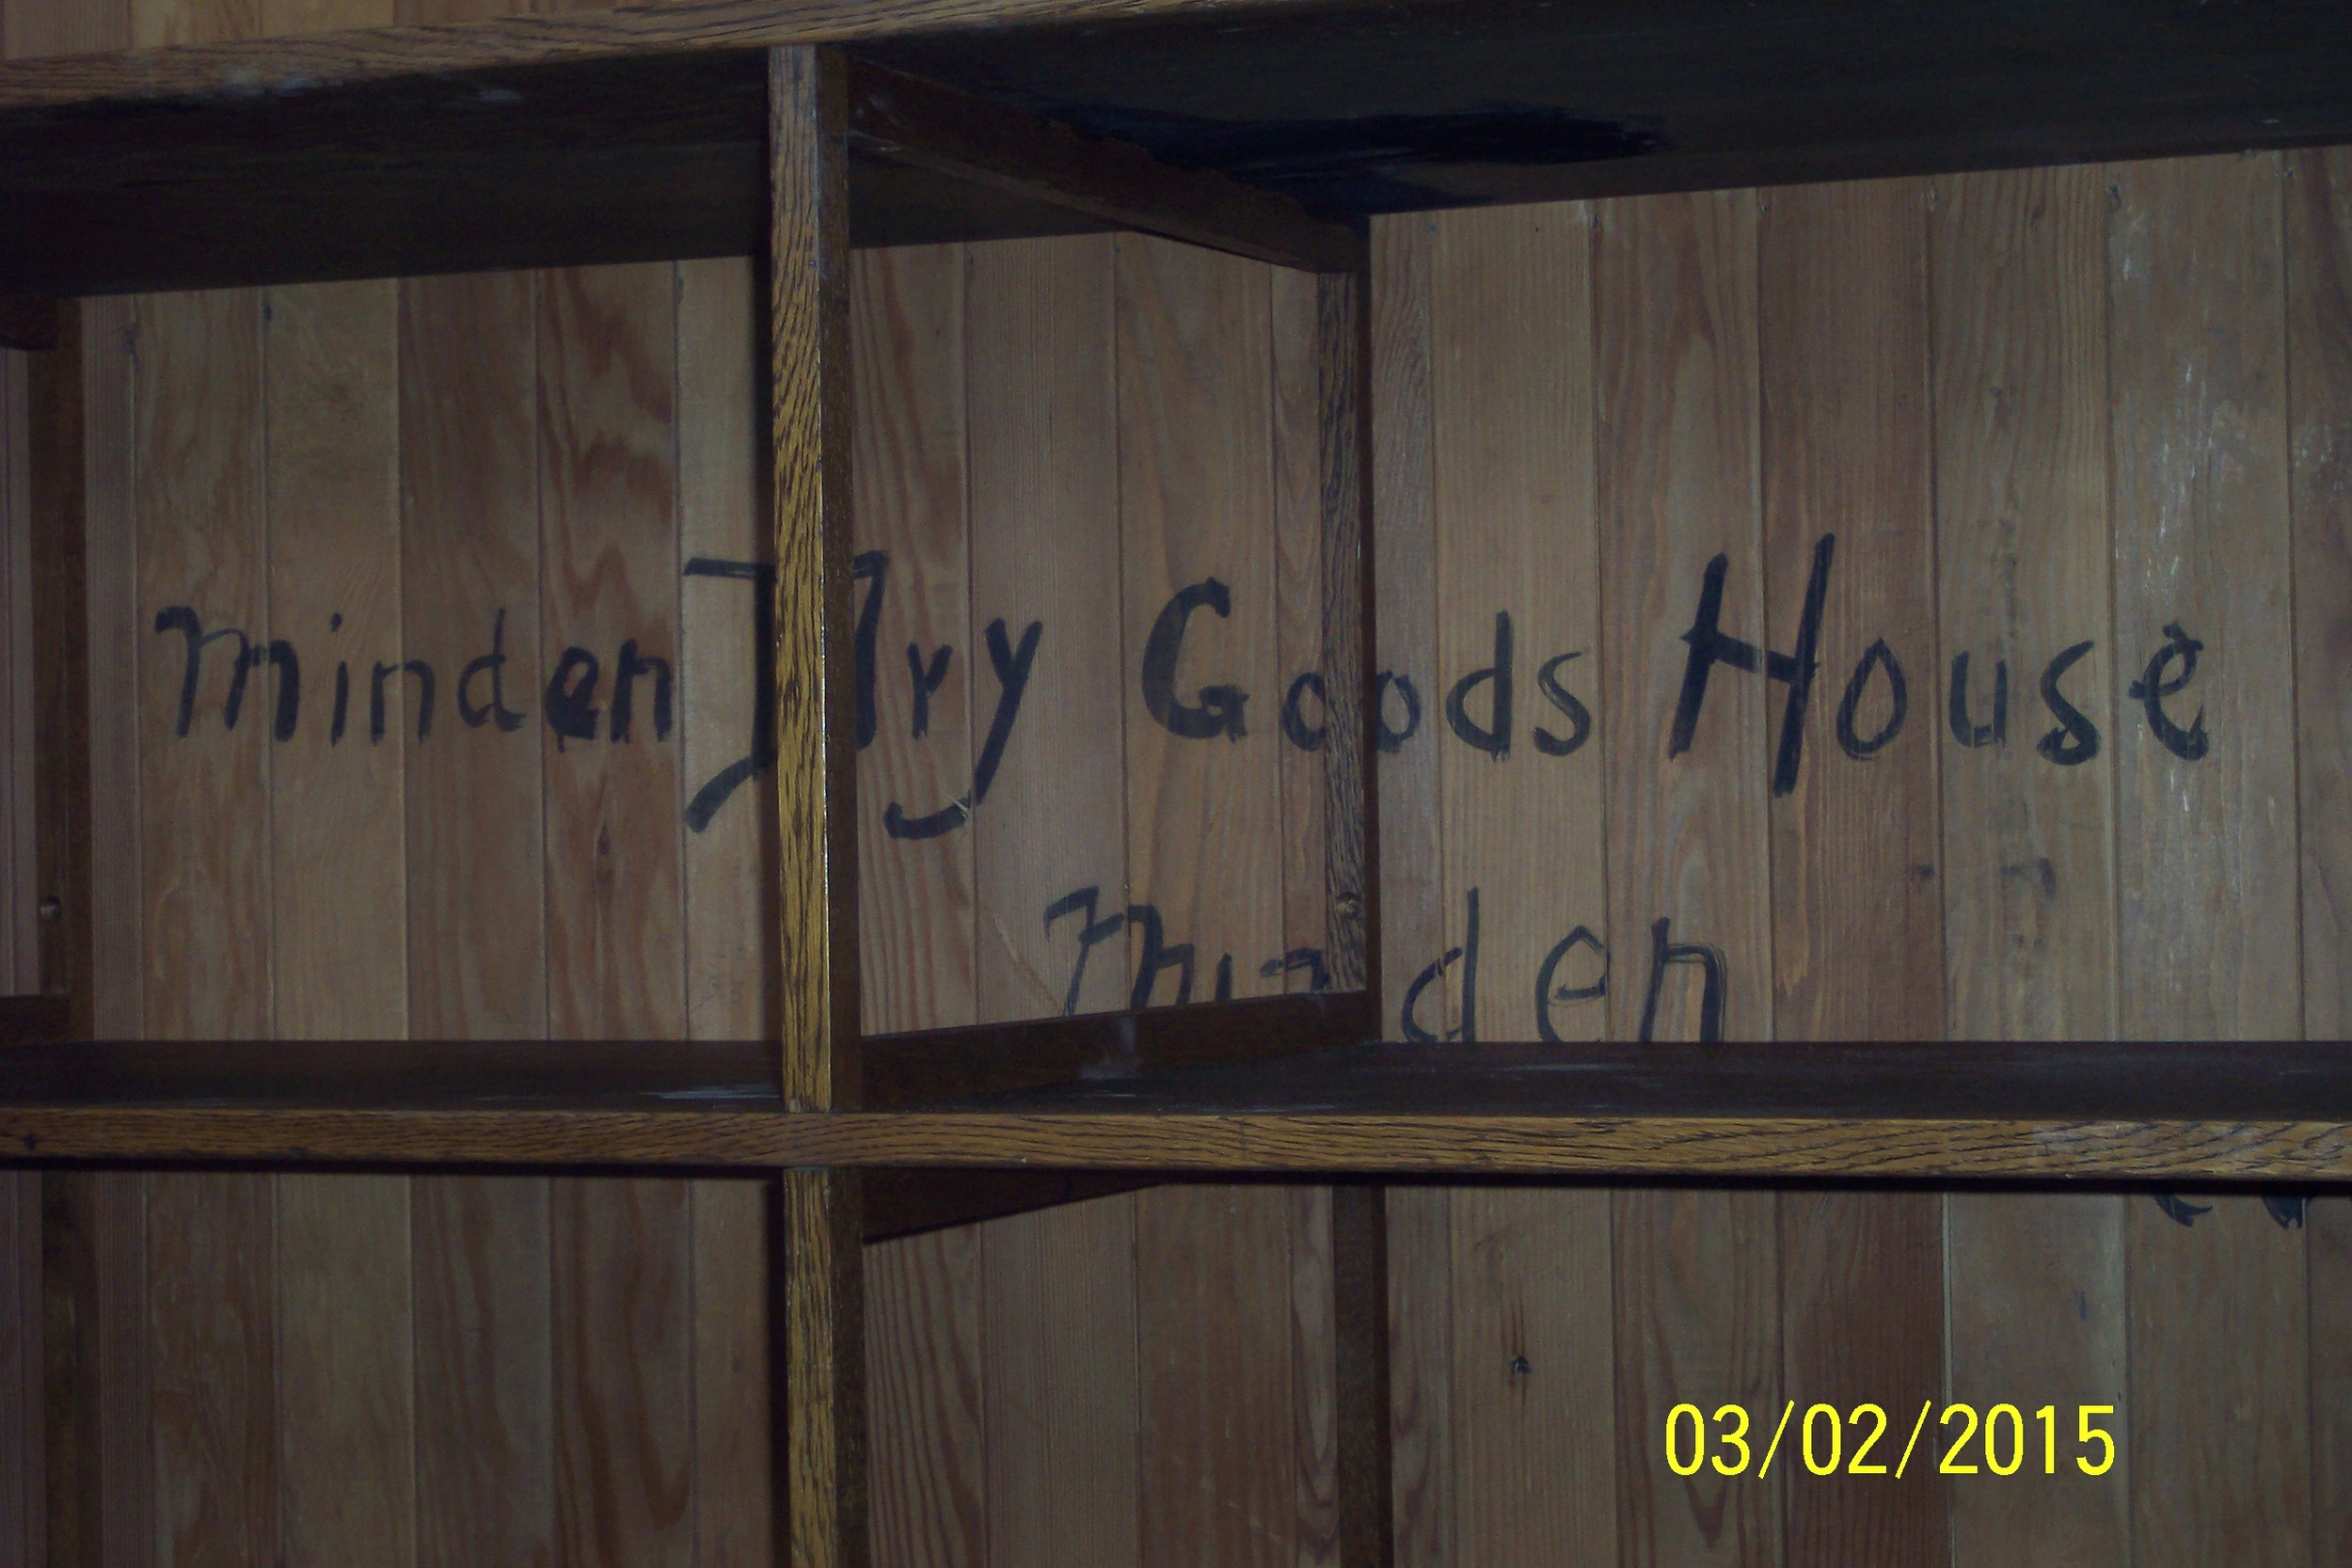
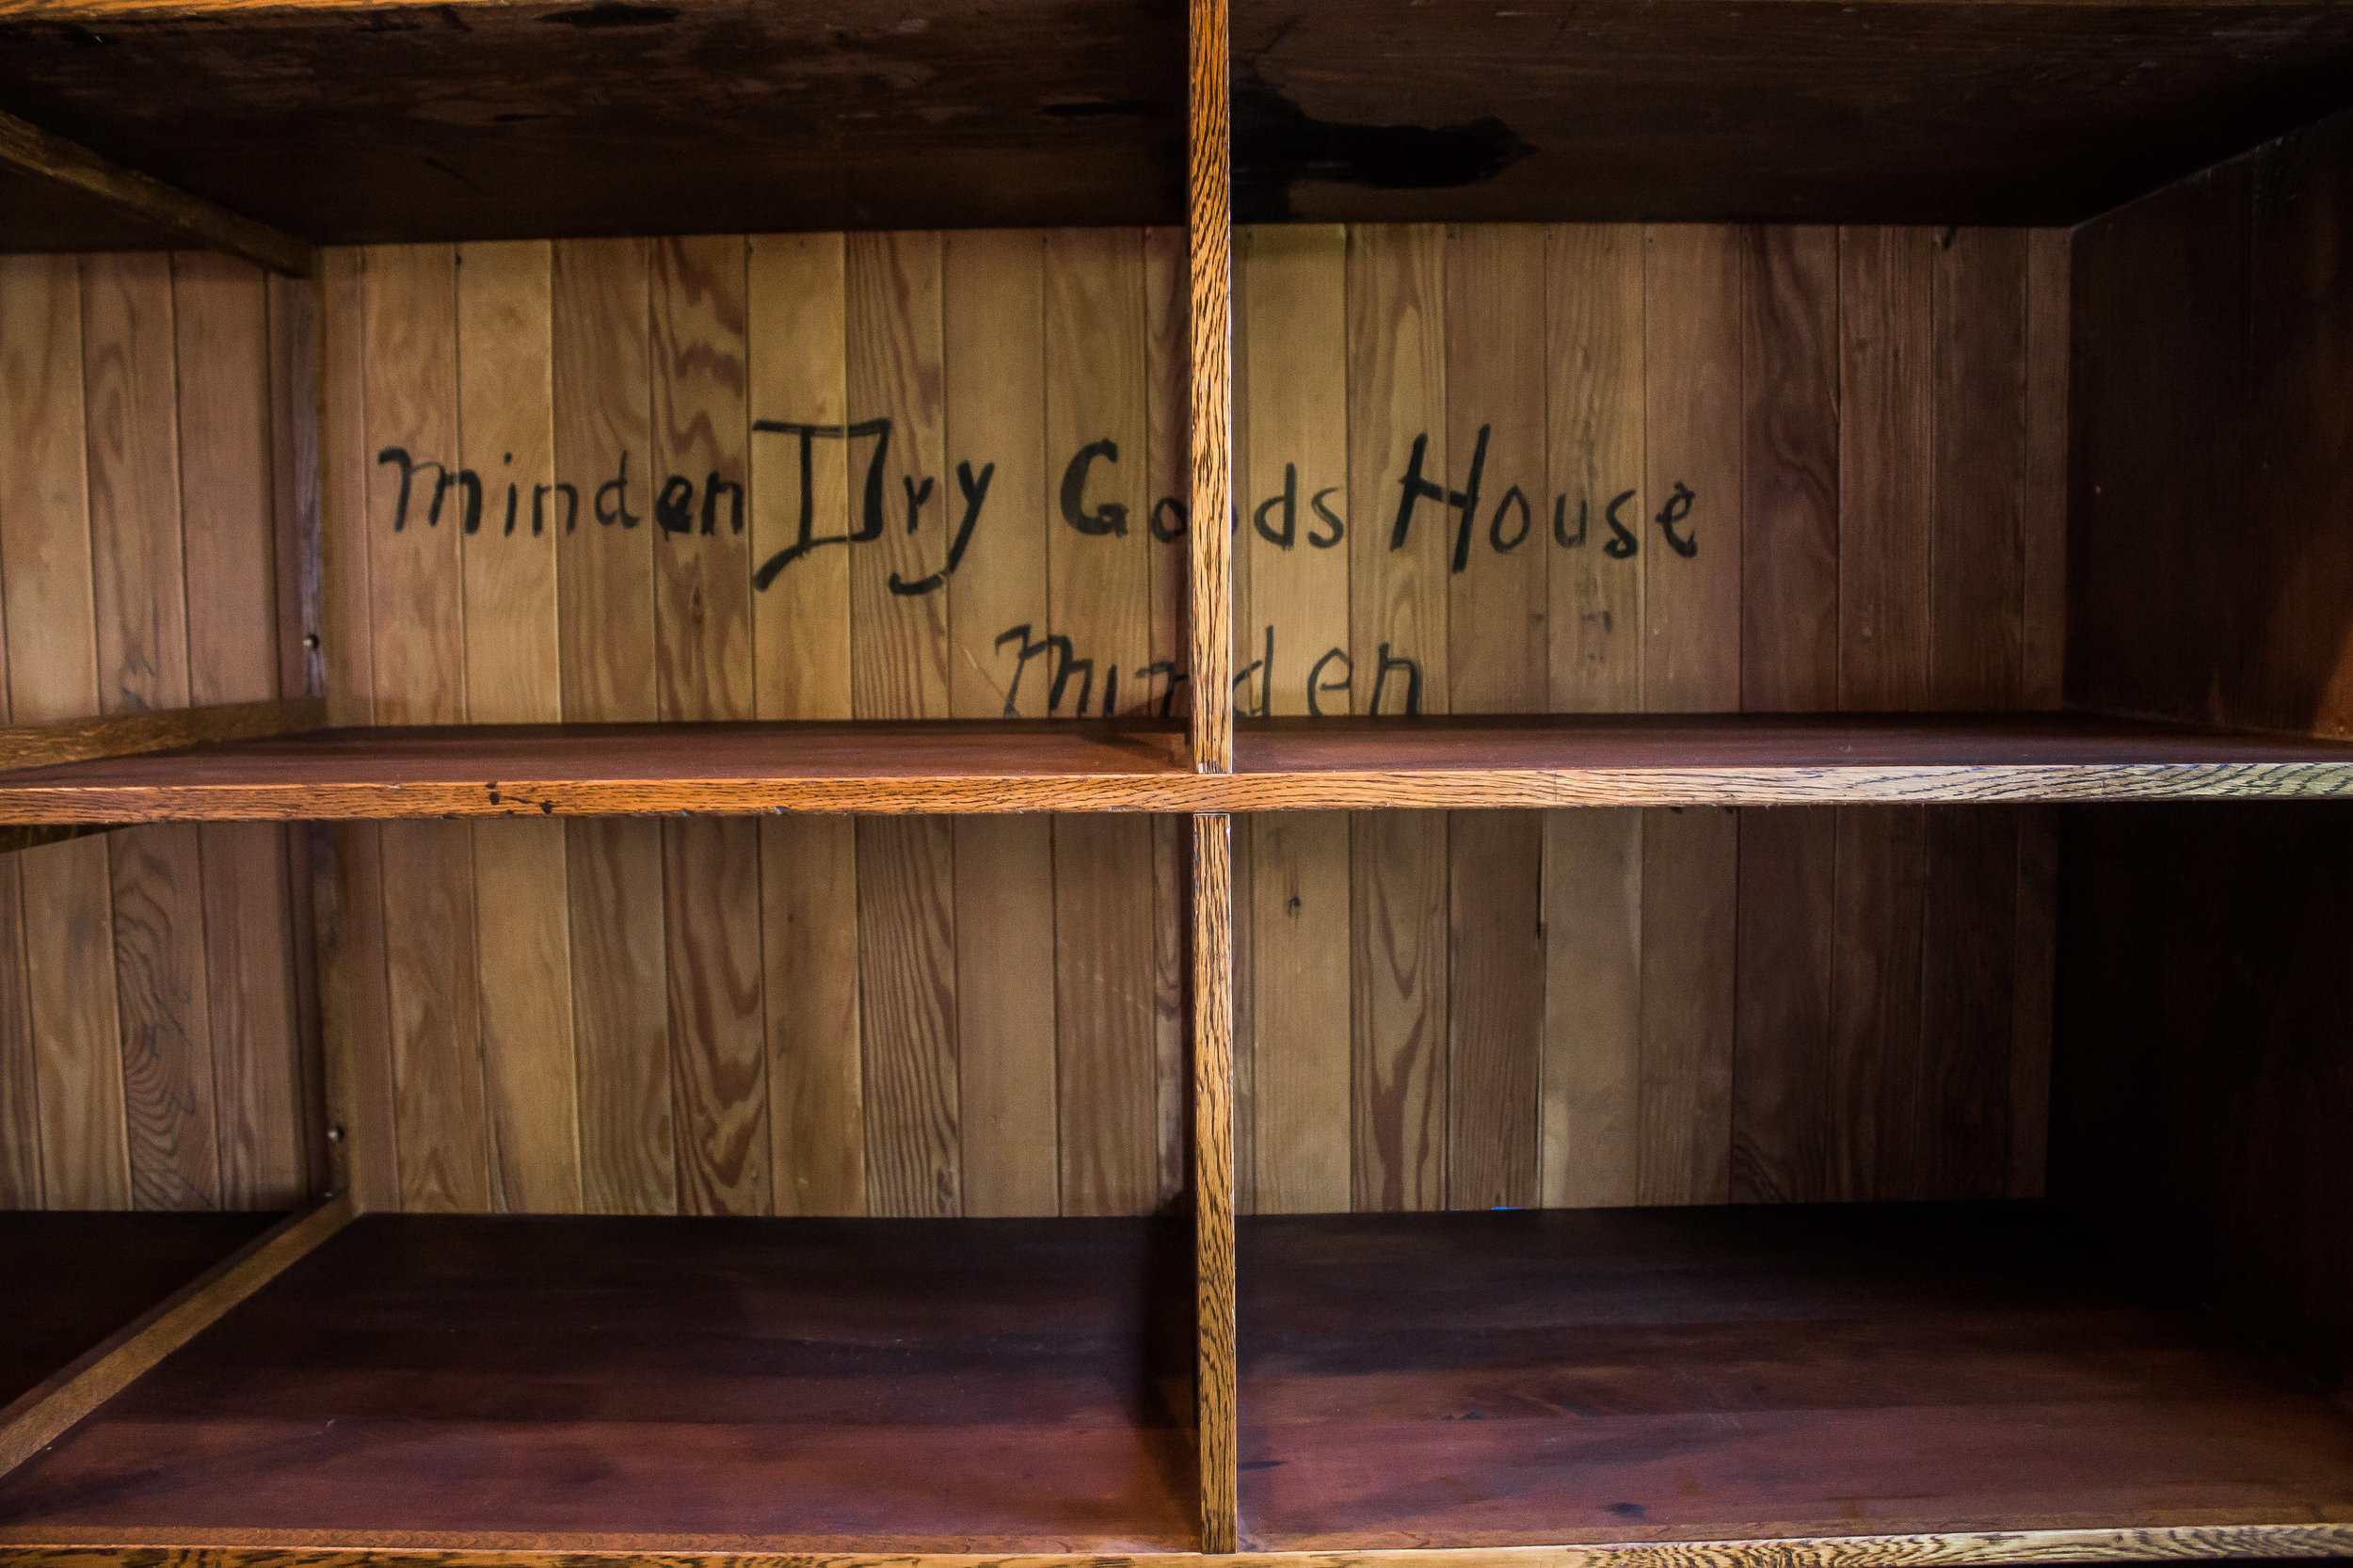
Just like a pearl is hidden underneath an oyster's rough surface, a gem was about to come forward. This piece, just like the island piece, had seen the same years of use and looked a little weathered. Each piece shared a common bond: layers of paint and an oil stain that penetrated through several shelves. That's how we knew the two were a pair. The crown jewel was the fact that the original writing had survived so many years and still appeared on the back of the cabinet.
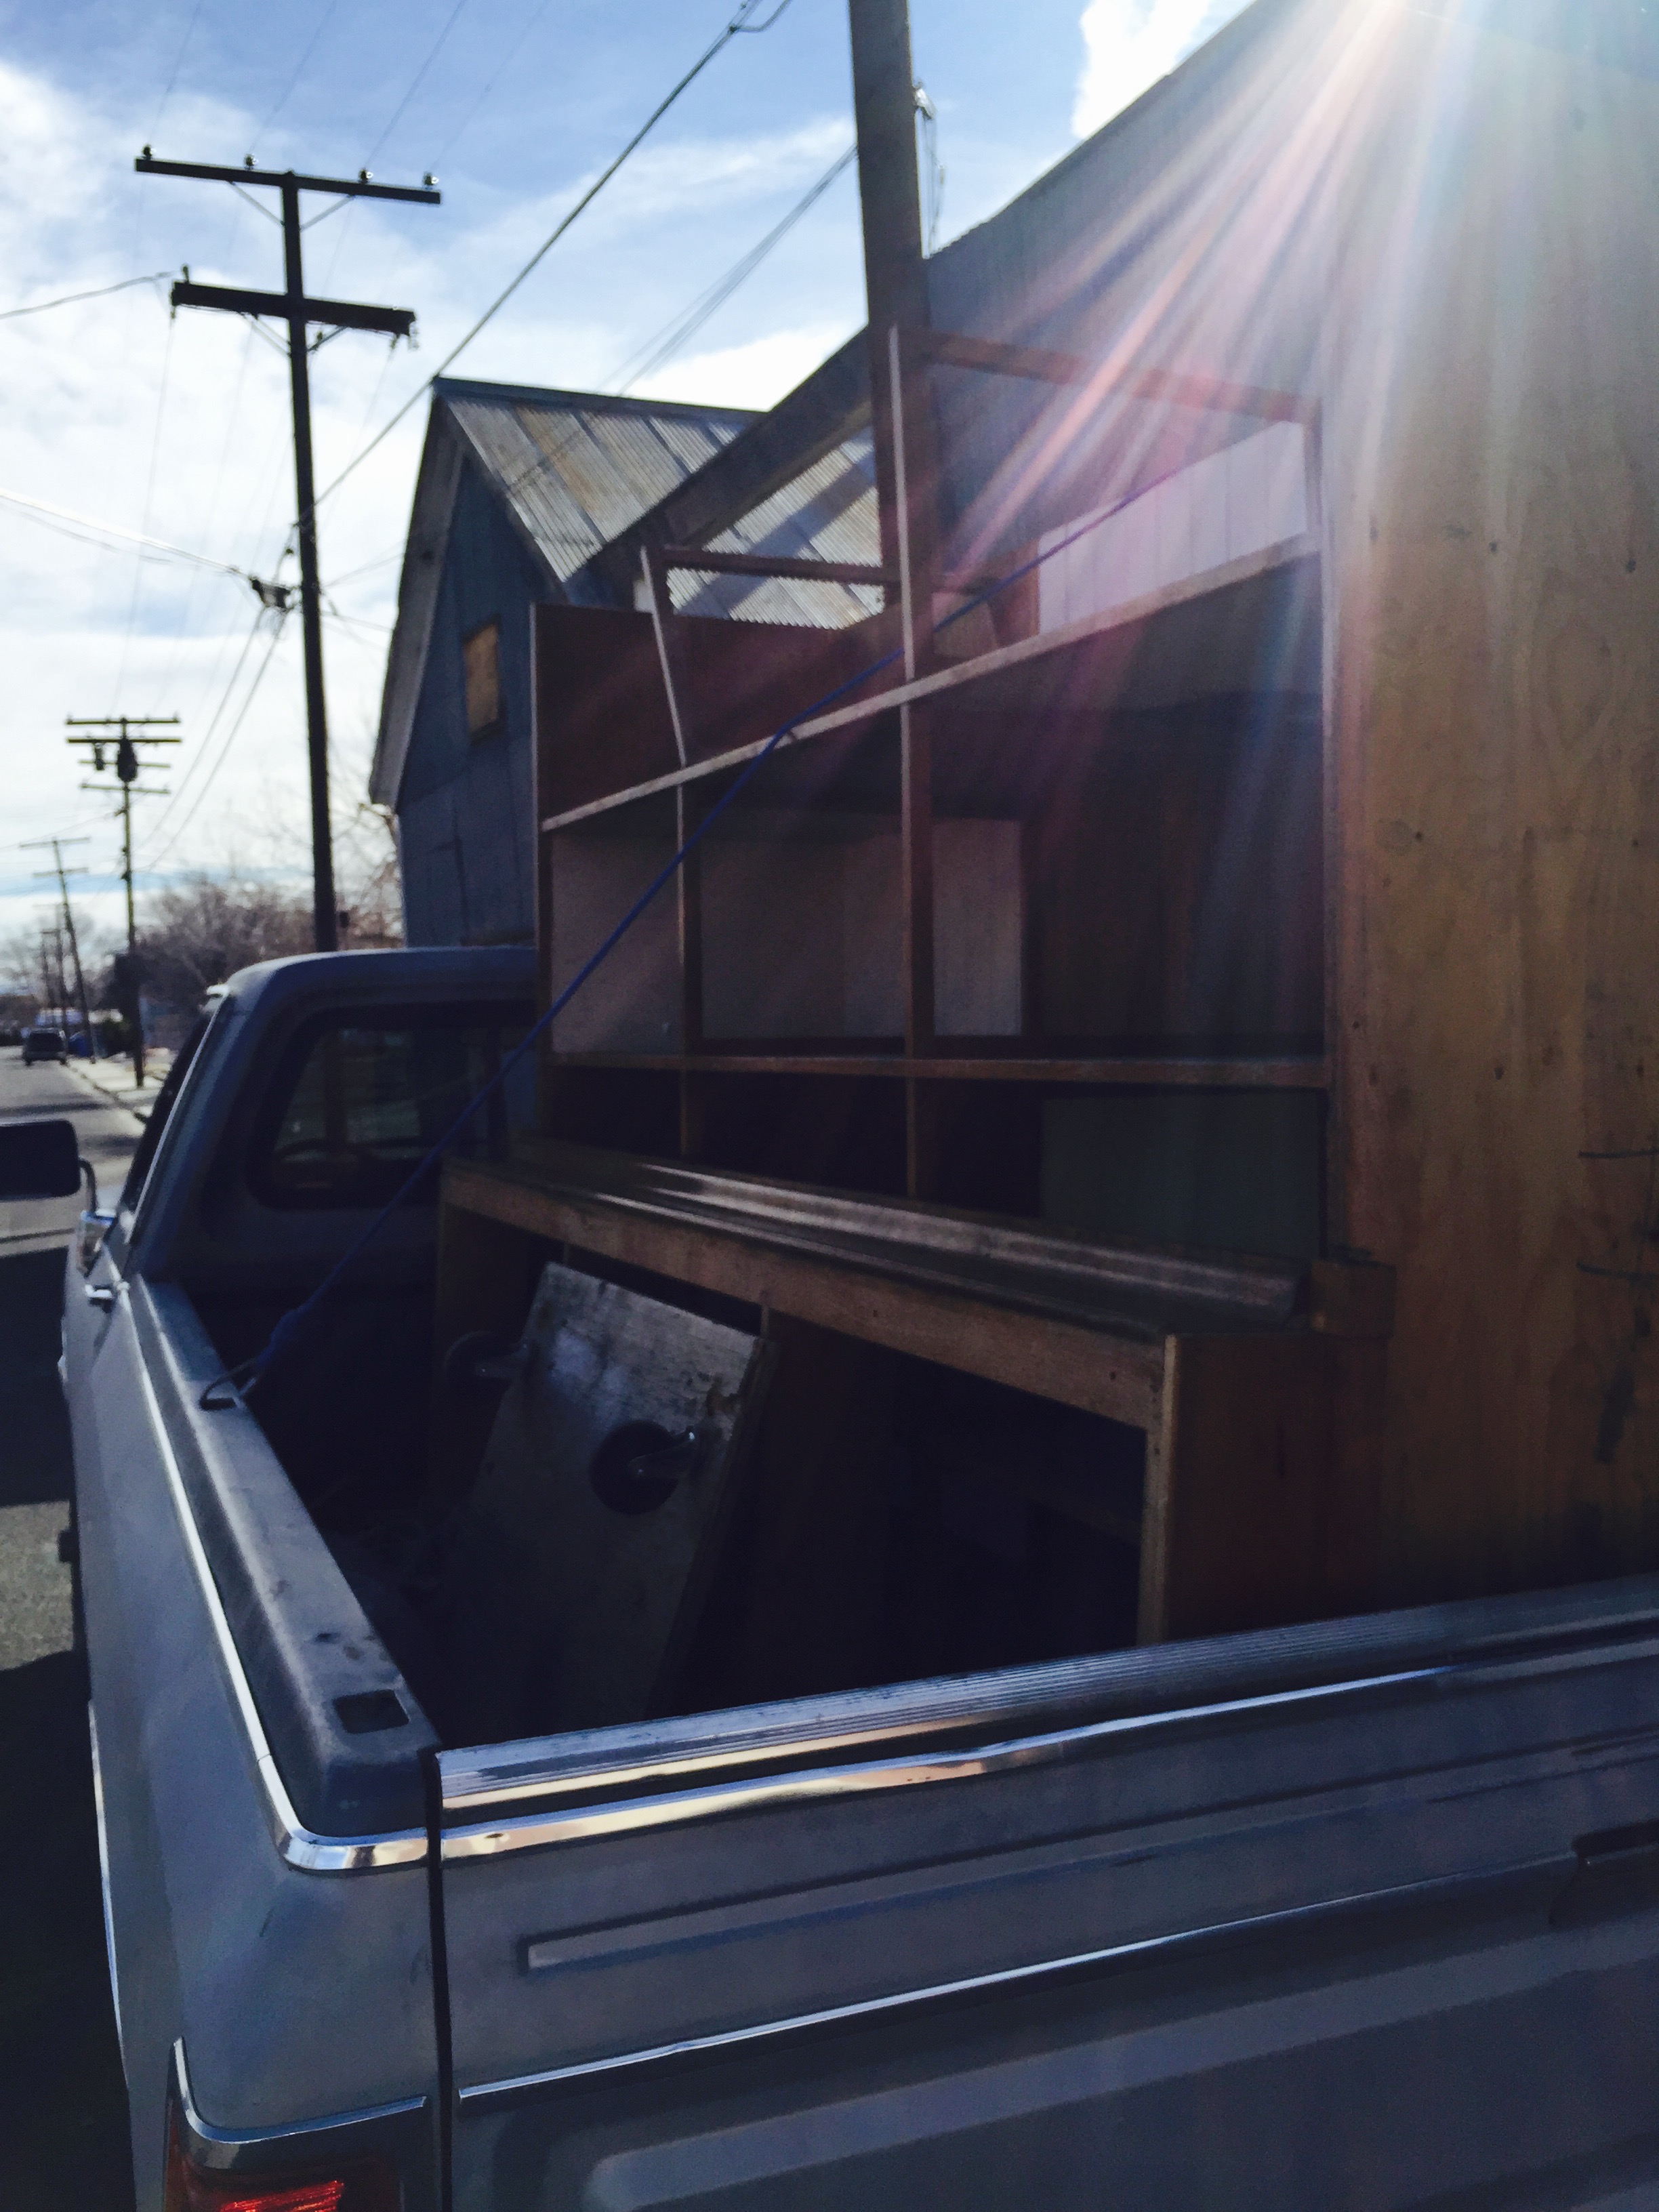

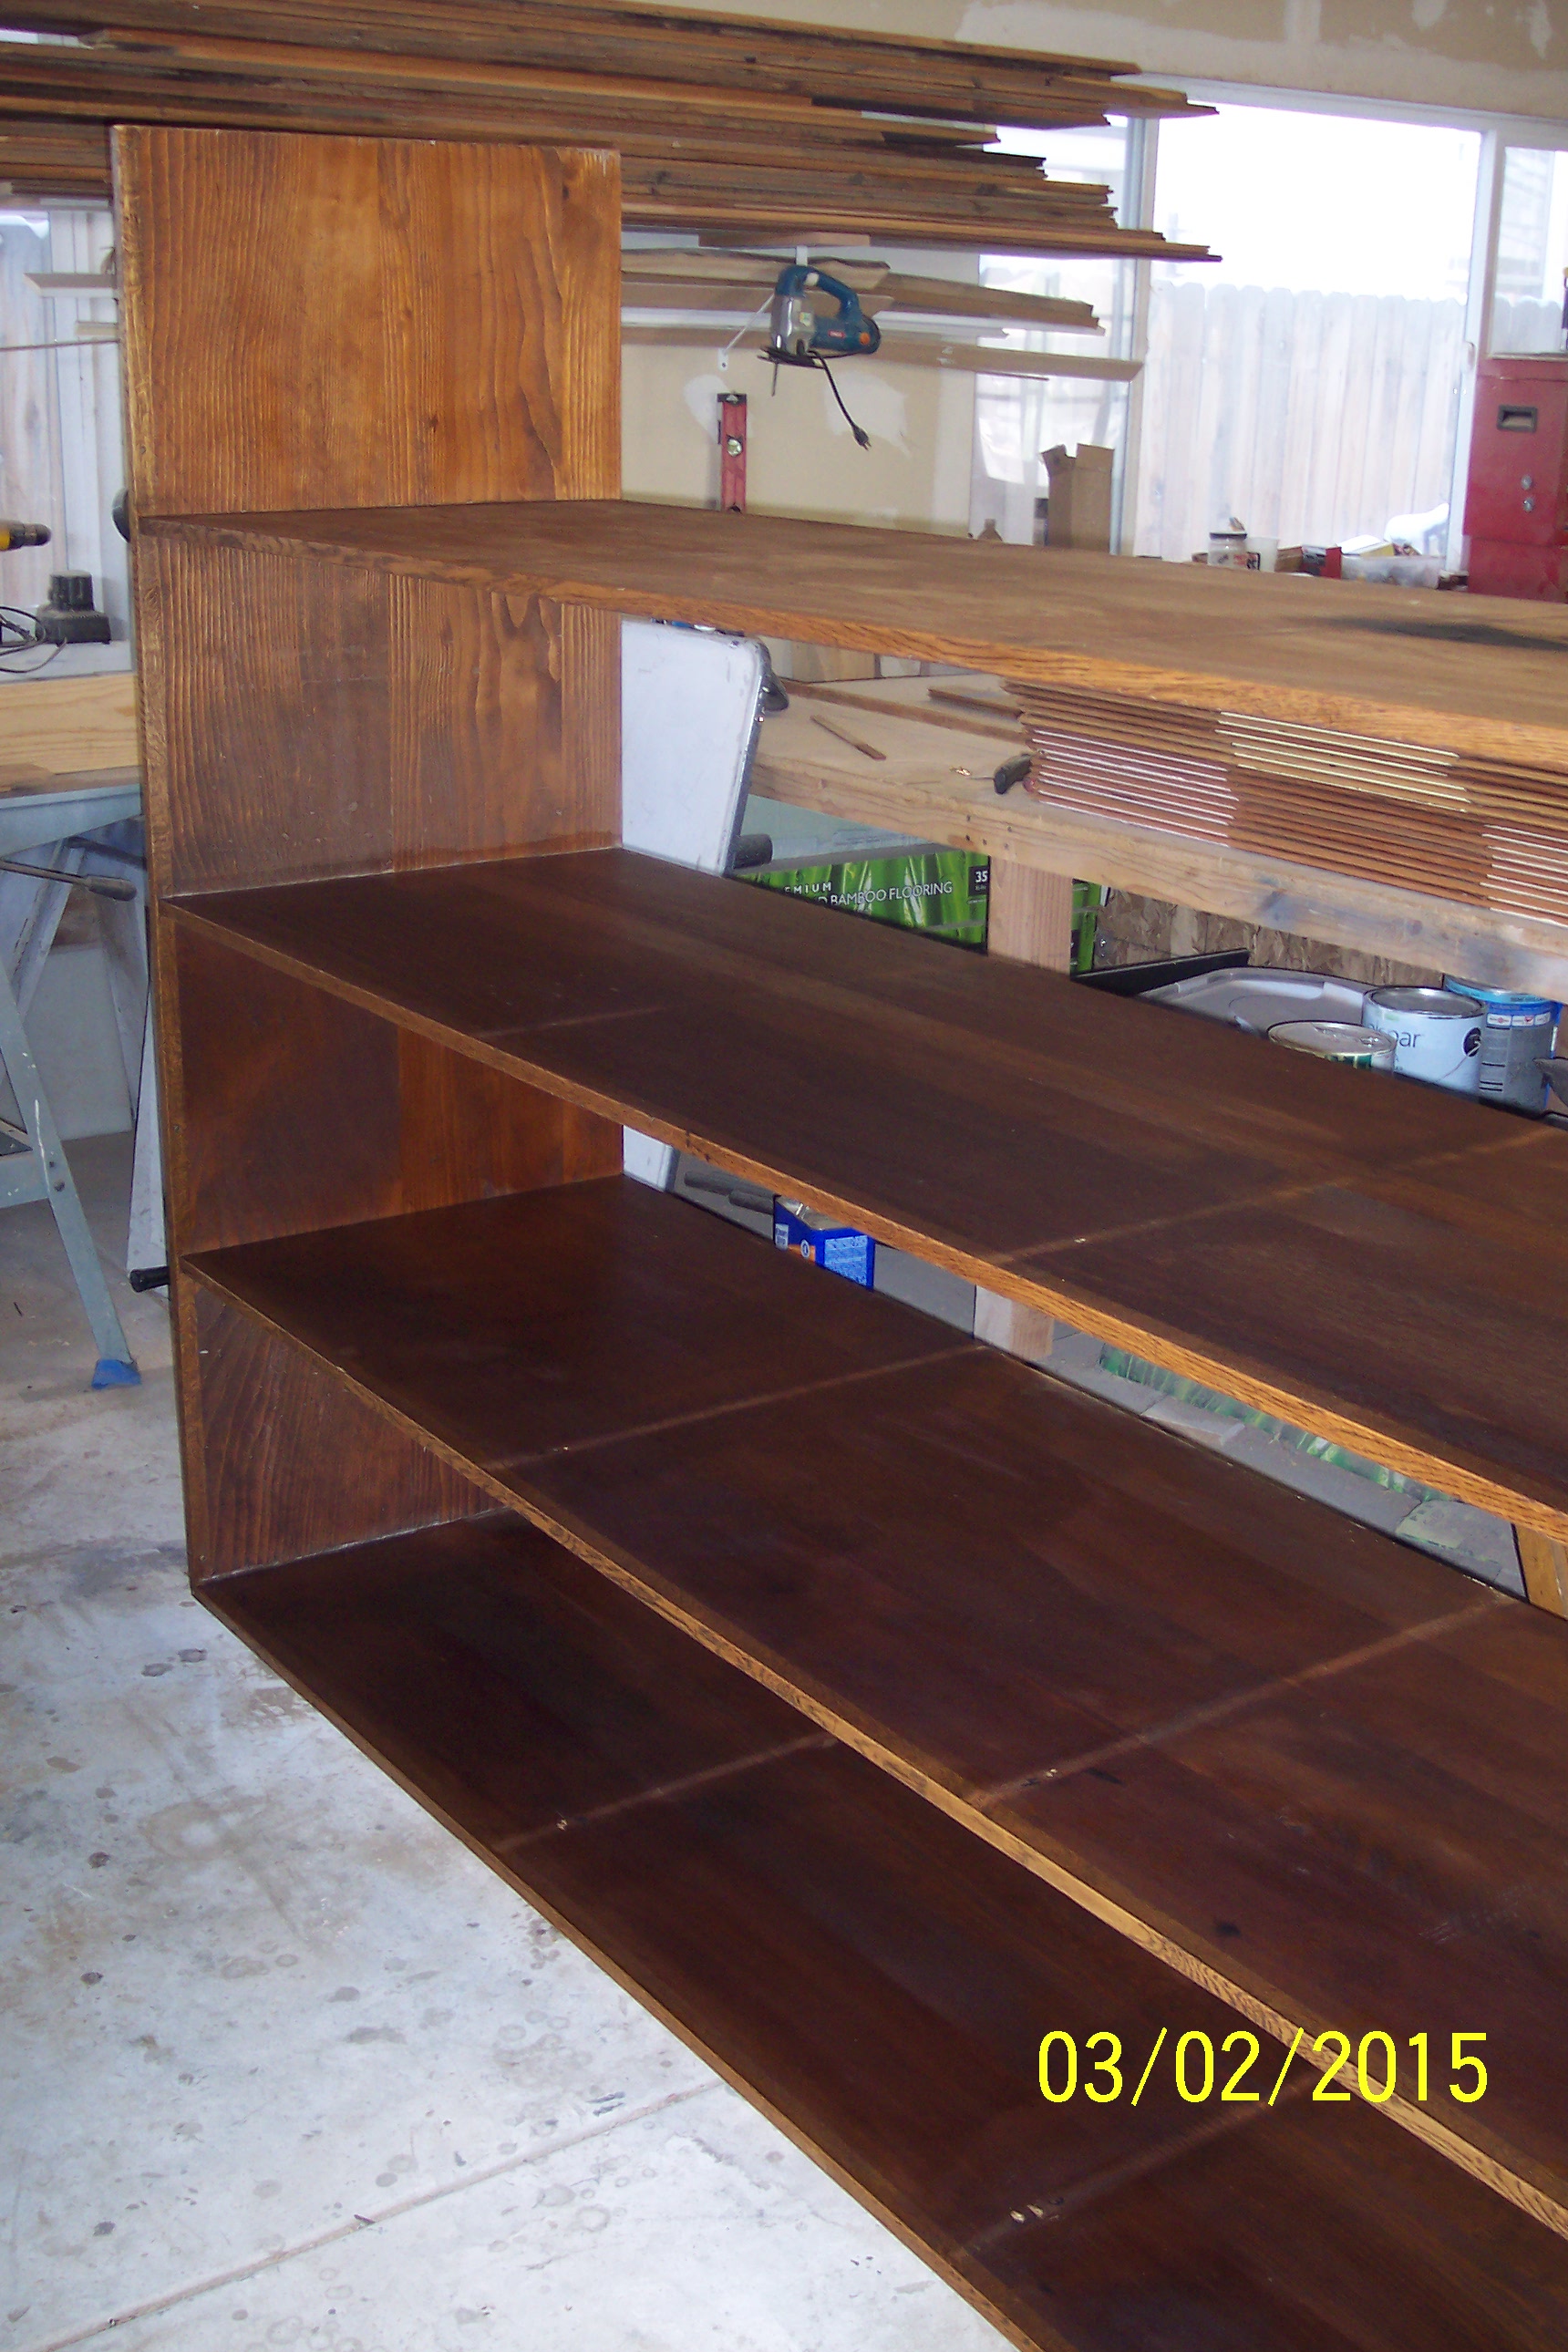
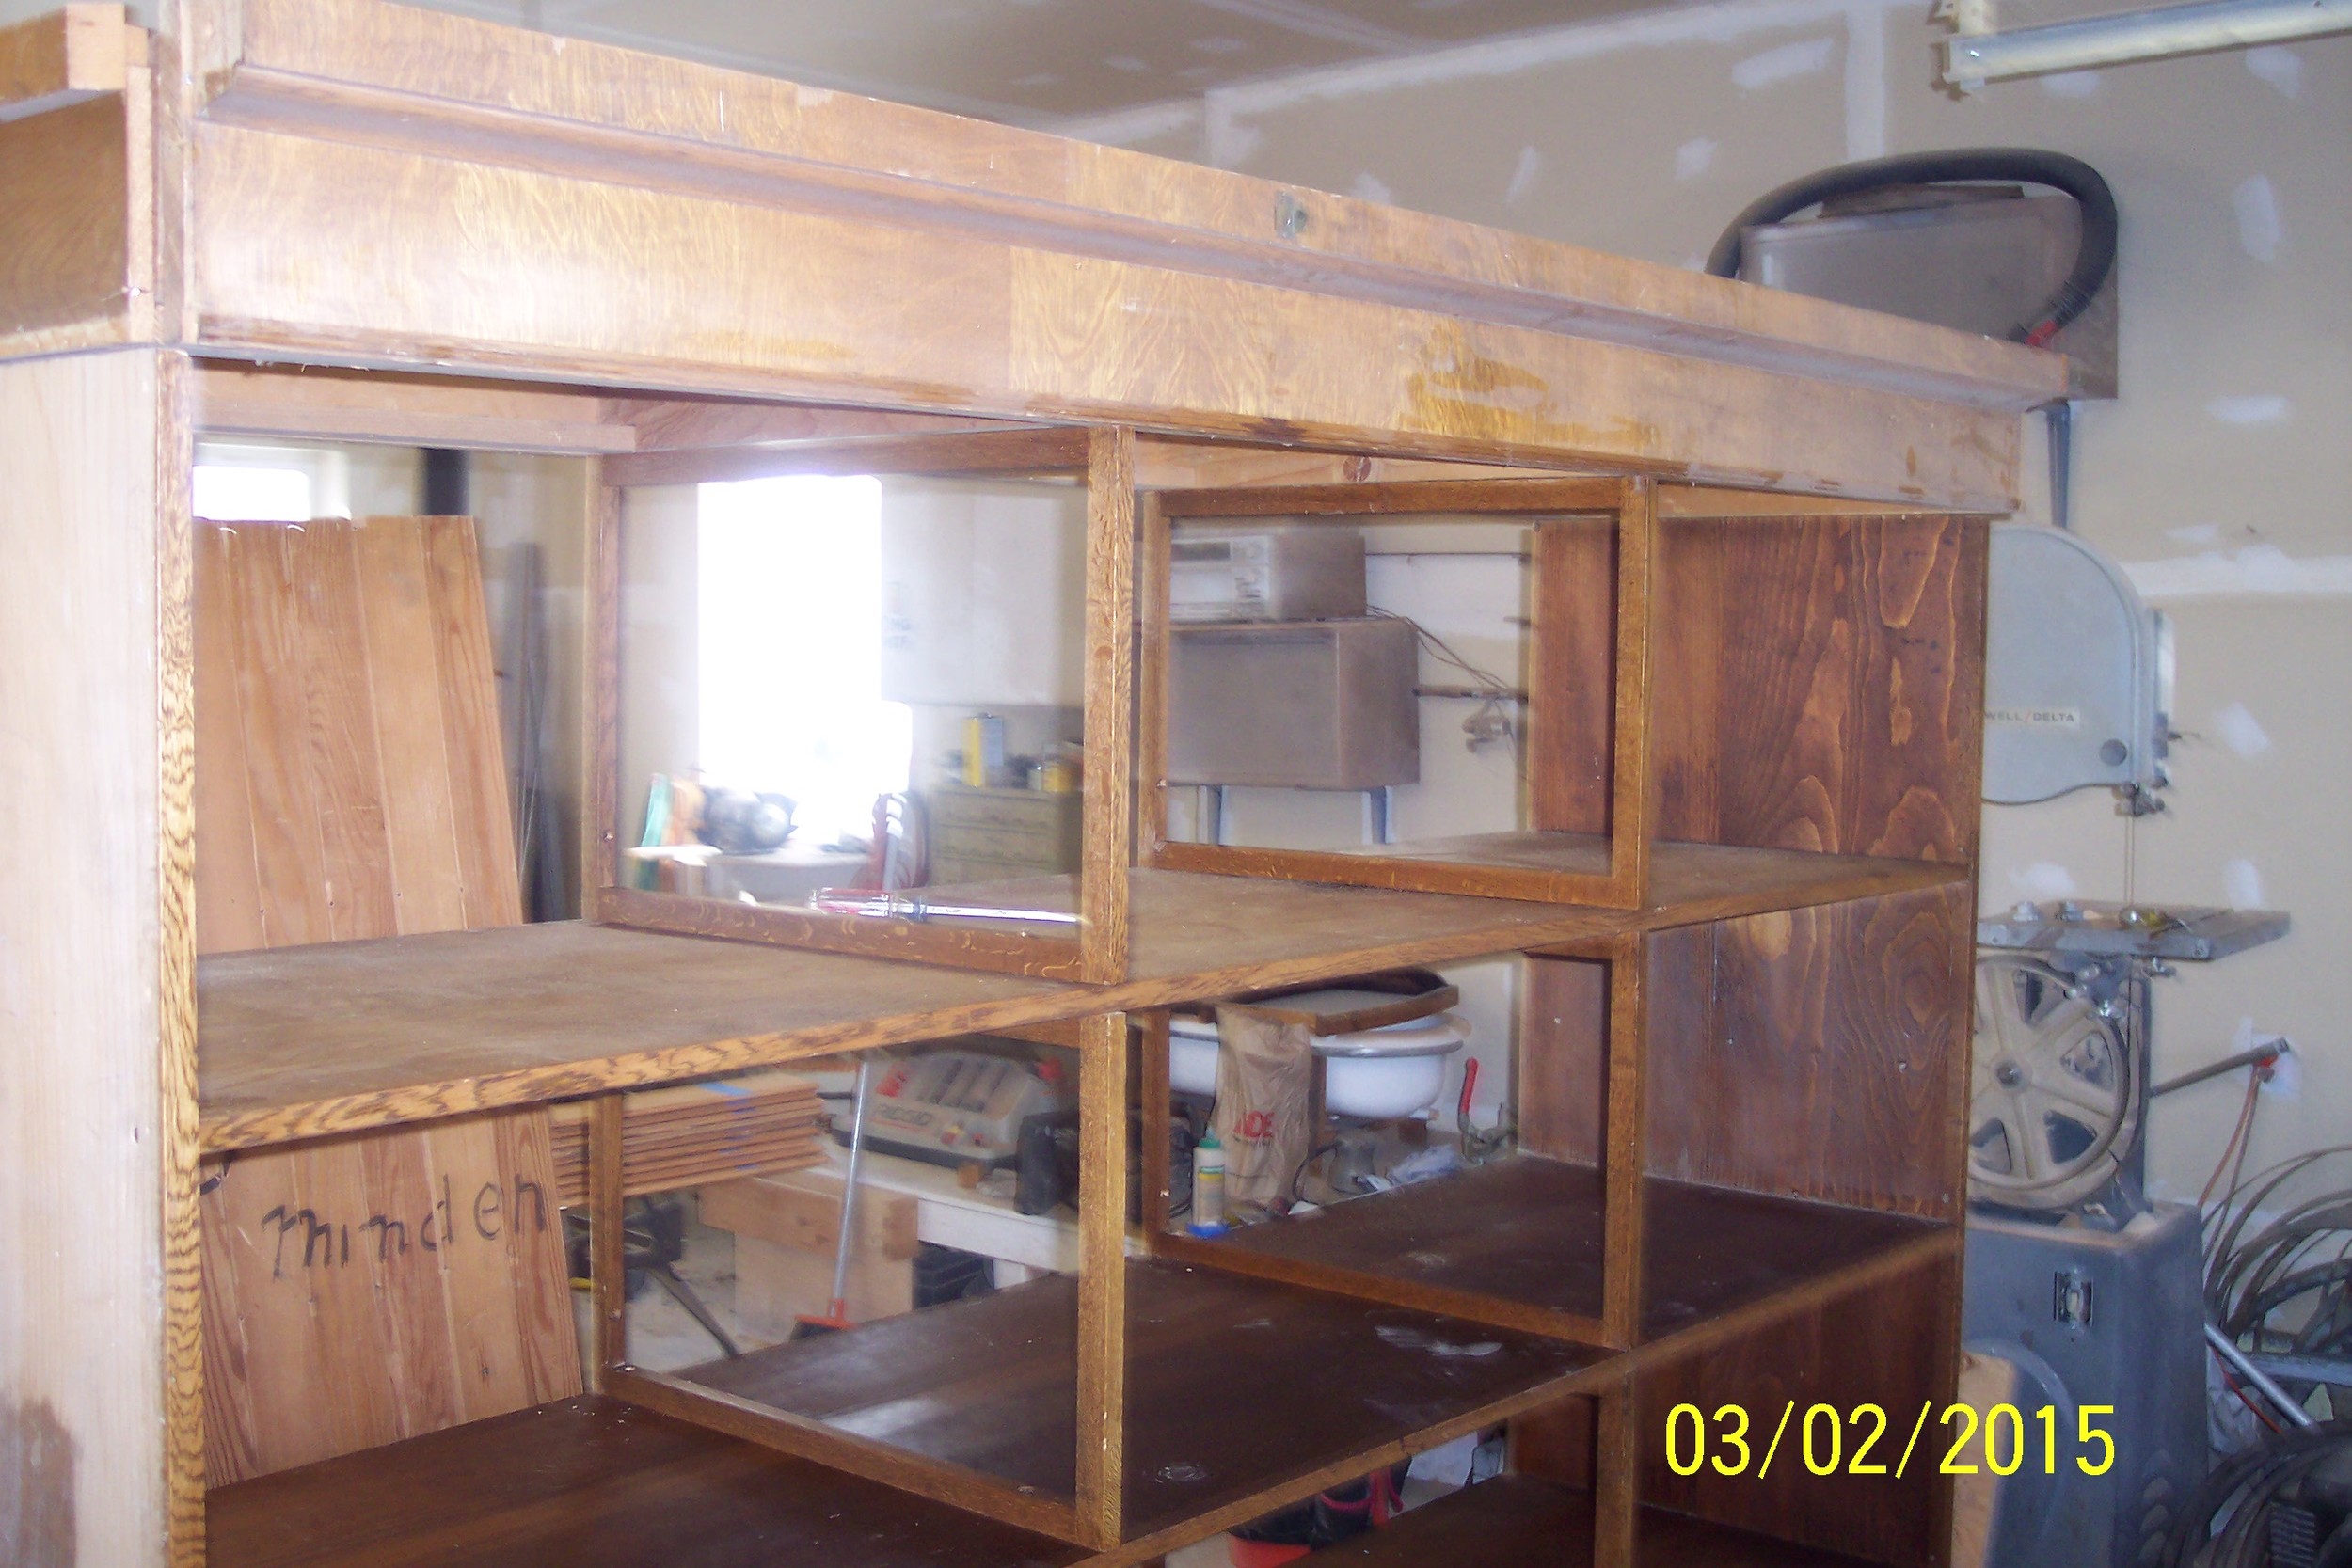
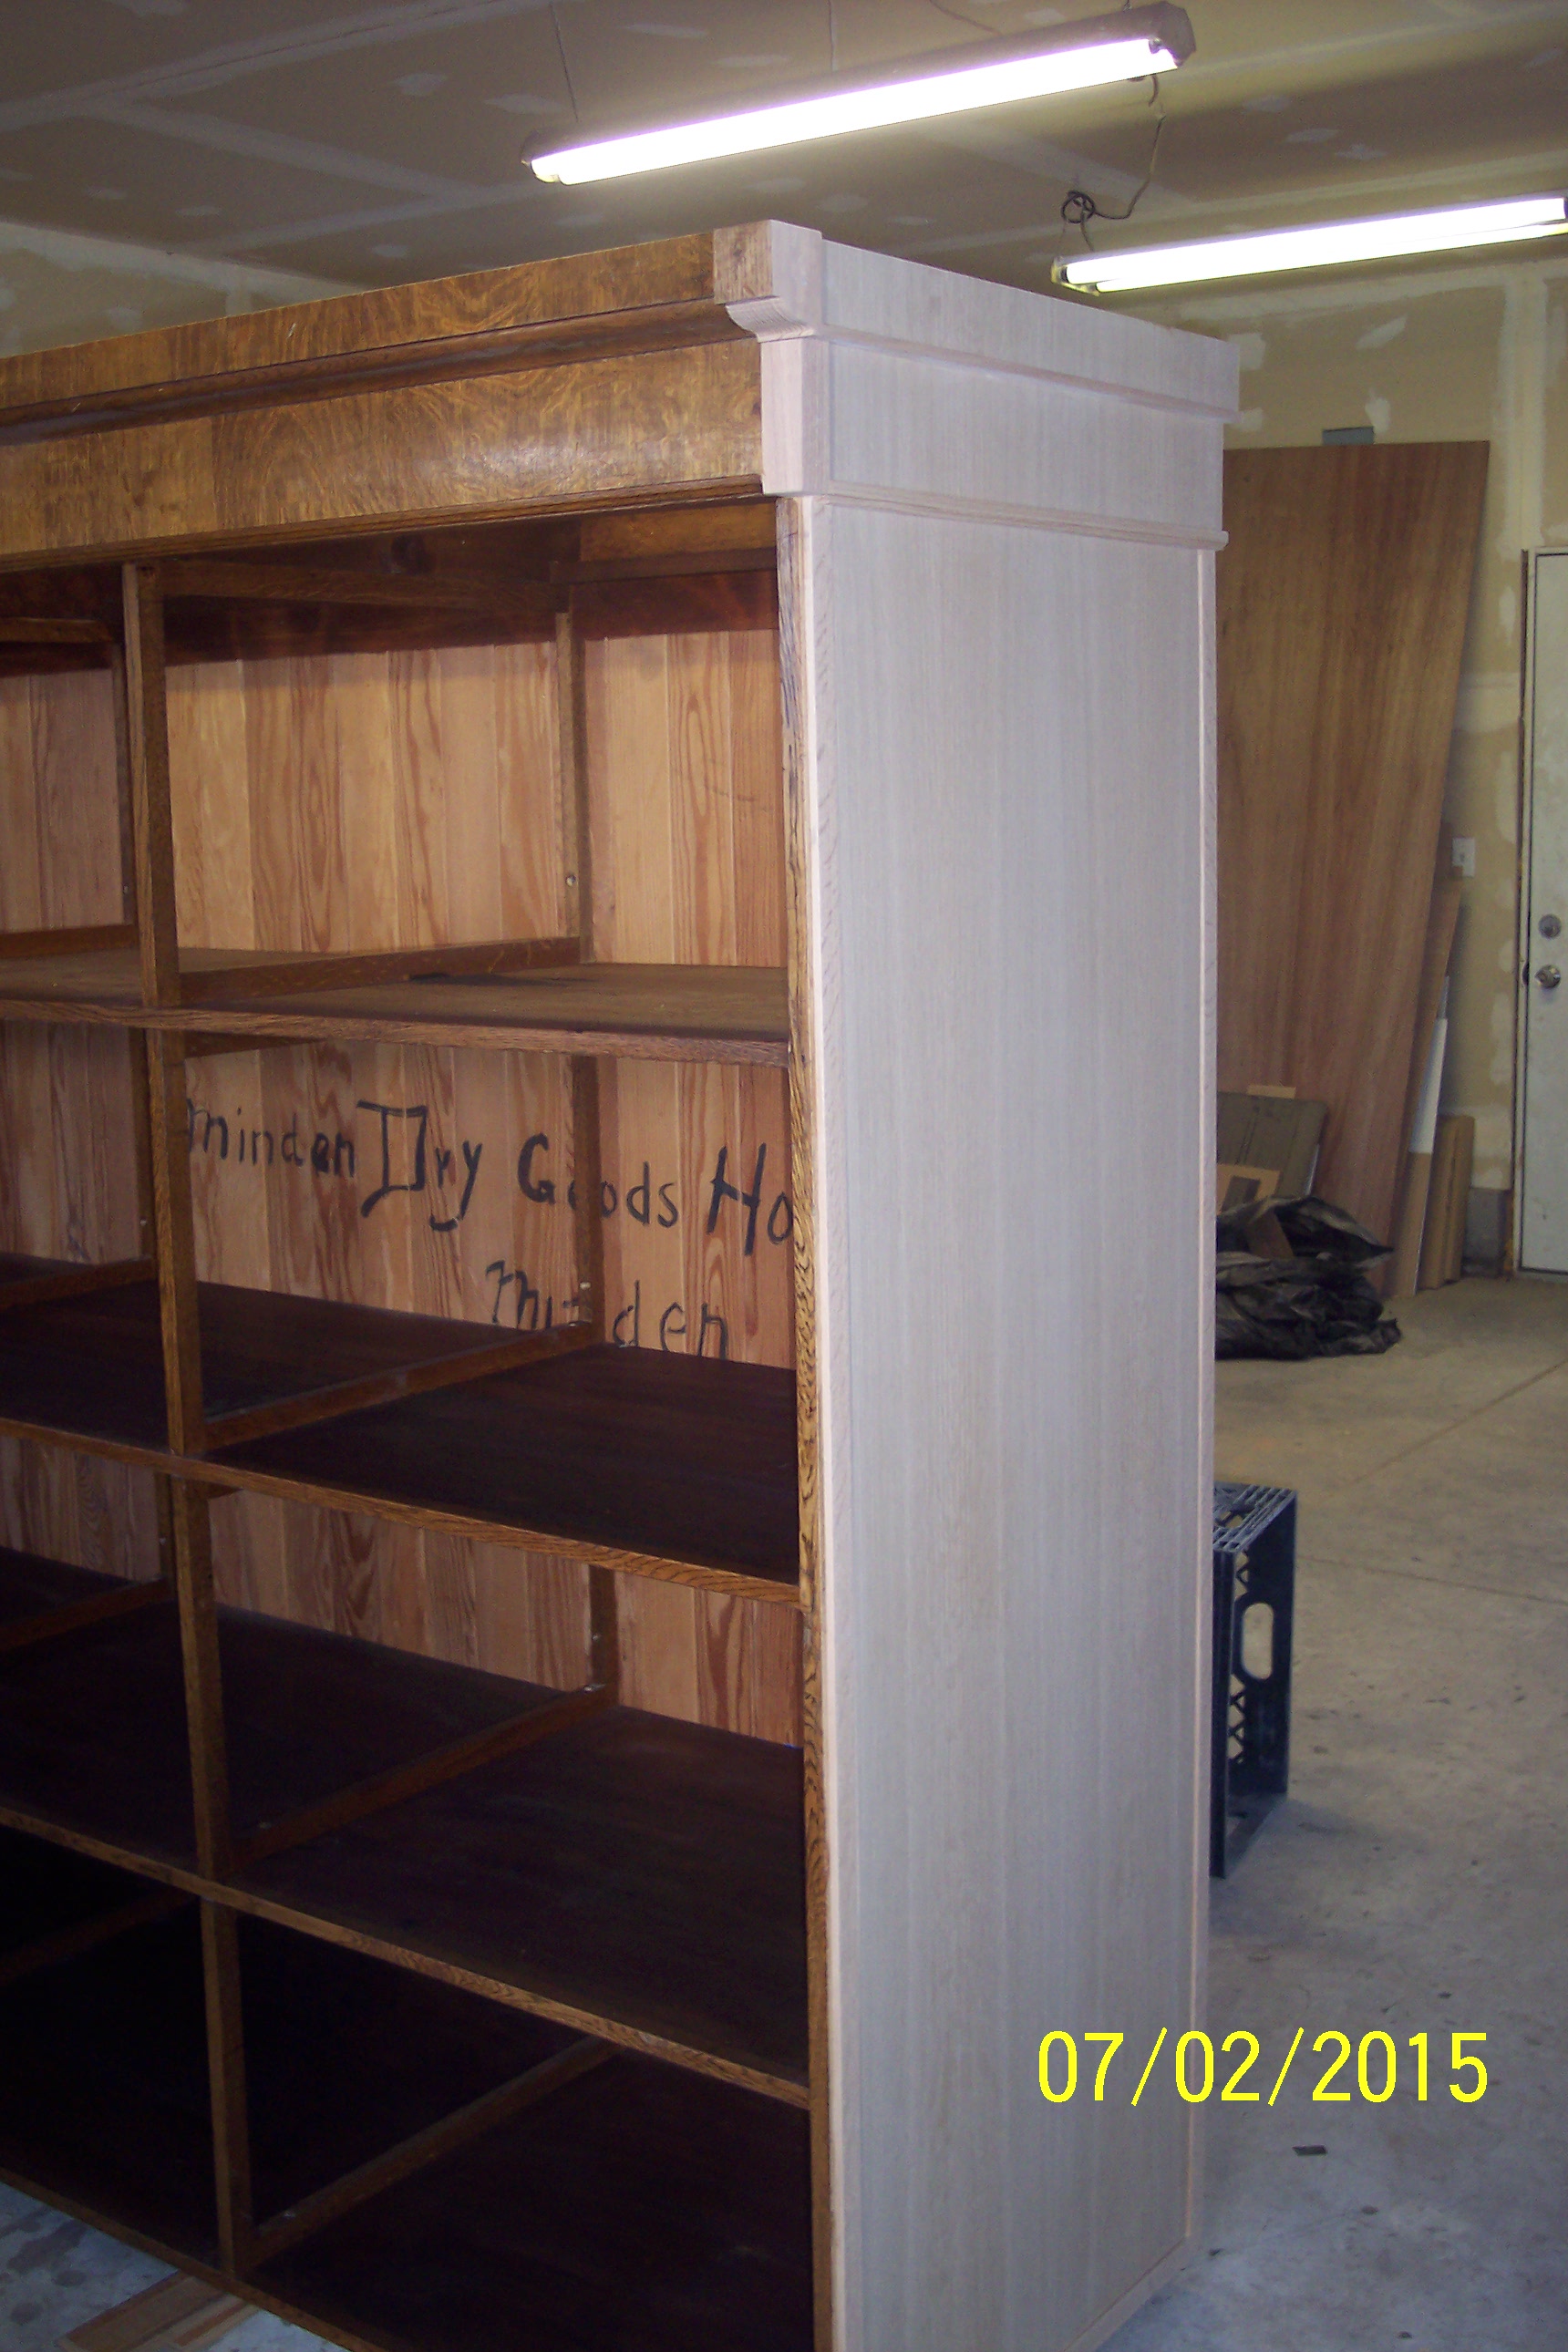
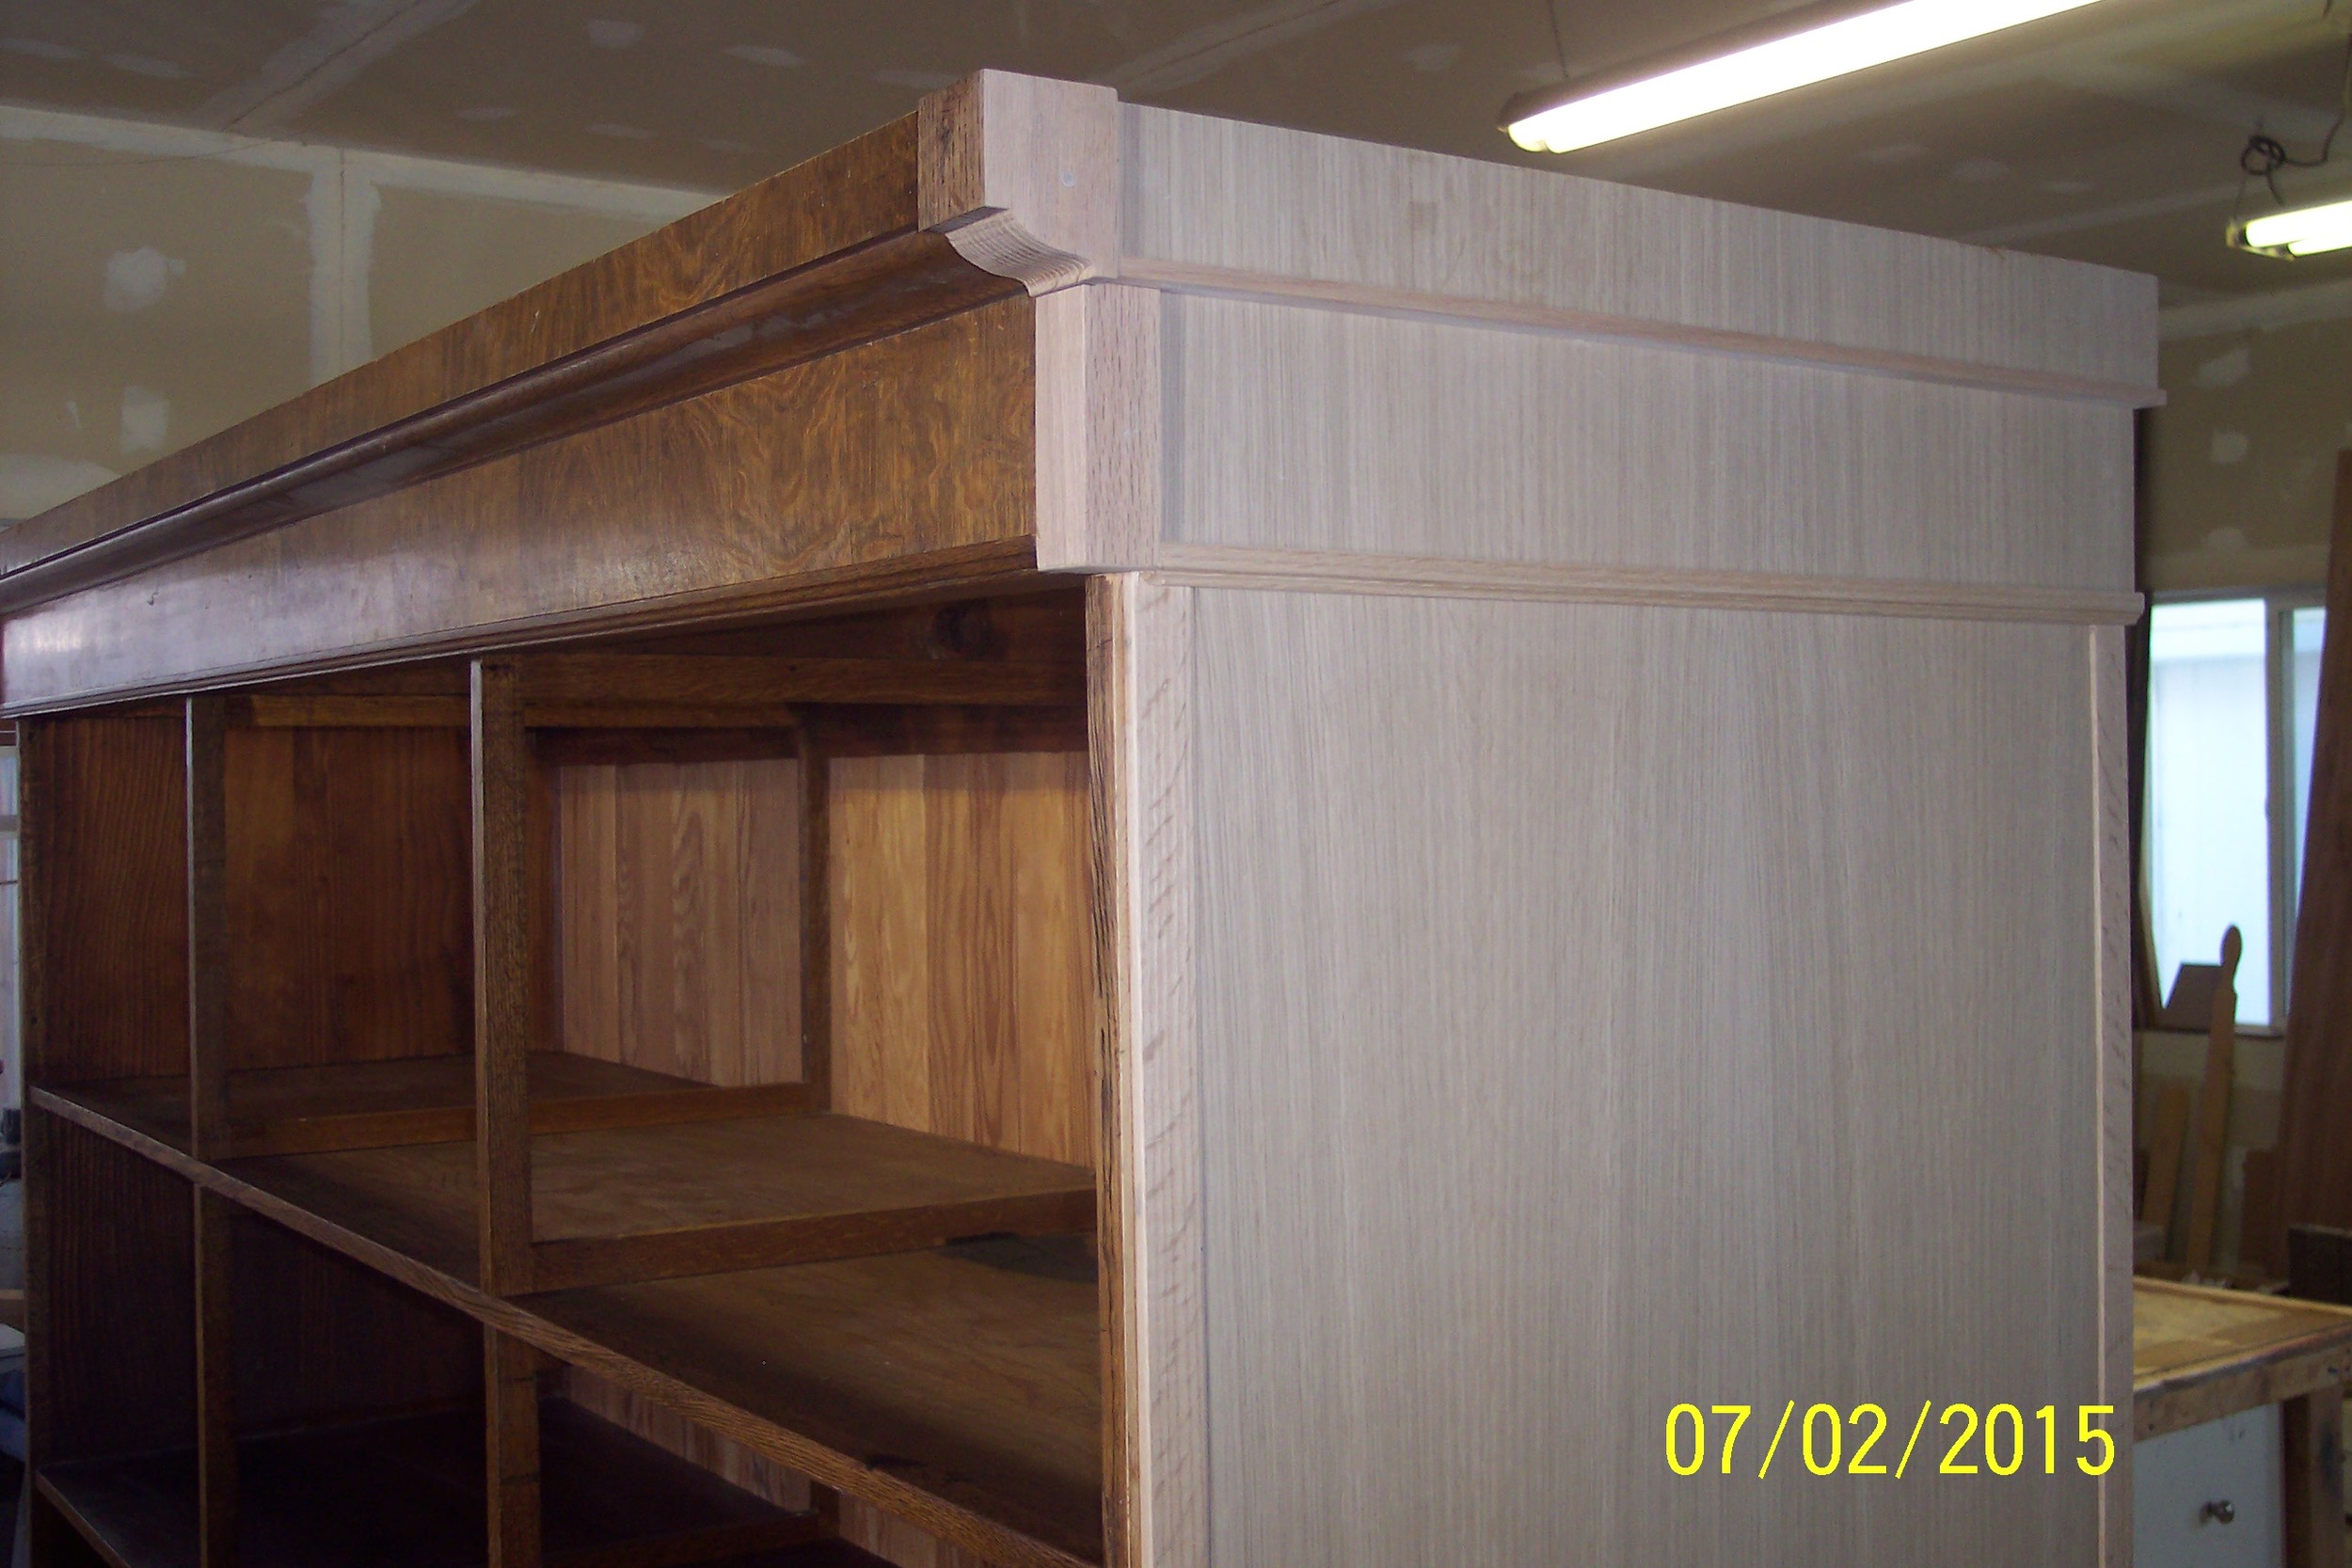
We loaded her up and sent her packing to restoration camp. While in MW Custom's care the following happened: The paint was striped off the side walls and shelves, the top crown molding piece was fixed in place, sides were finished with a period piece of oak and each panel was flipped around and turned right side up, one by one. Click through the gallery below to see the transformation.


Now, one would think that the restoration was the hard part and that our work was pretty much through... Not quite the case. We decided to install the cabinet on a Saturday. I got the call from Mike letting me know that he and his son Trevor were on their way over (poor Trevor had no idea what he was in for). I was overcome with excitement. Install day was finally here. As Mike pulled up, reality hit. The cabinet was BEA-UTIFUL.... and HUGE!! Disassembled, it wasn't too hard for two of us to load but in its current state, I started to feel really good that Mike, Trevor, Derek and myself were all there to help.
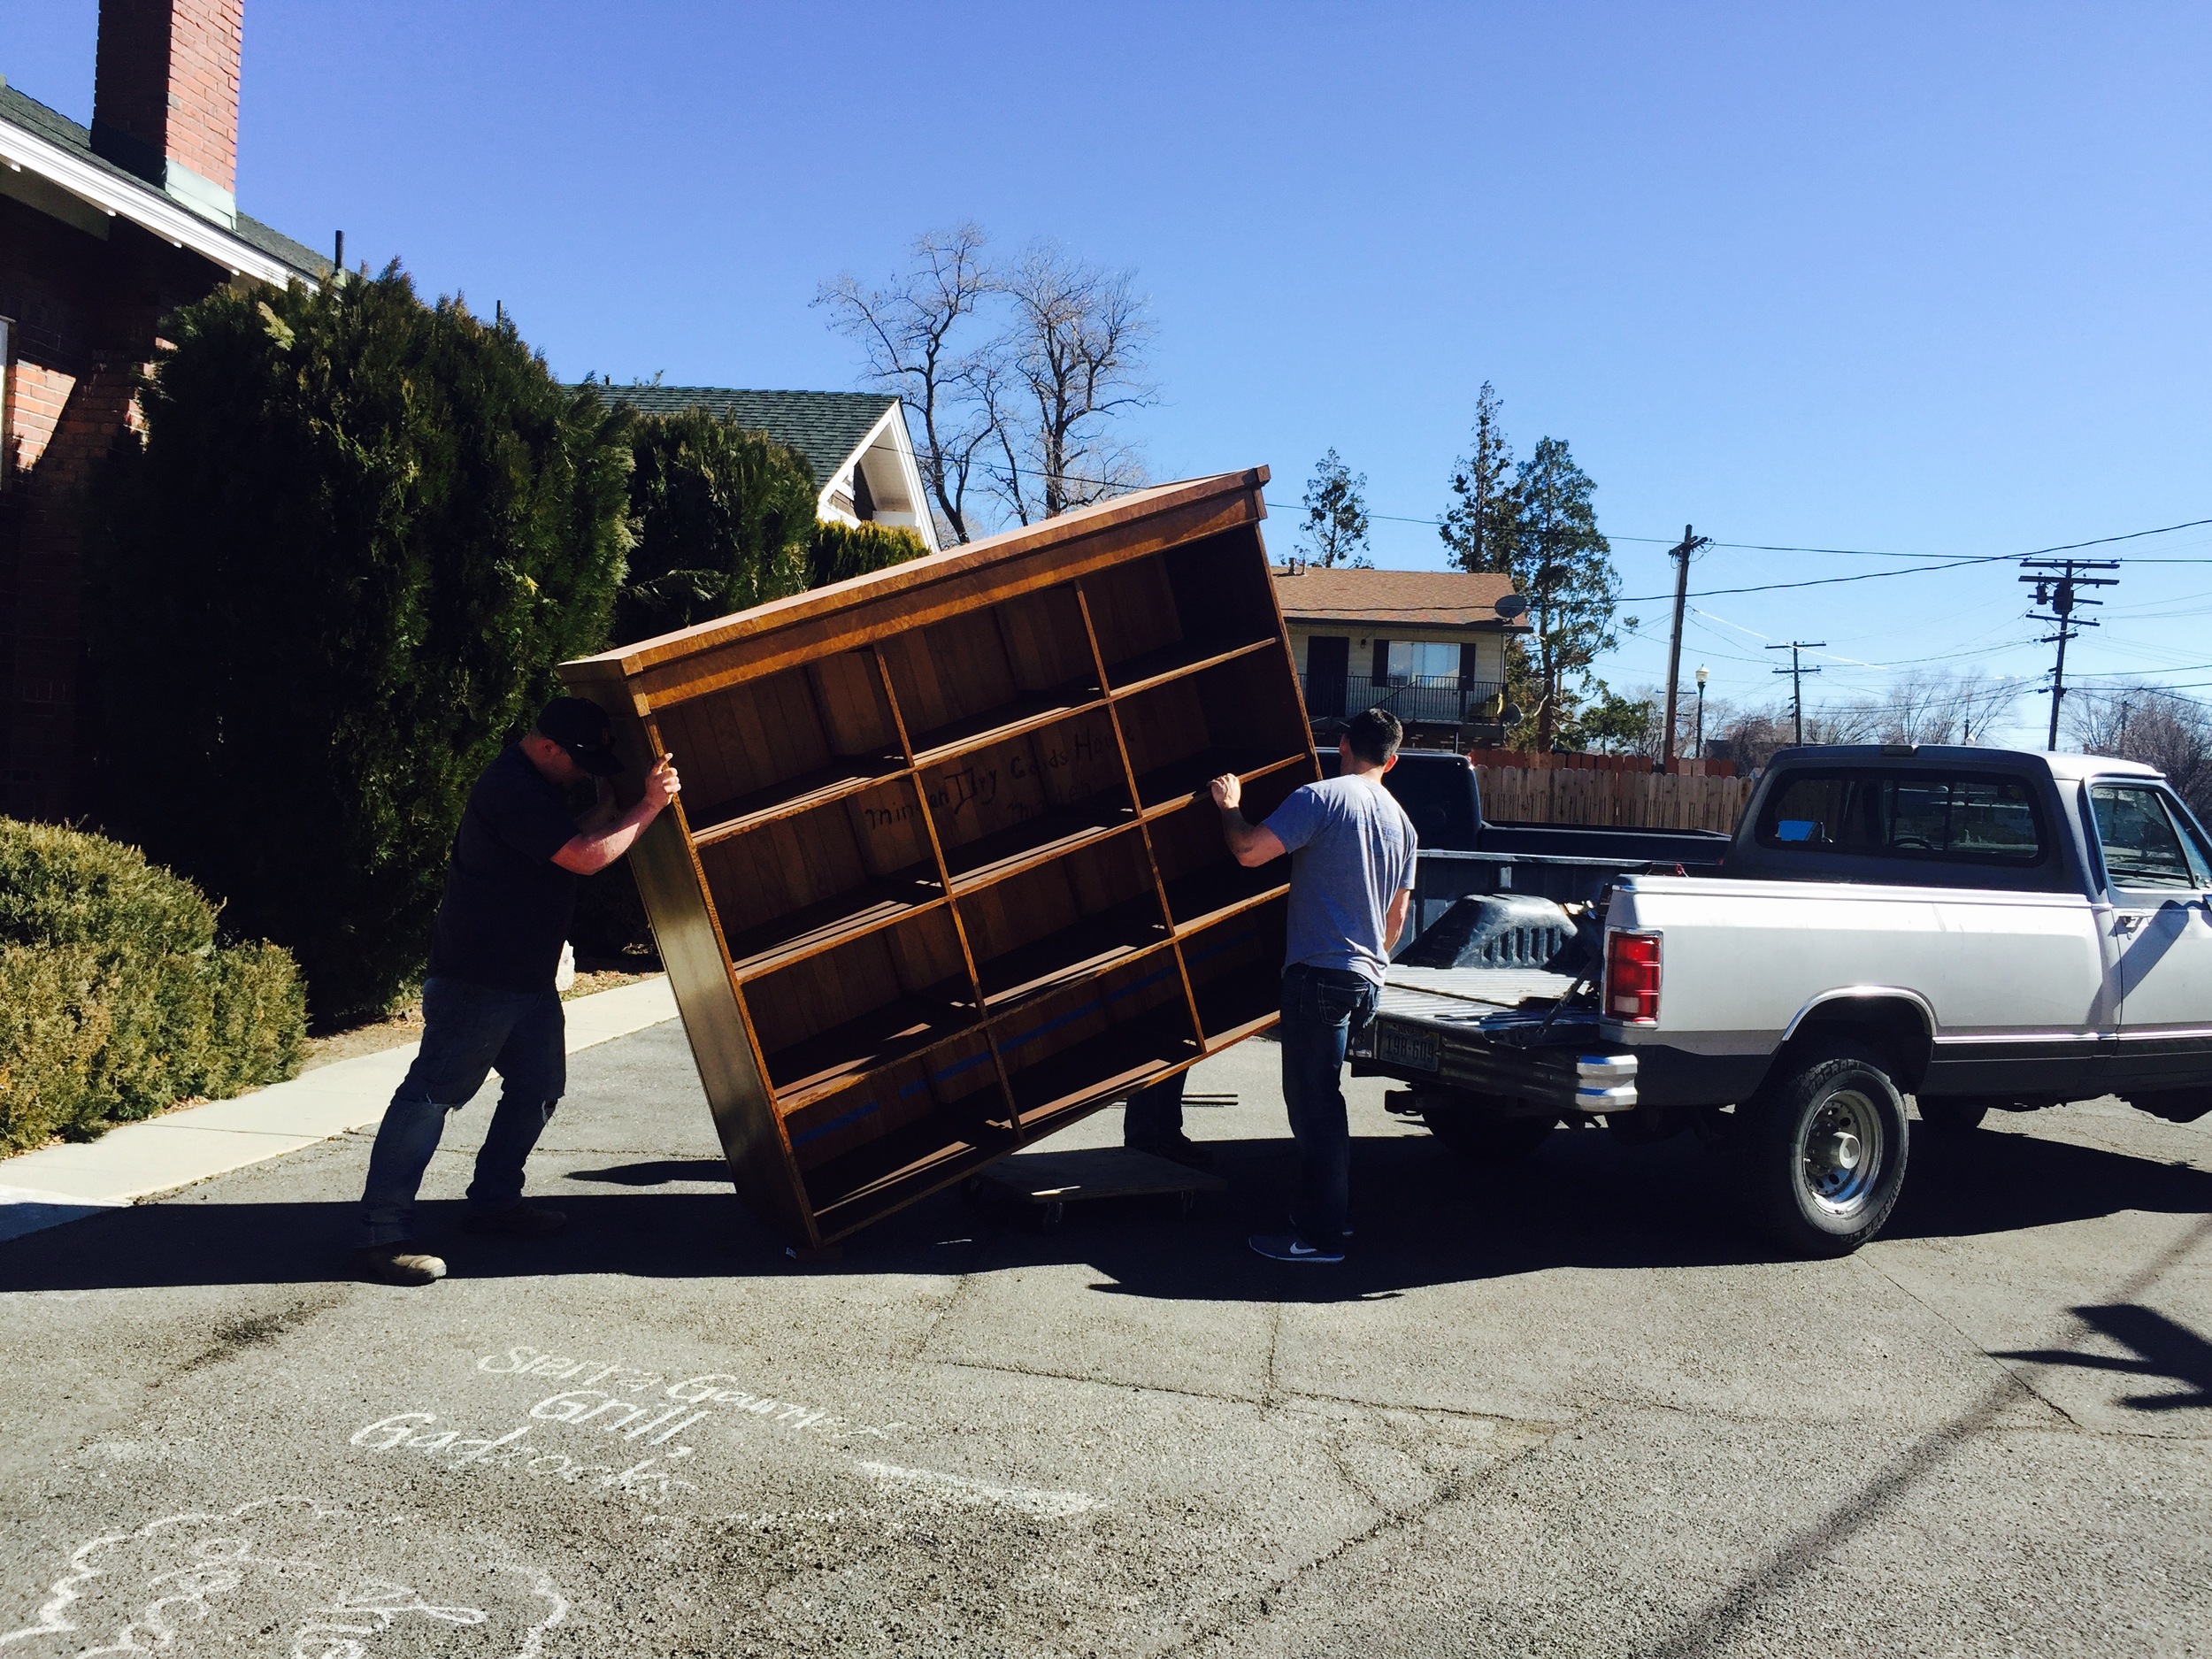
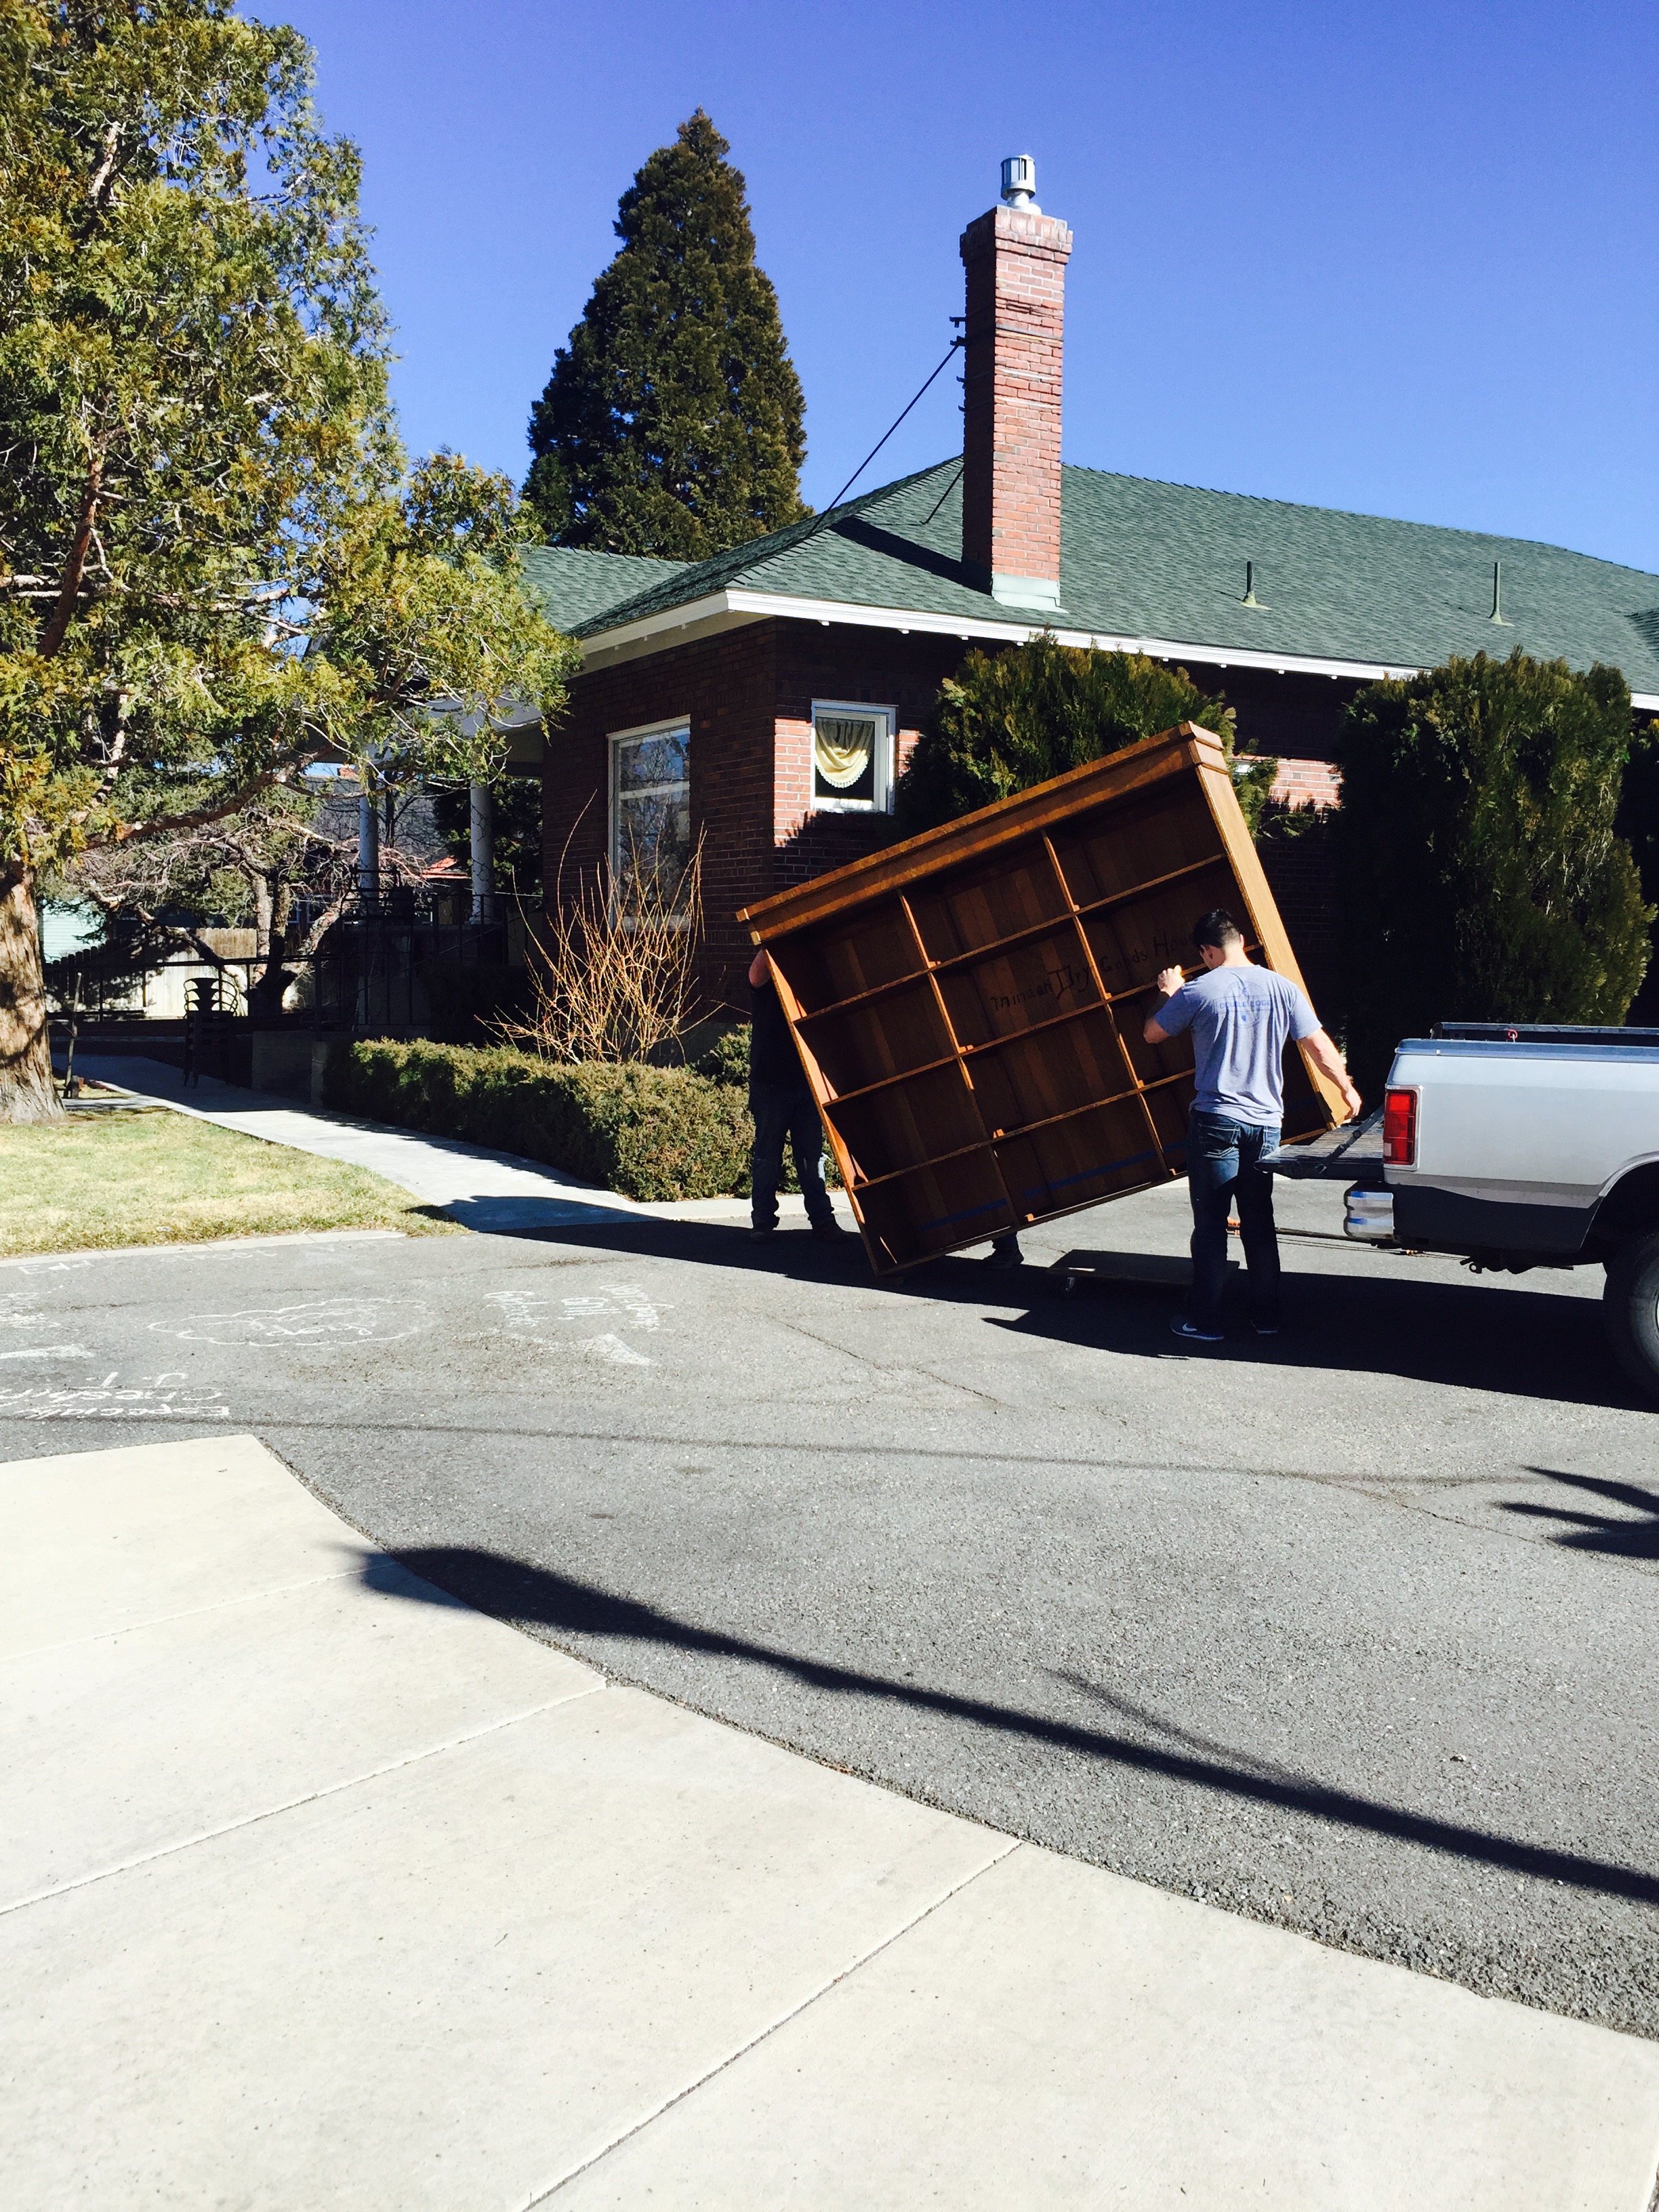
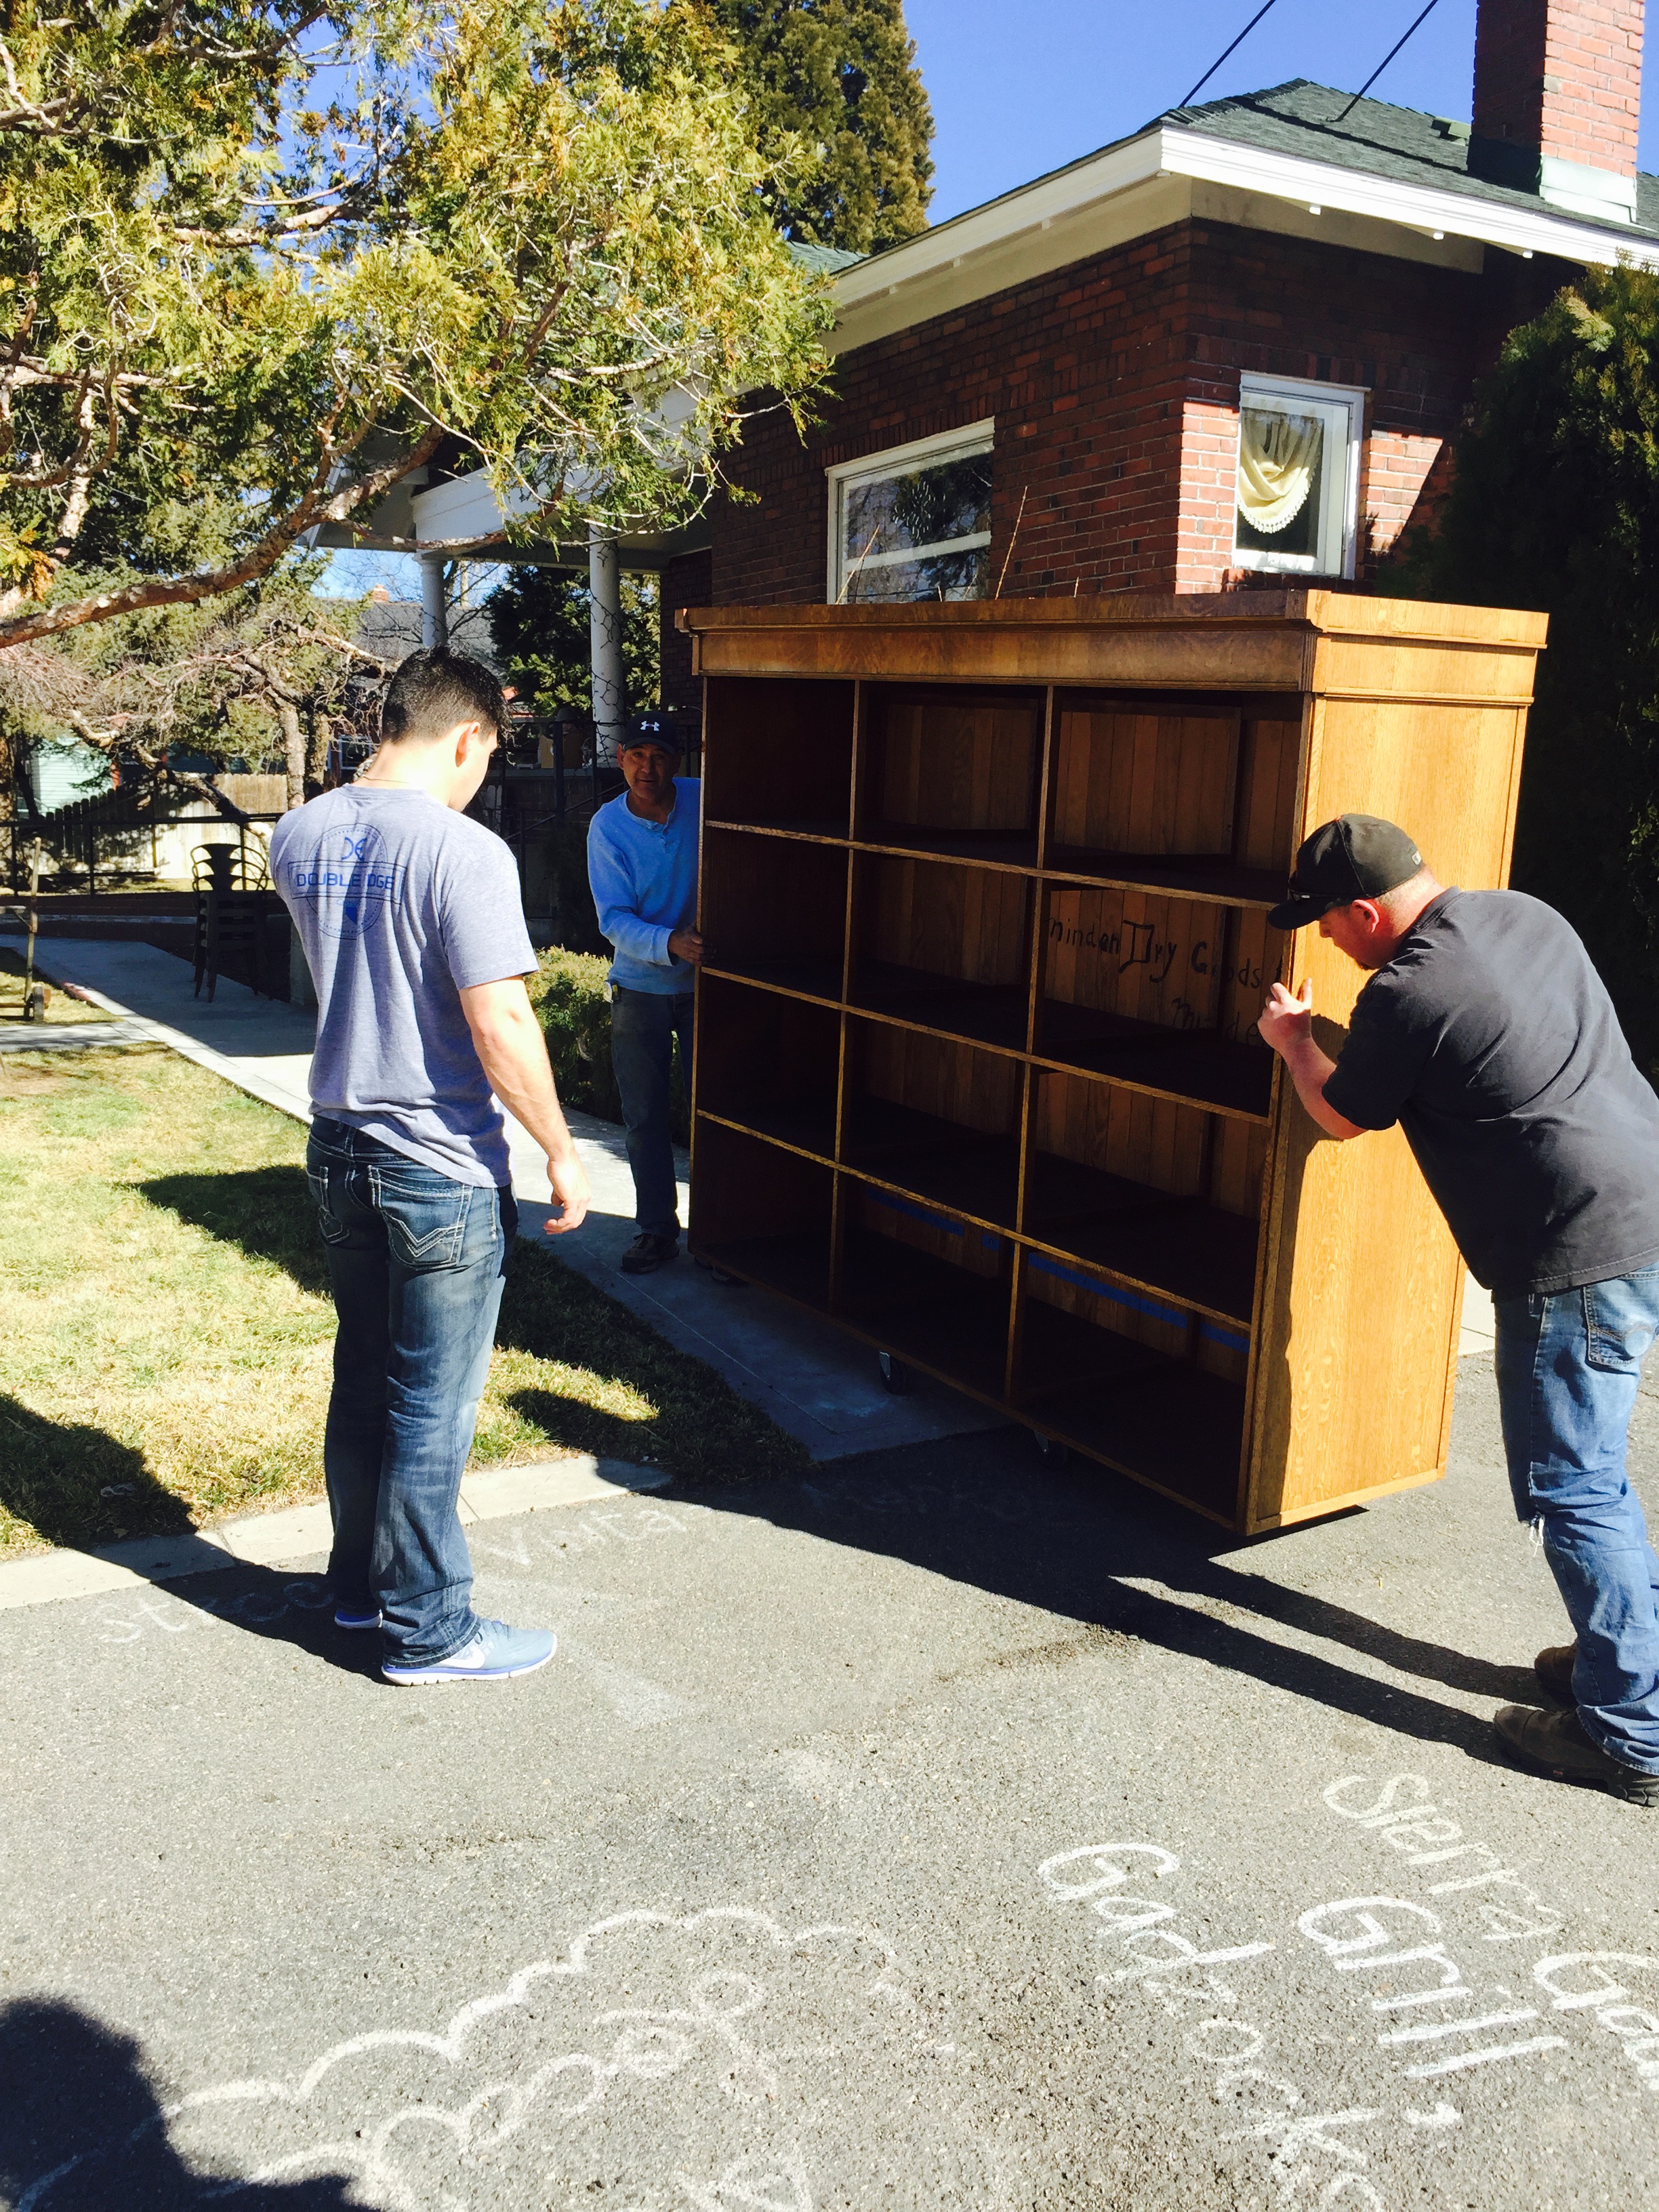
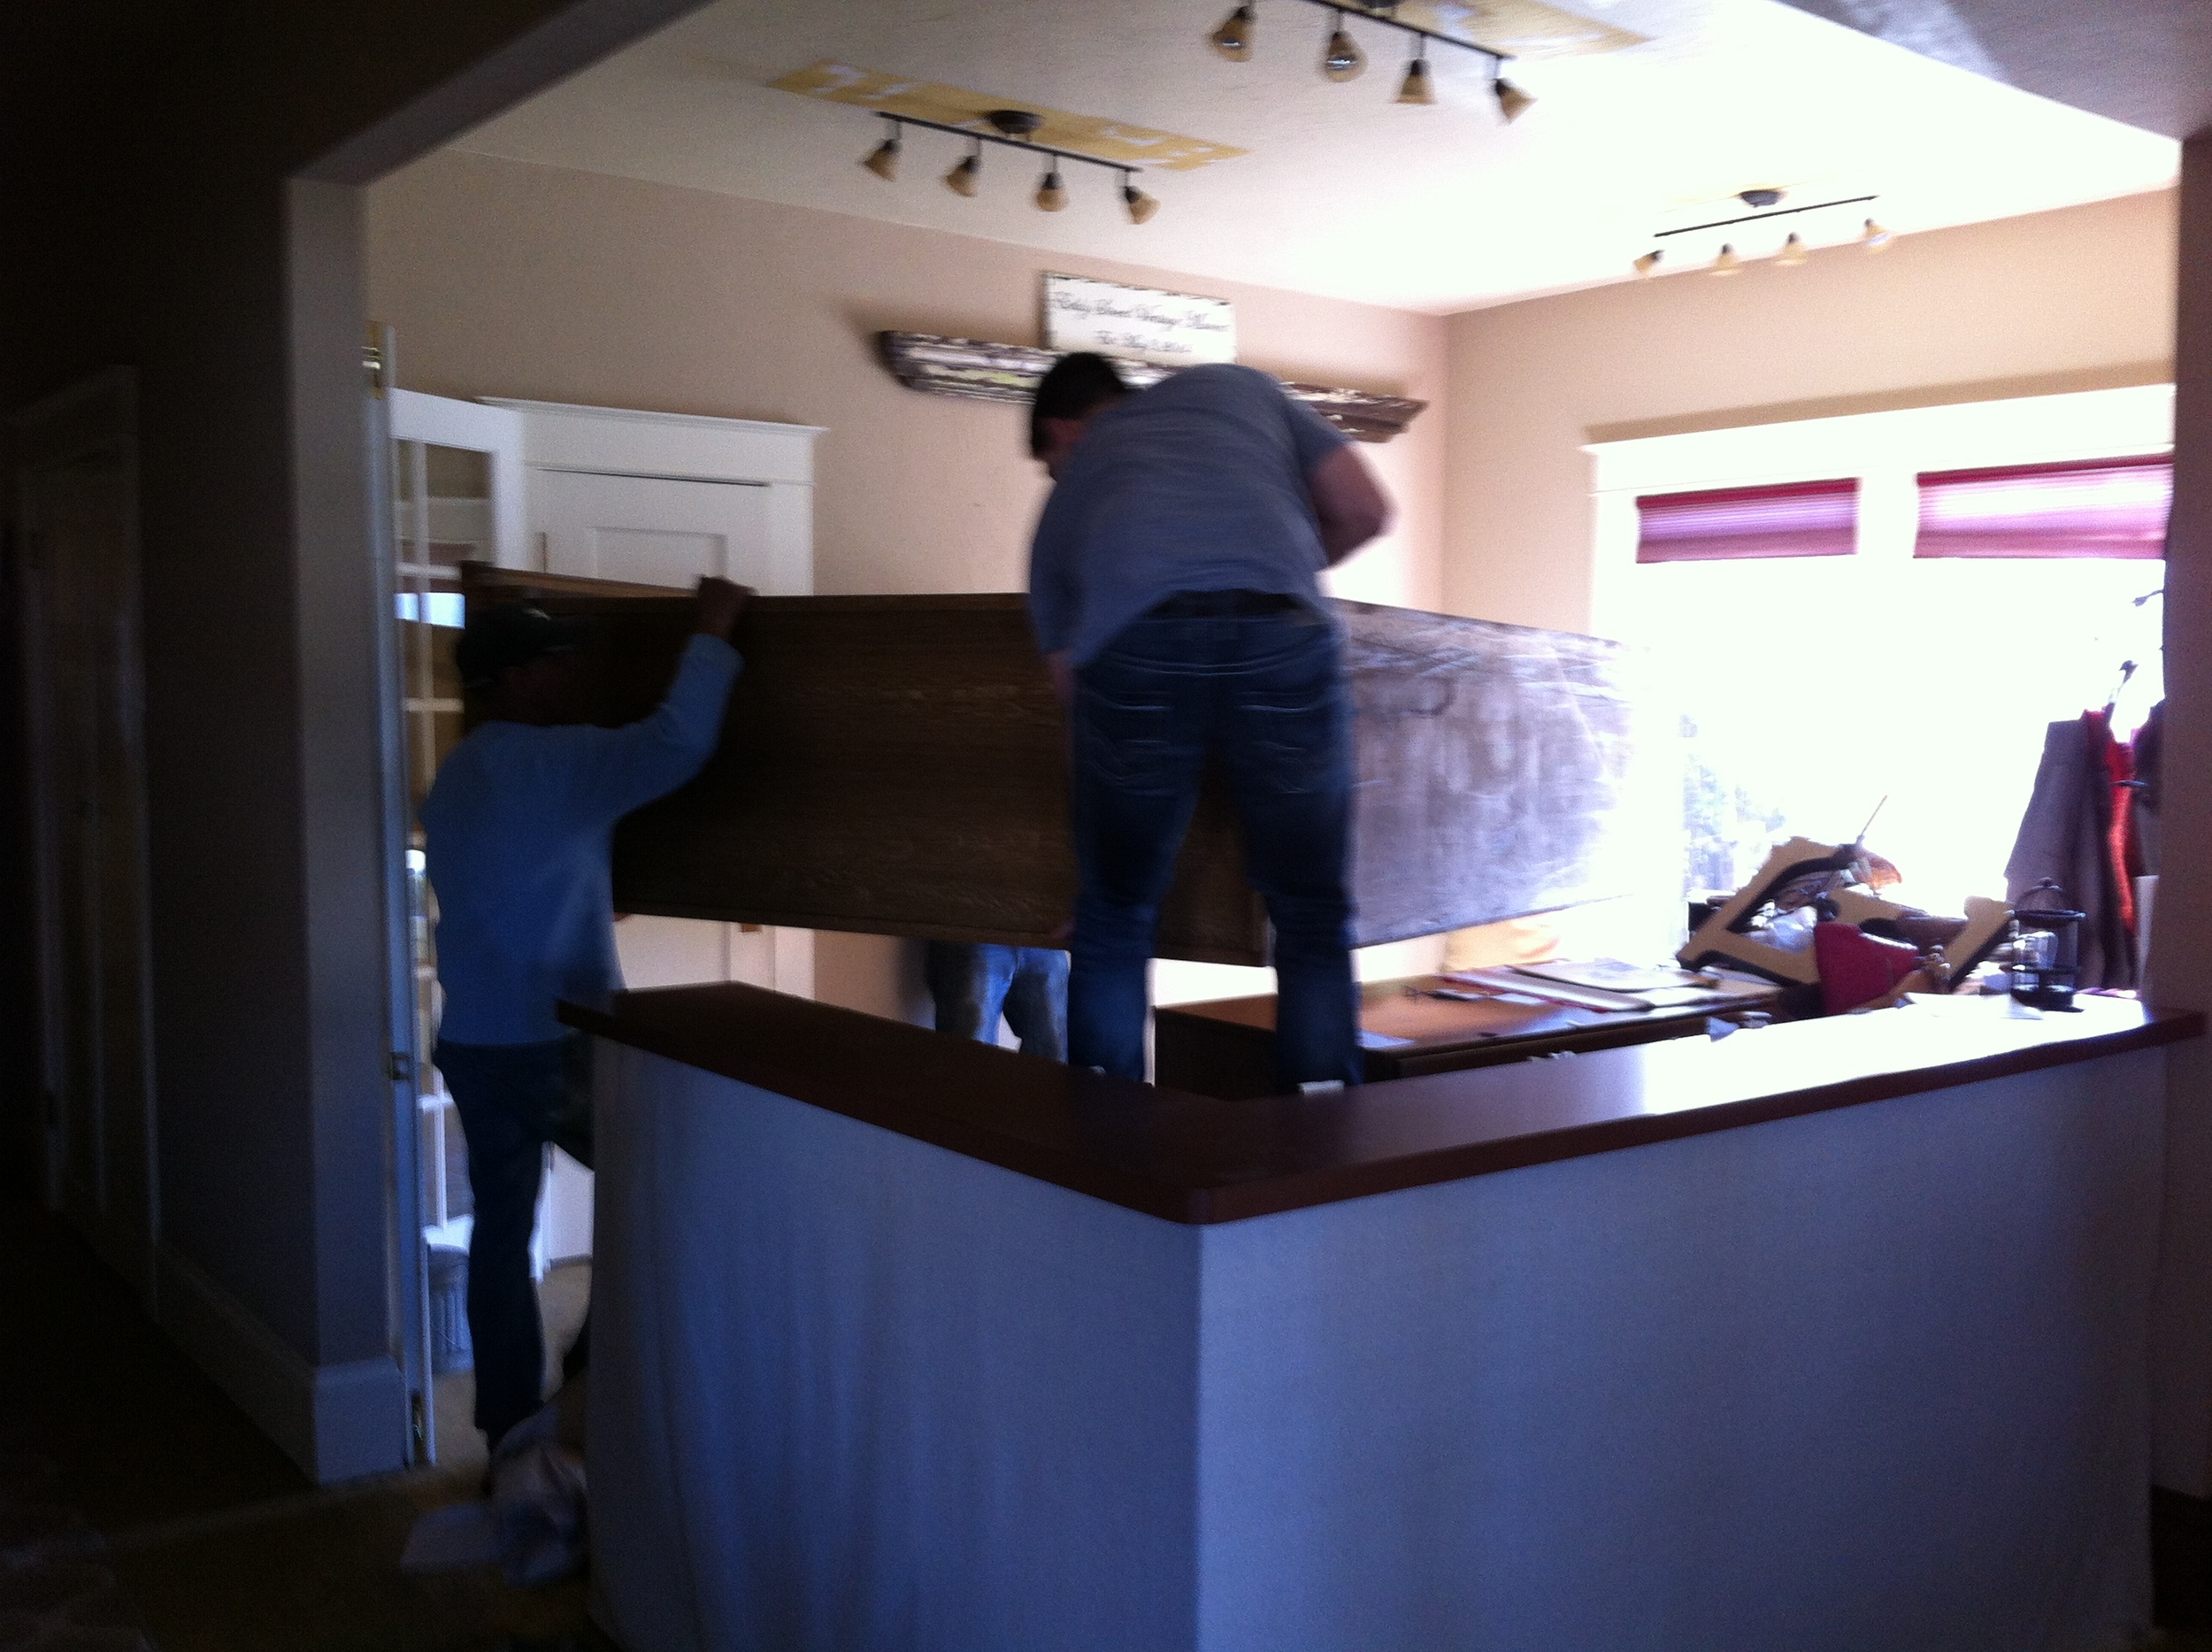
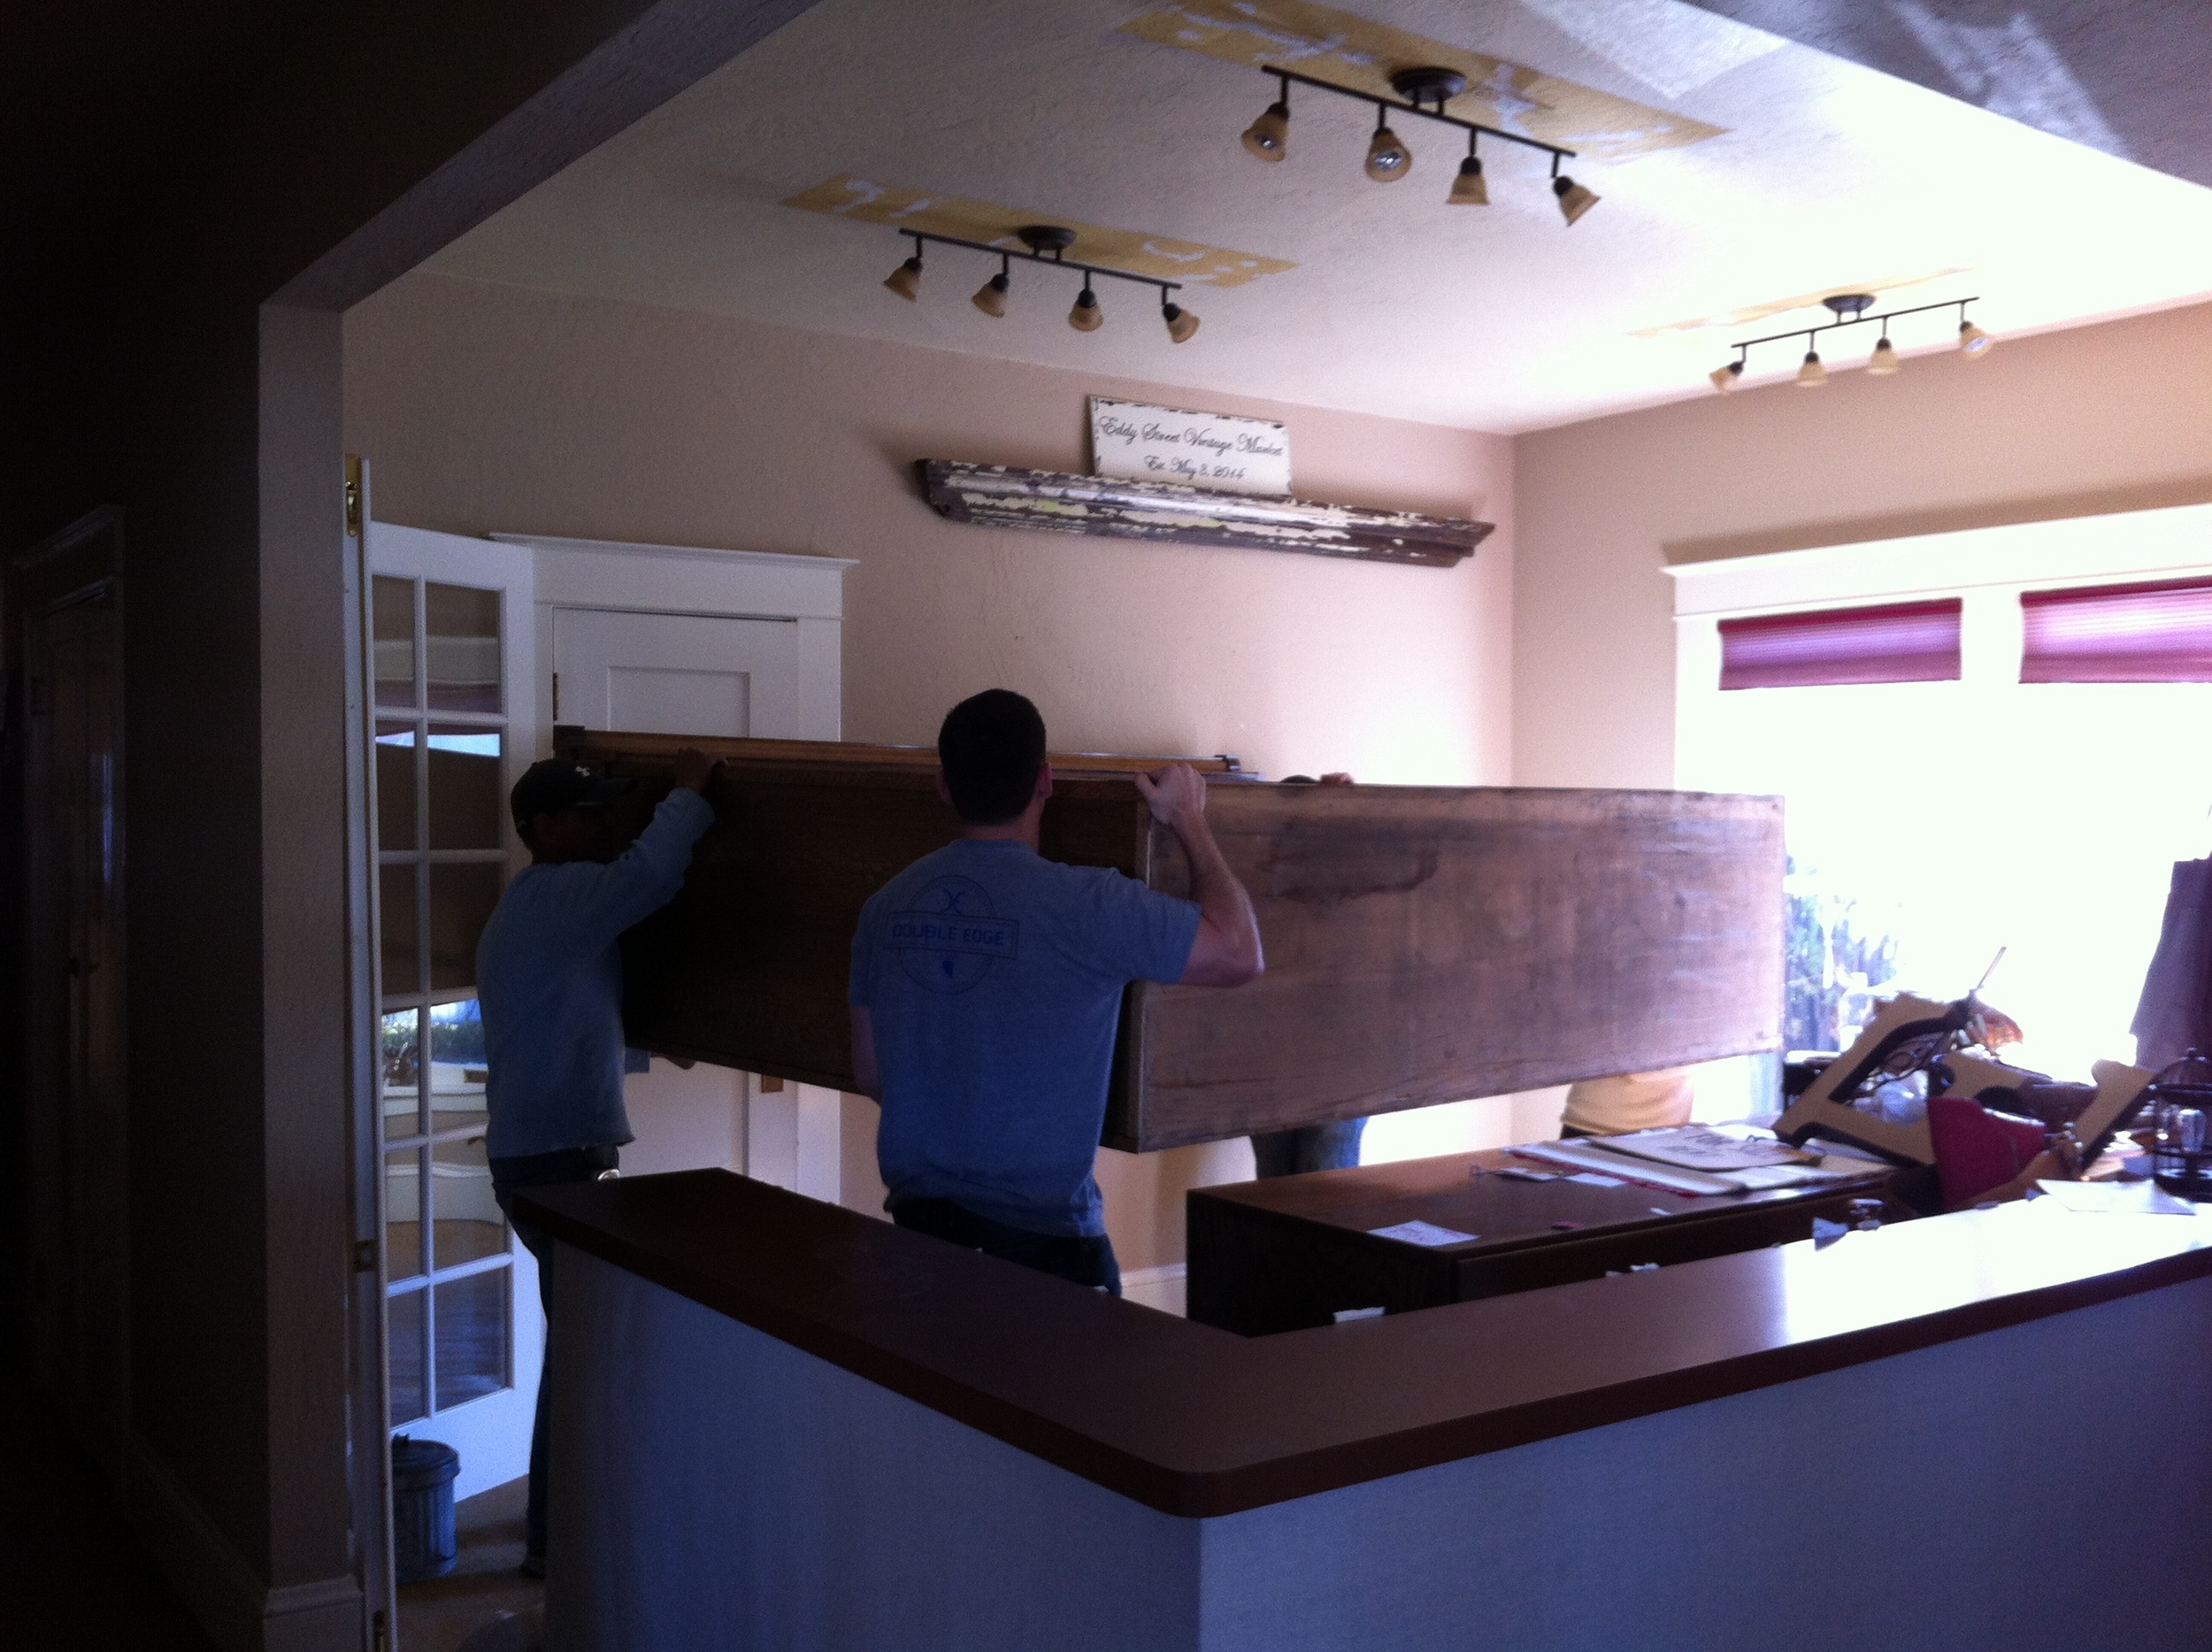
So this studly piece stands about 6 feet tall and just about 7 feet wide. We got it up the steps and through the front door and that's when we realized we didn't have enough clearance to make it around the counter. I've decided that determination is a key ingredient in owning your own business... A long time ago one of my childhood mentors told me "over, around, under or through, you can make anything happen that you set your mind to." I guess I took him seriously because I always think there is a way to make it happen.
In this case, making it happen meant that we had to go over the front counter with the whole cabinet in order to get it installed. Each of us took a corner and hoped that everyone had eaten their Wheaties that morning because heavy was a slight understatement. Click the image below to see it go over the counter.
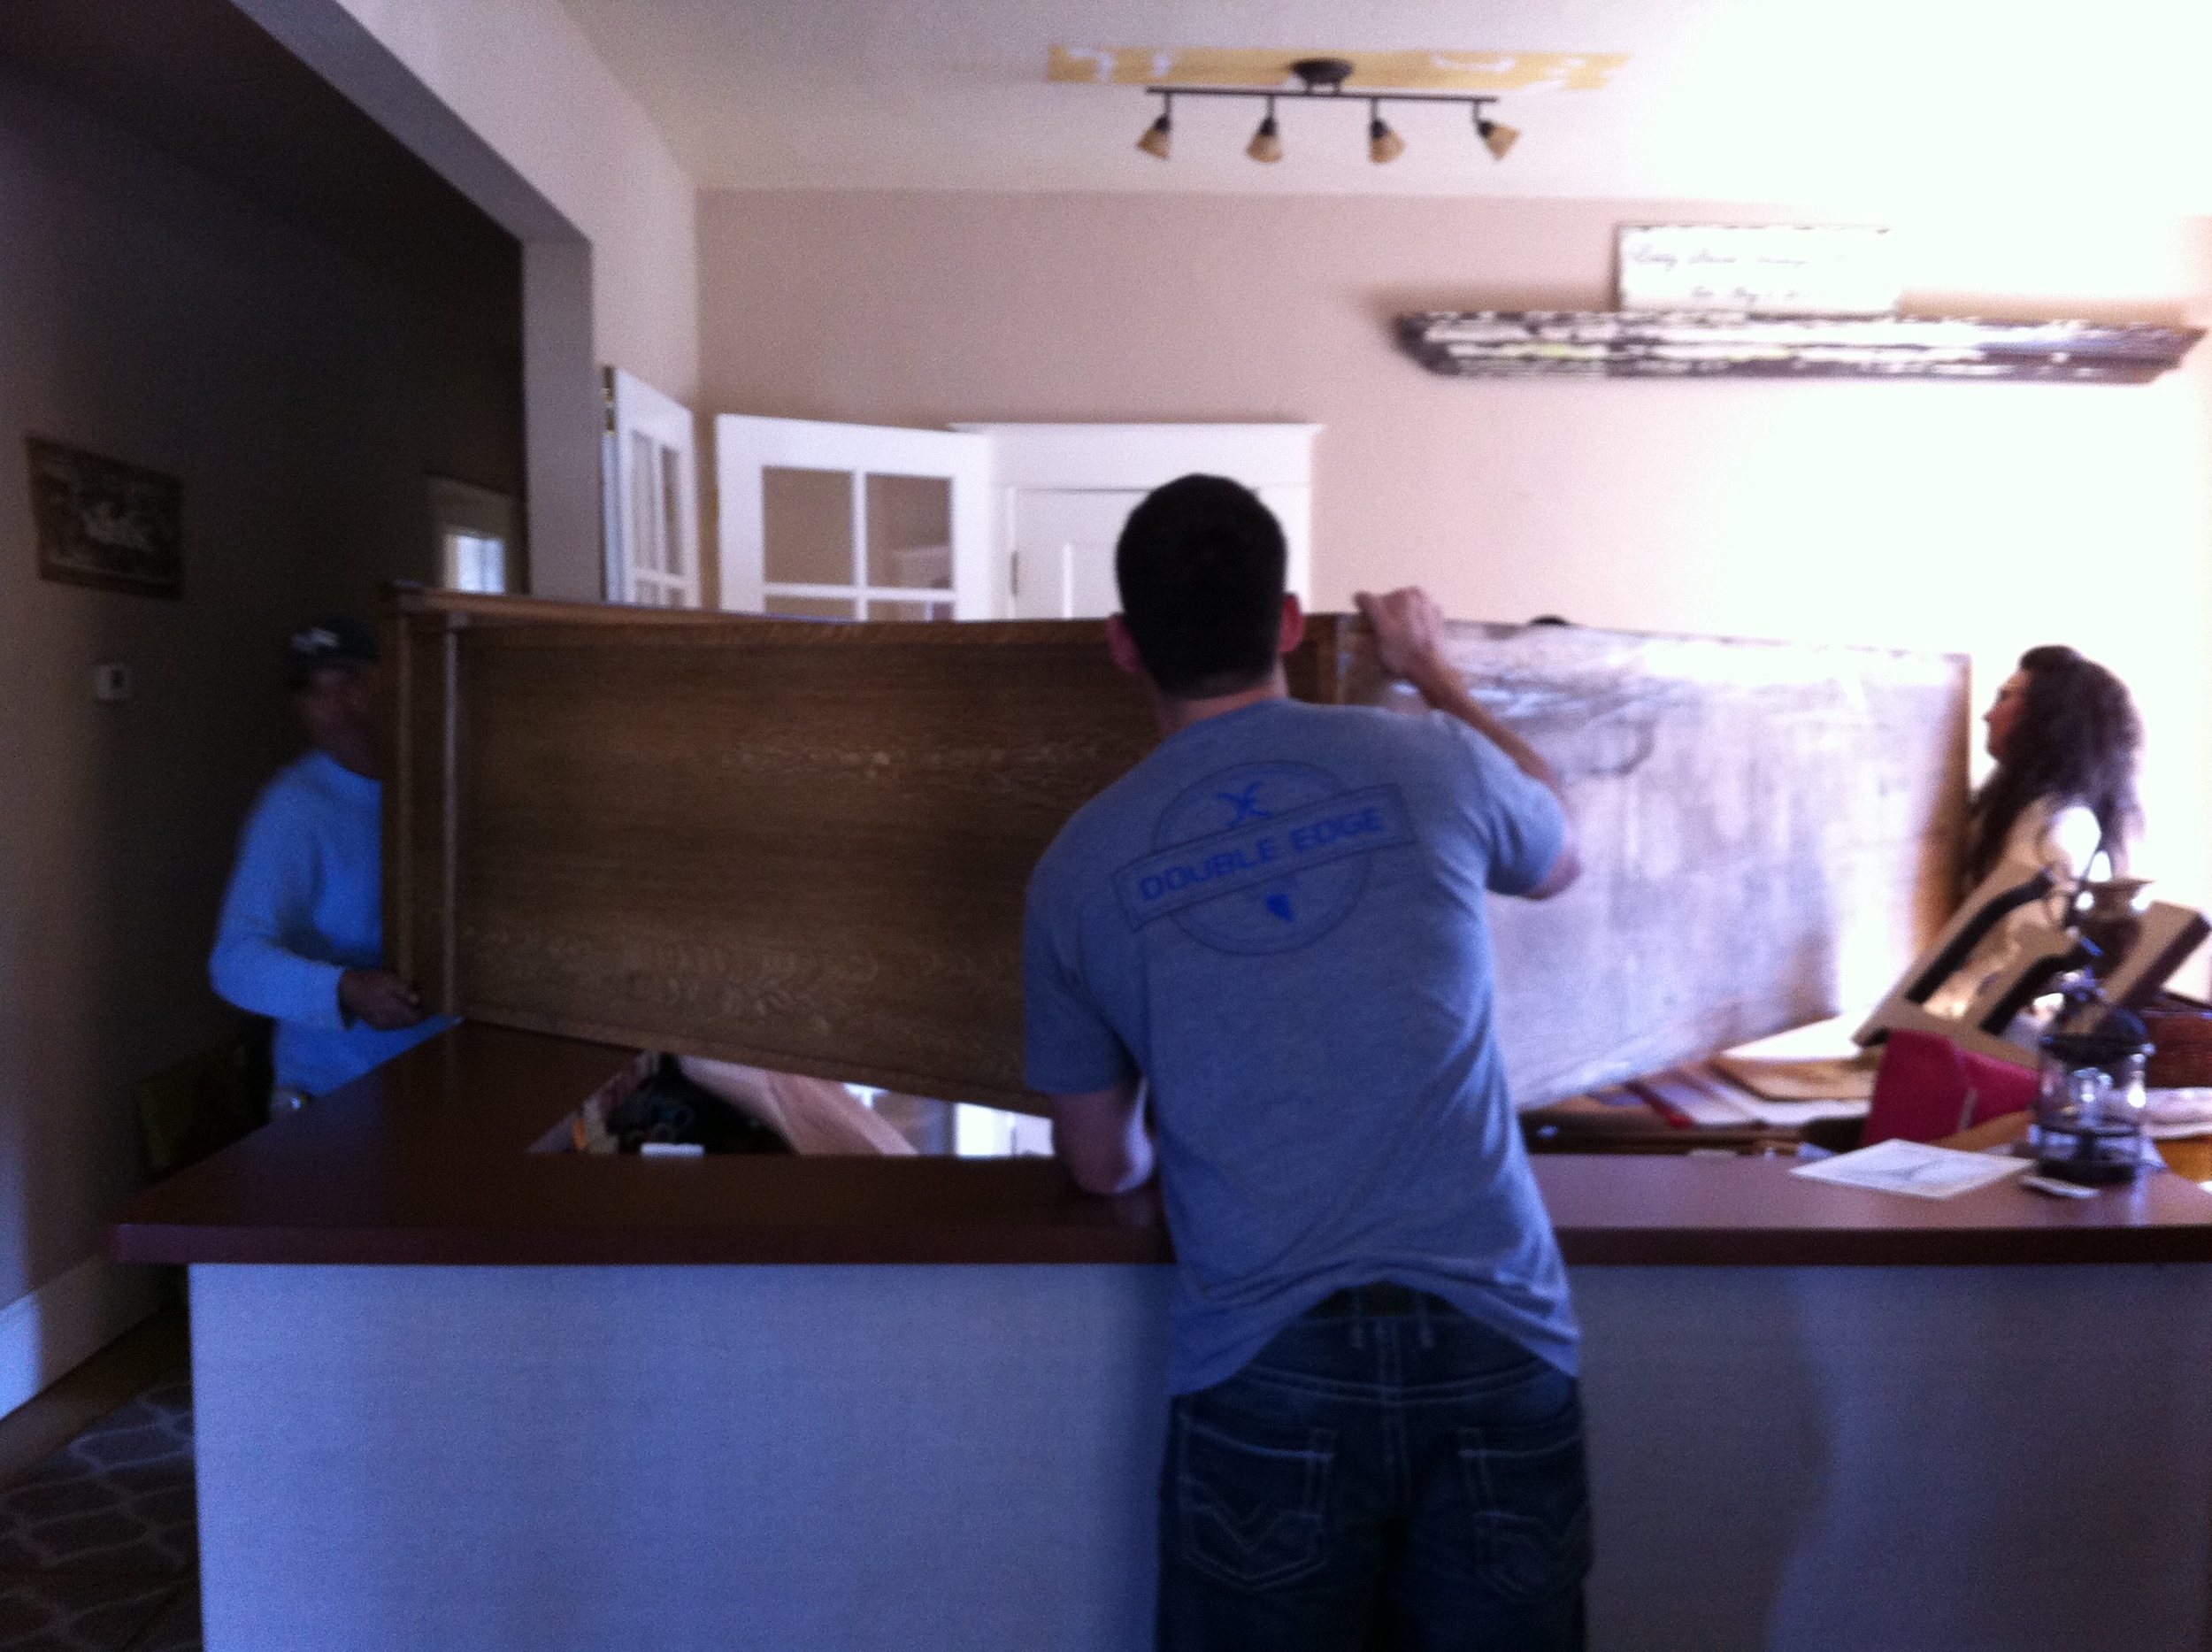
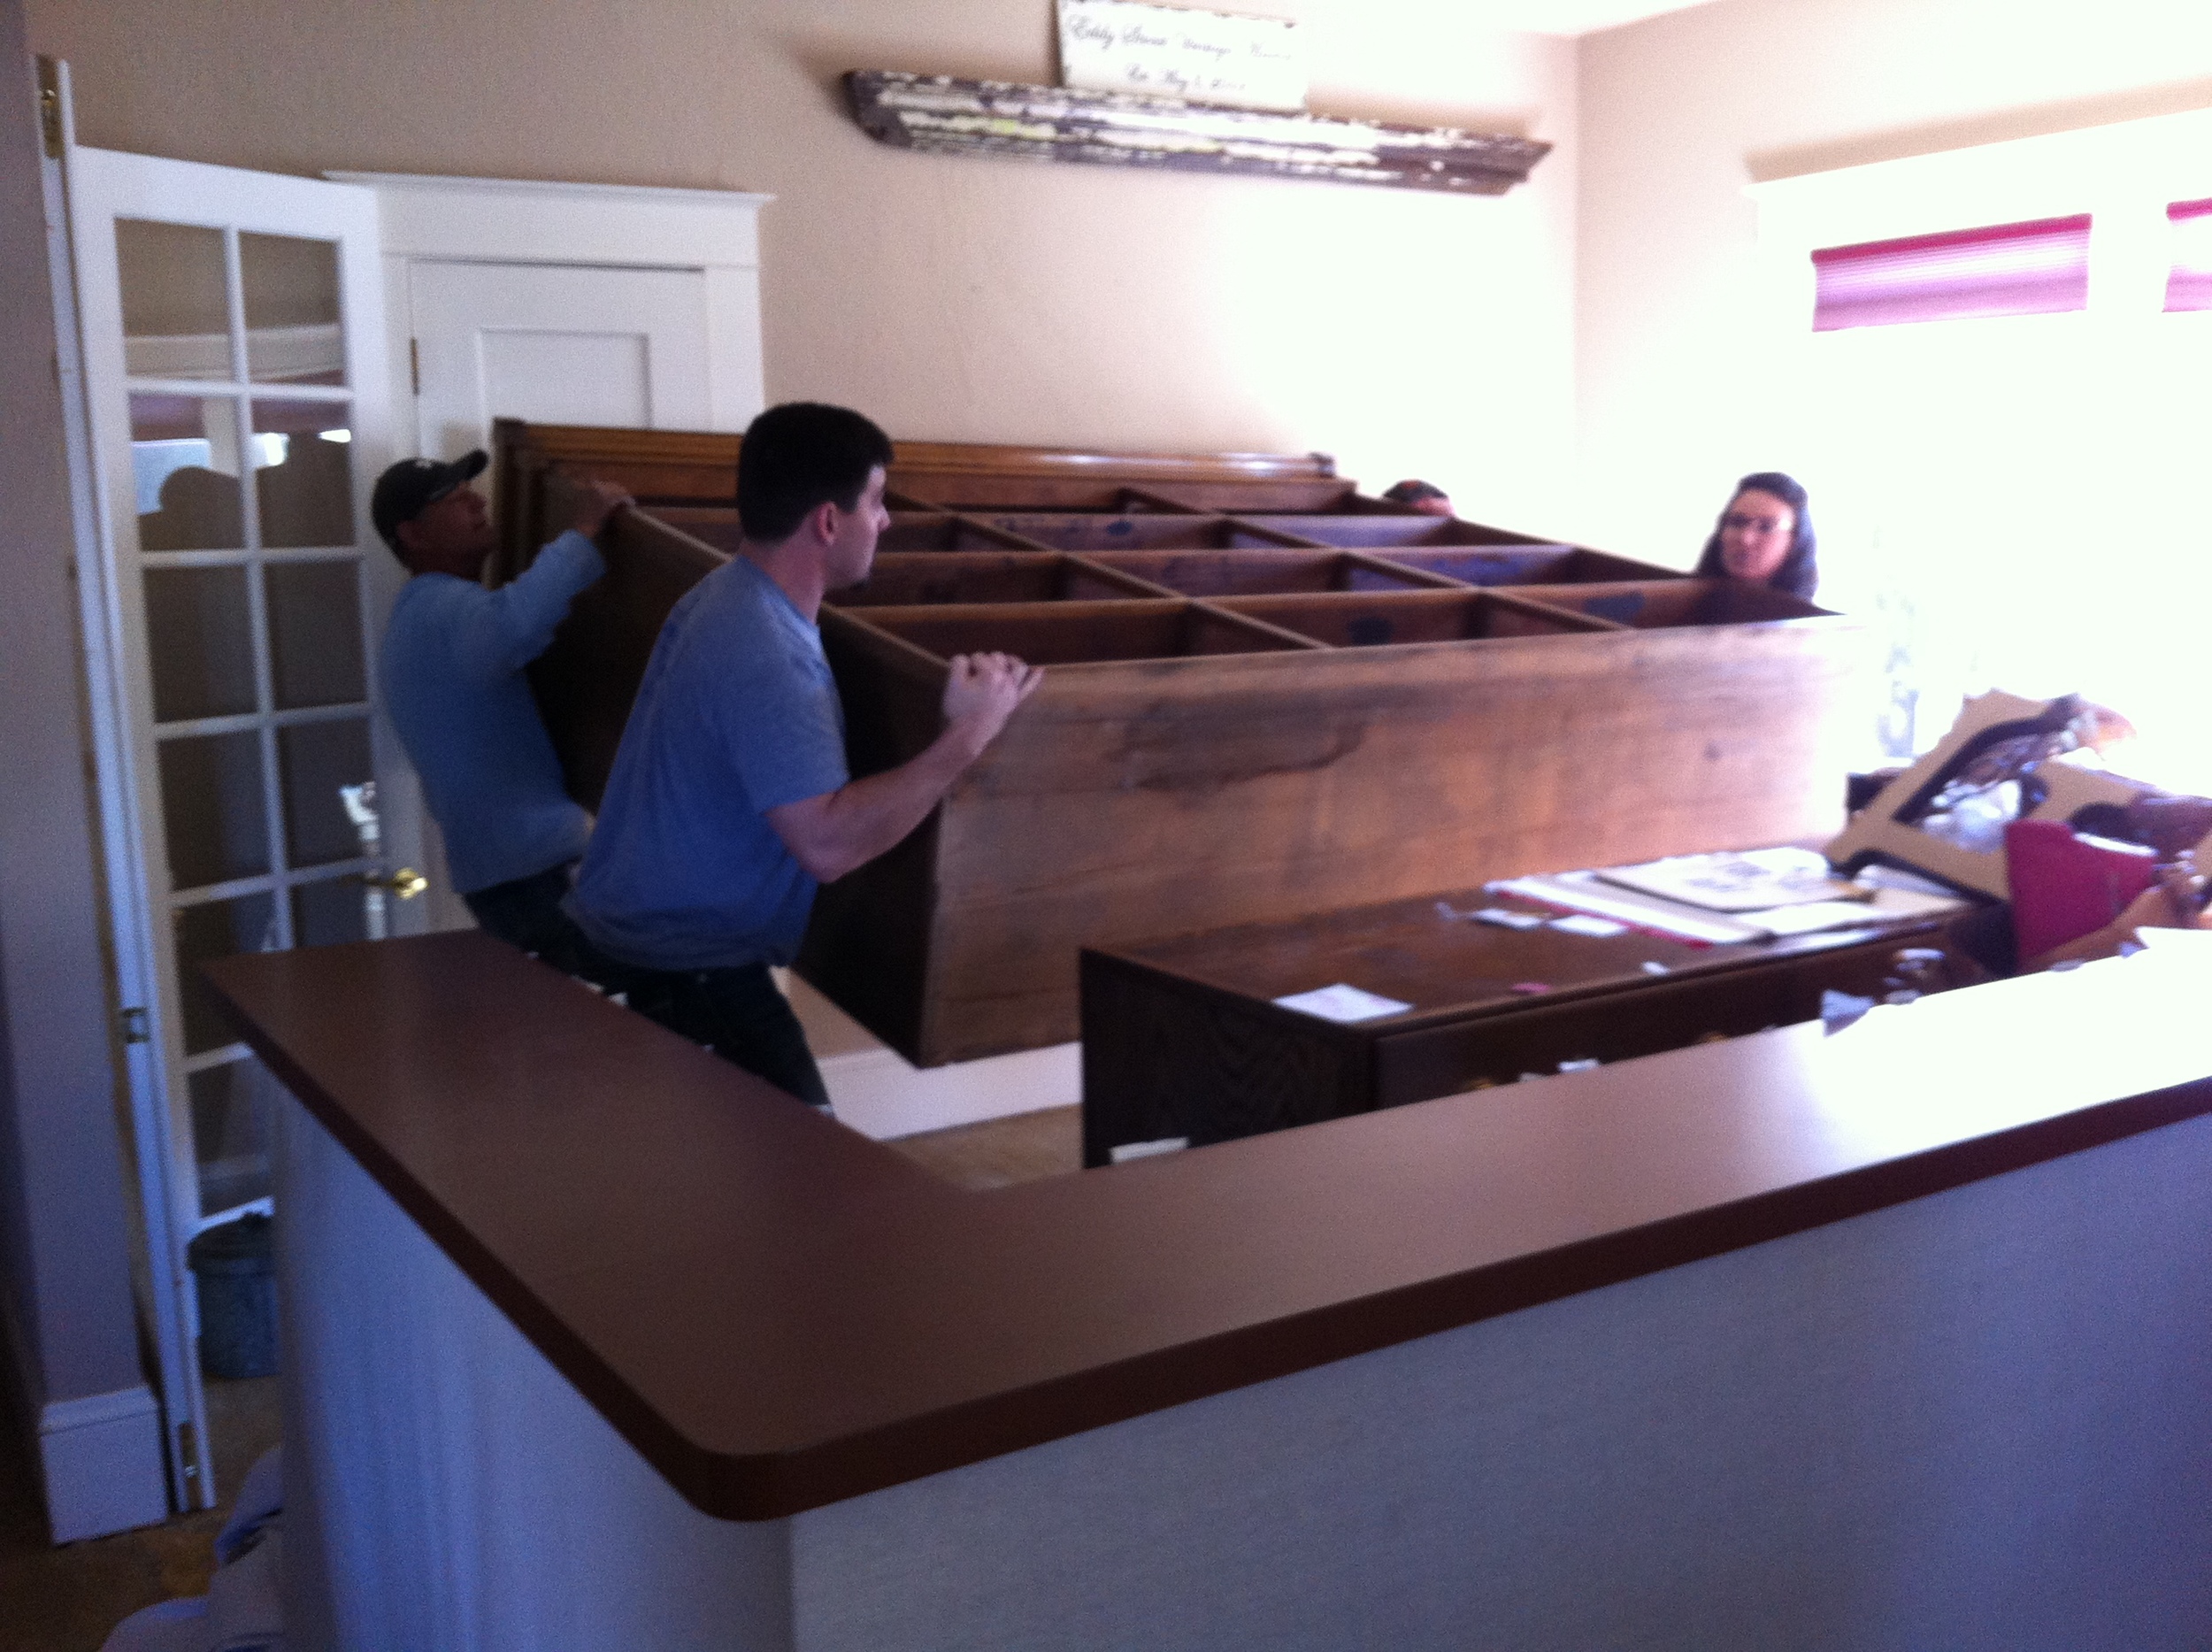
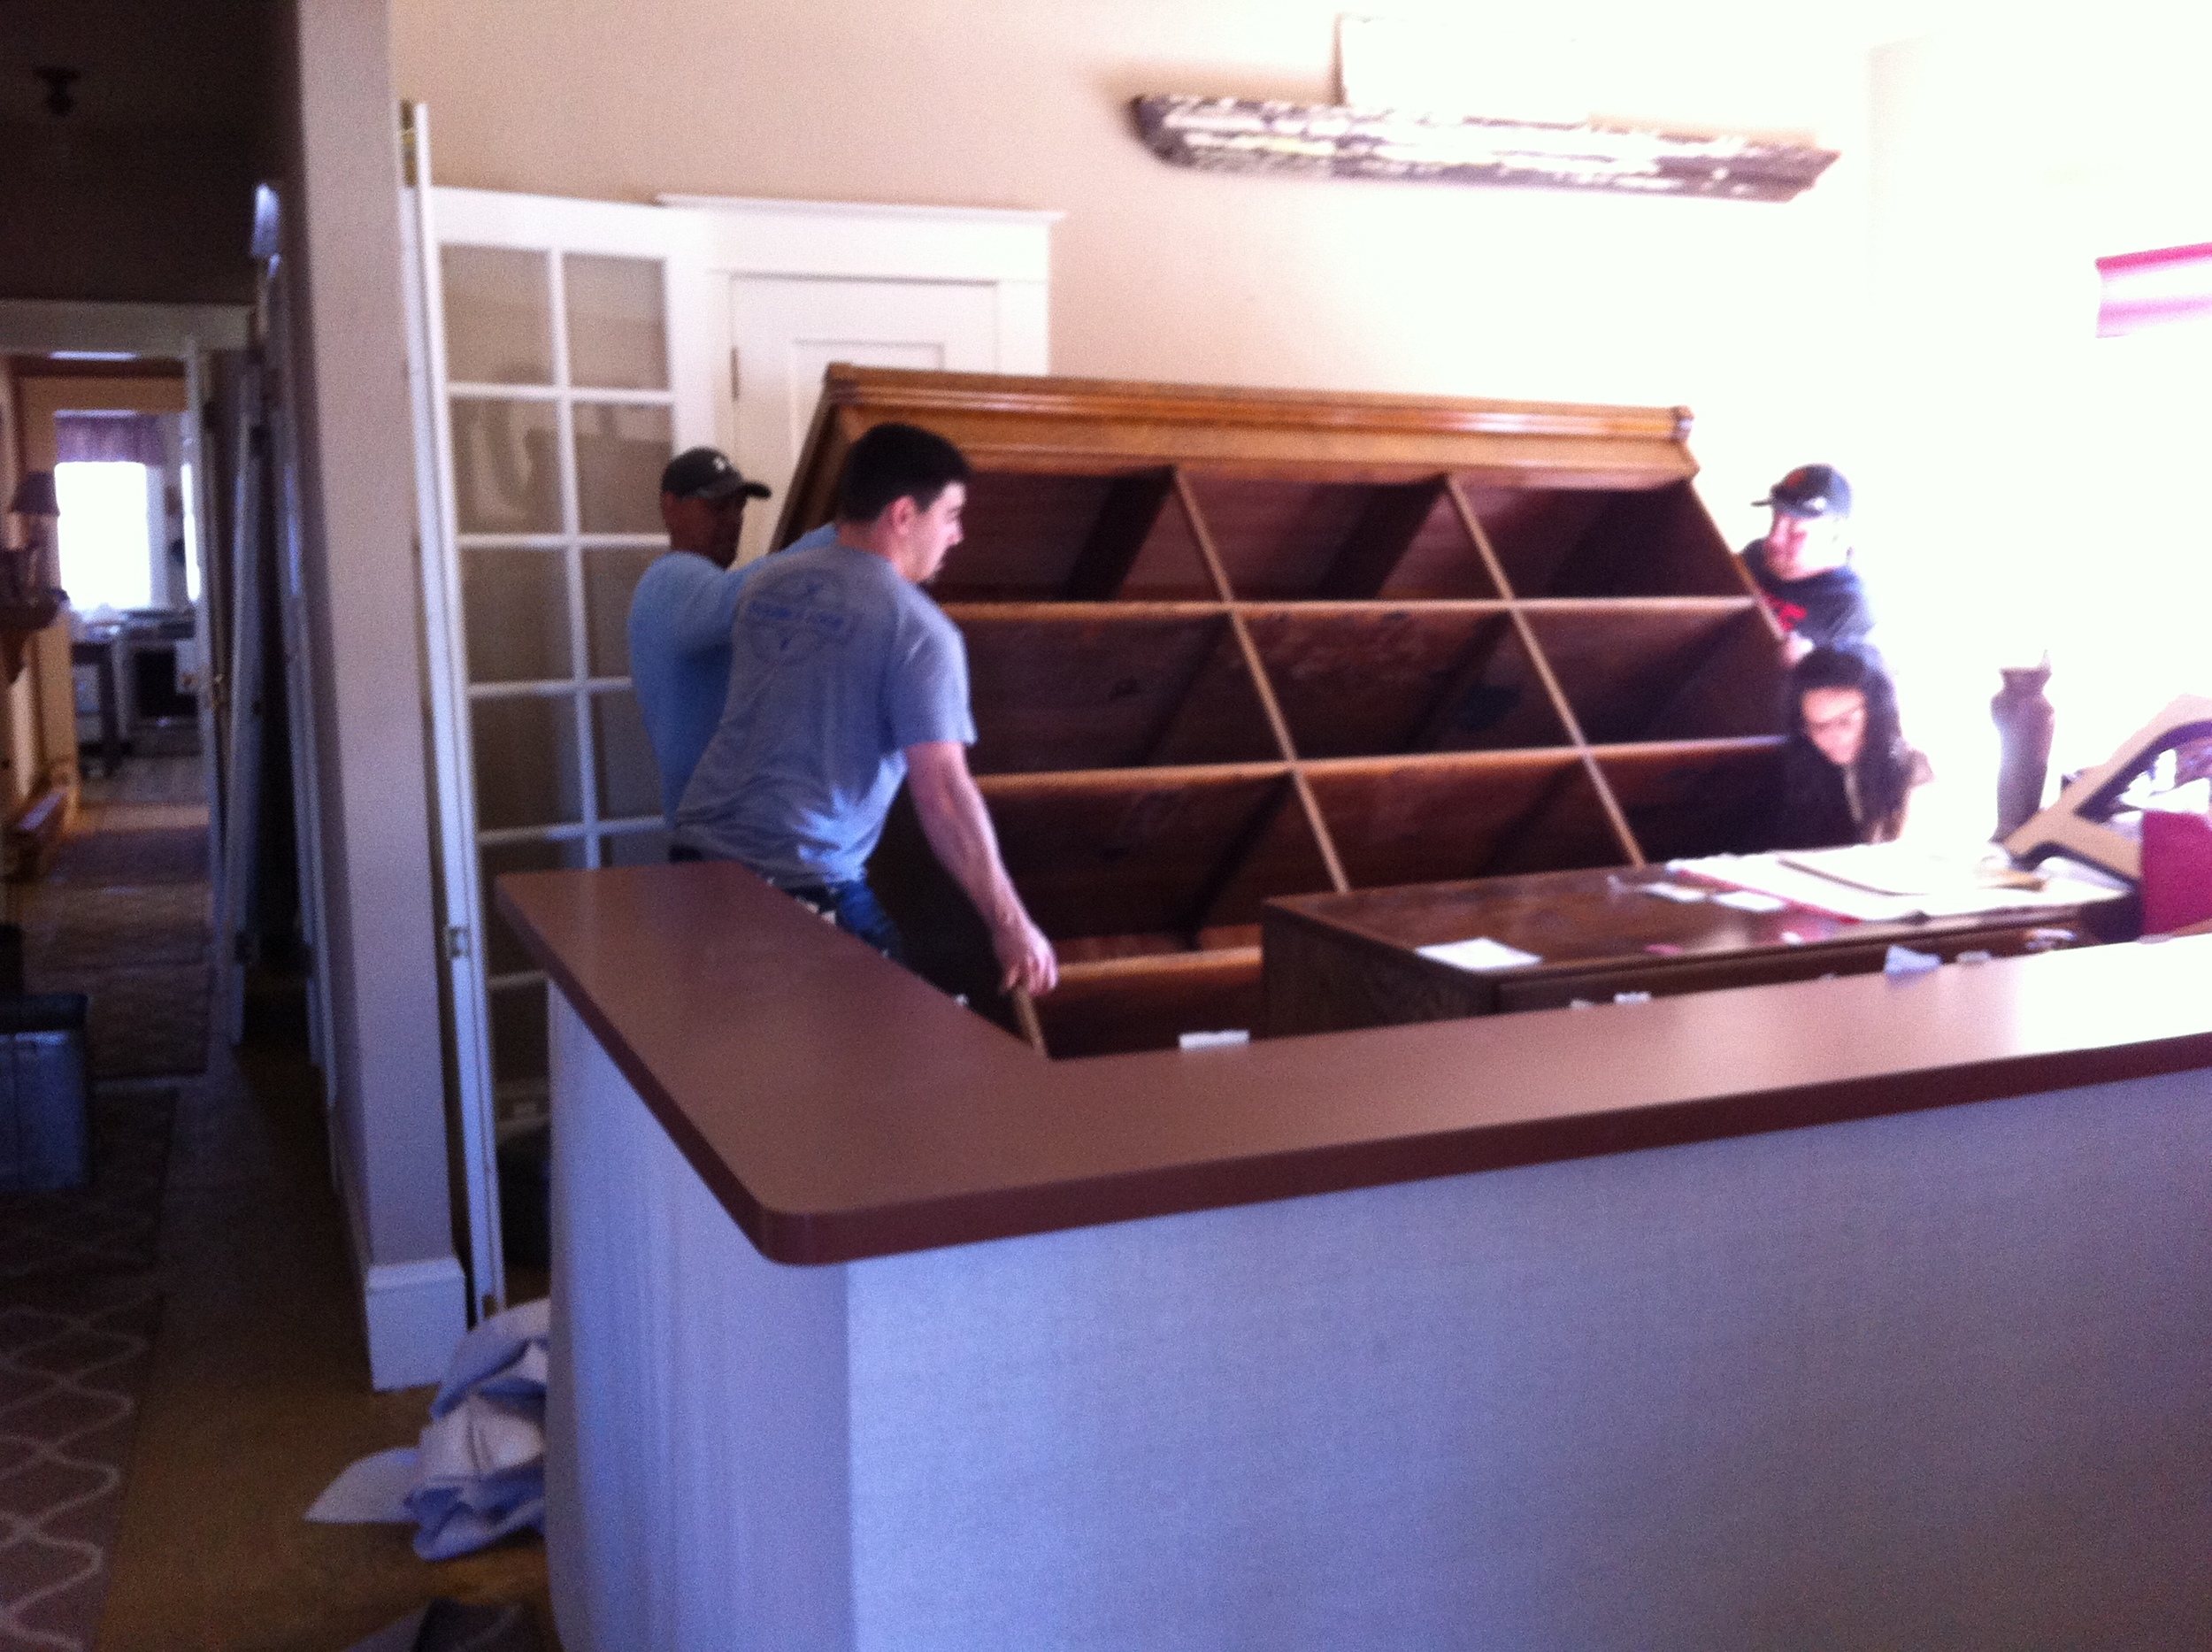
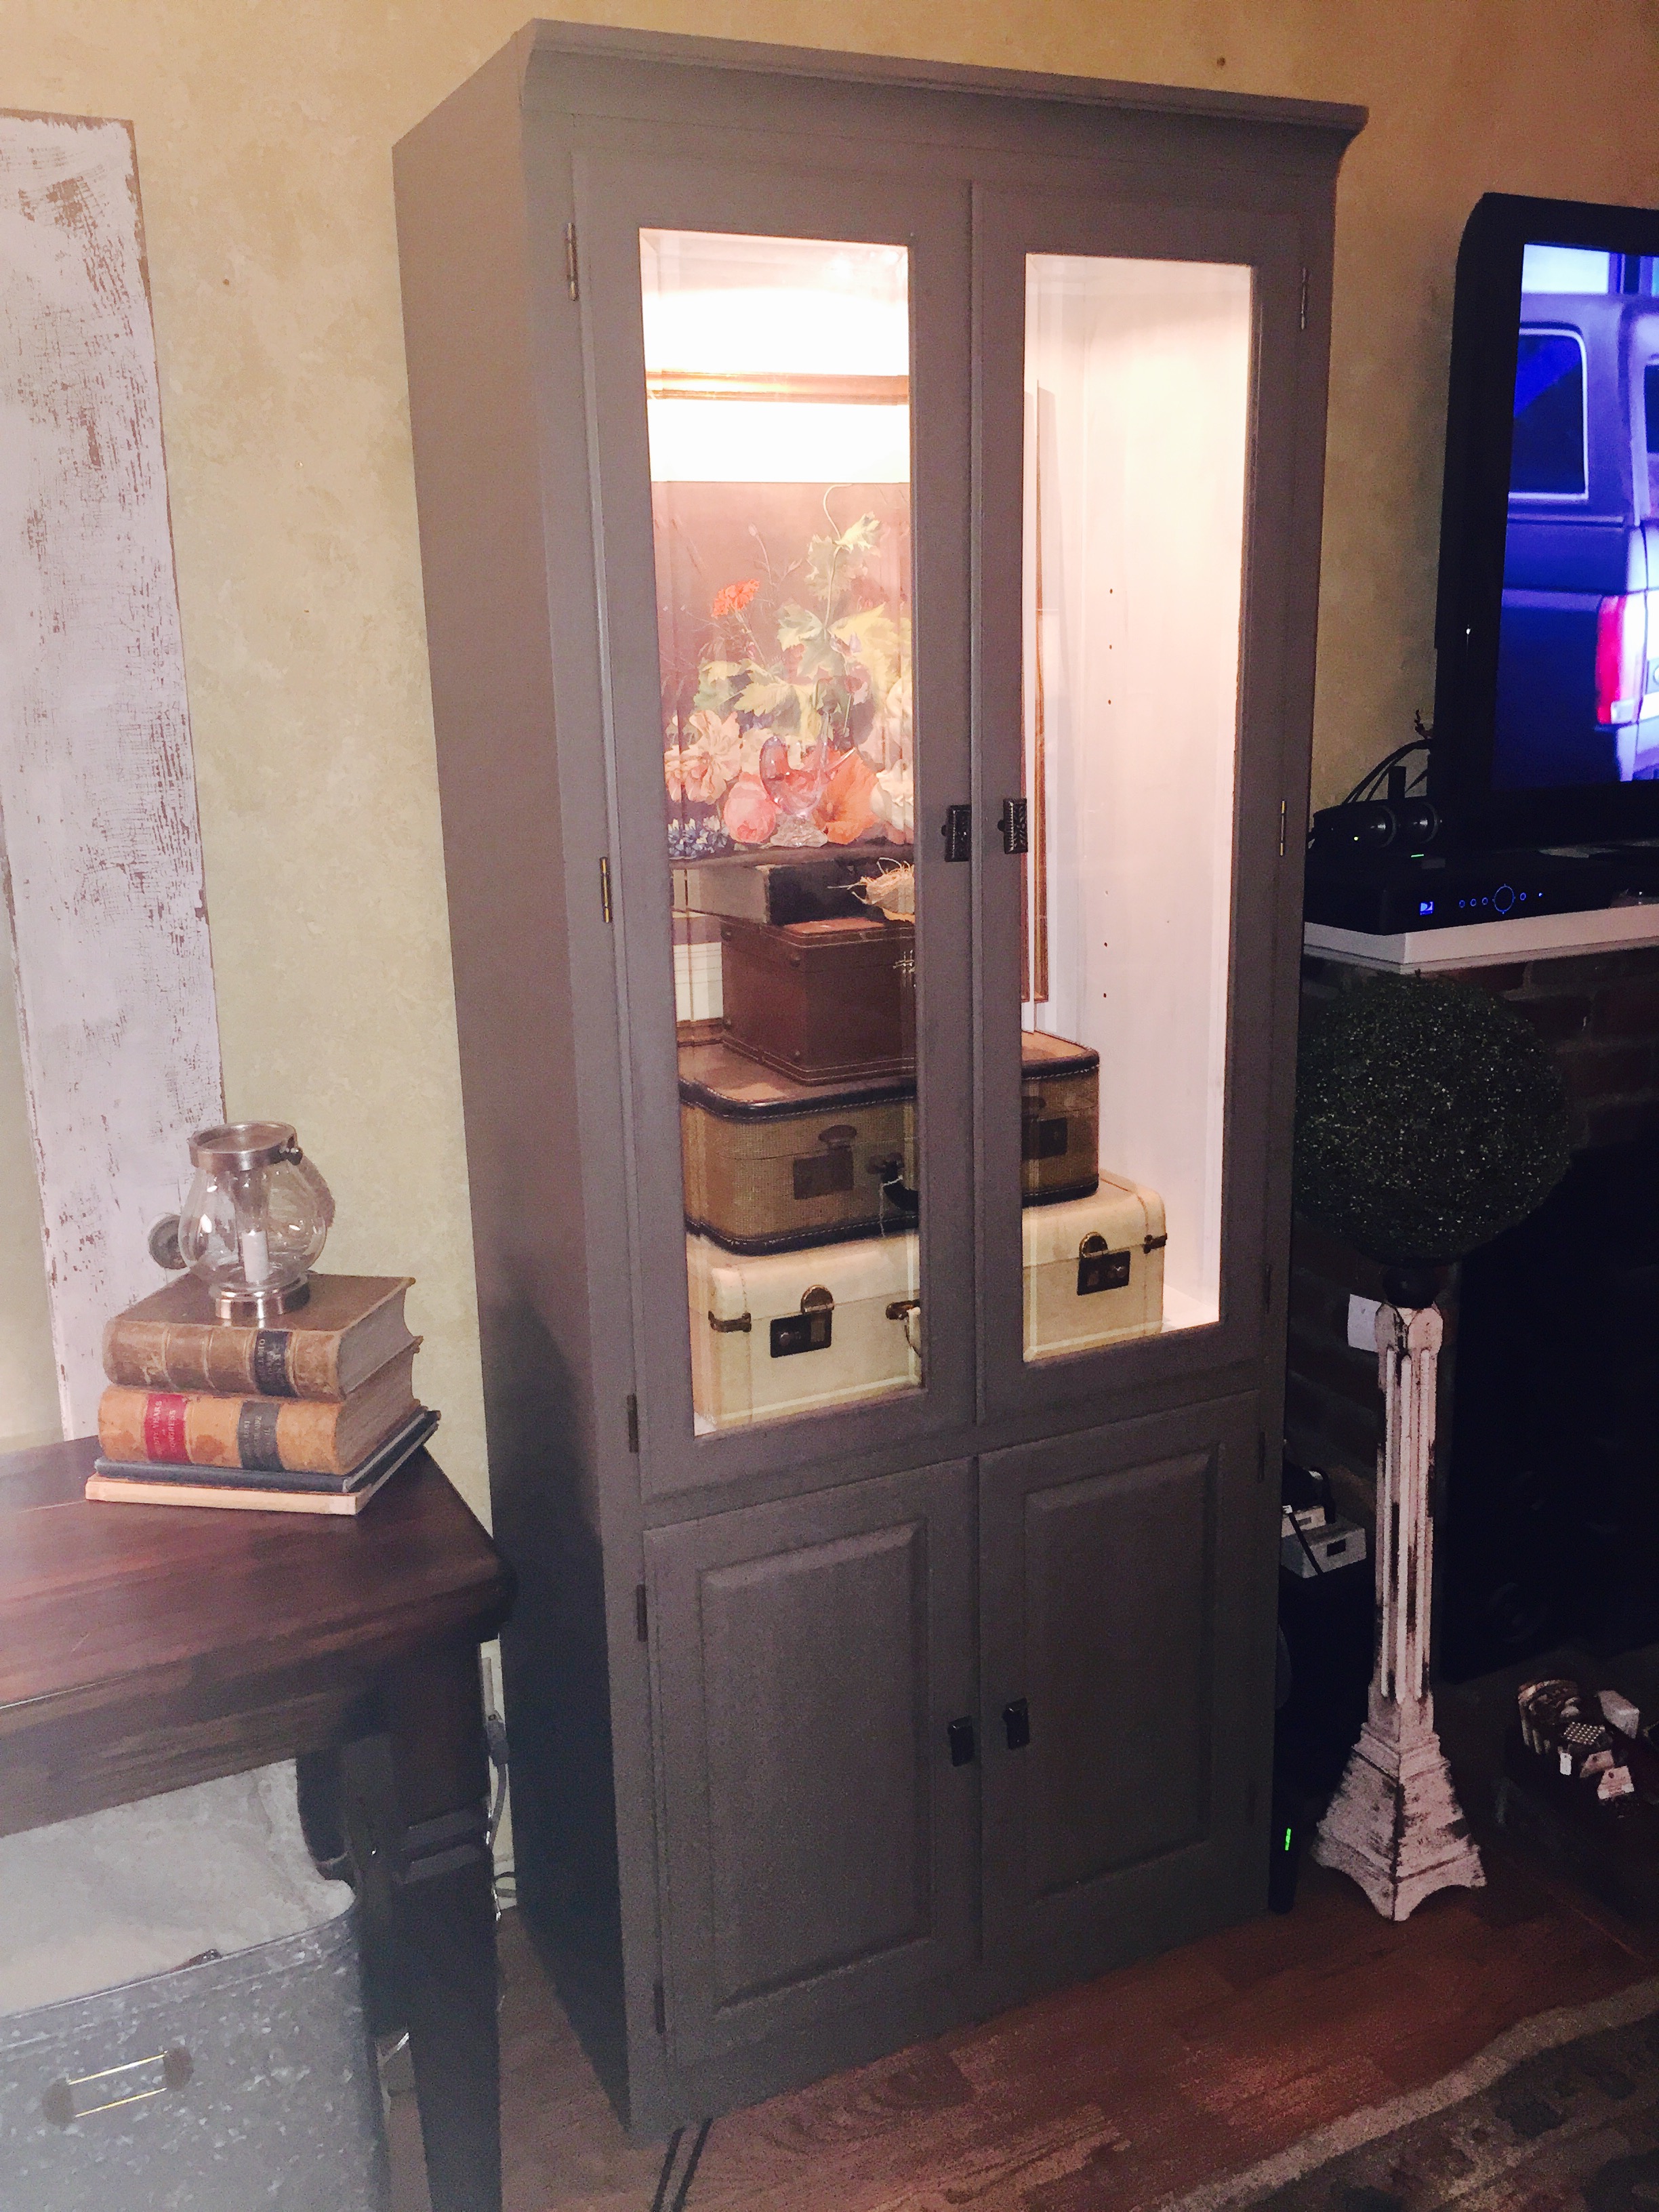
No pain no gain right?? After some flipping, tipping, and turning, we heaved the cabinet over the counter and into its new home. I couldn't be happier with the results of this project. Click to see more pictures
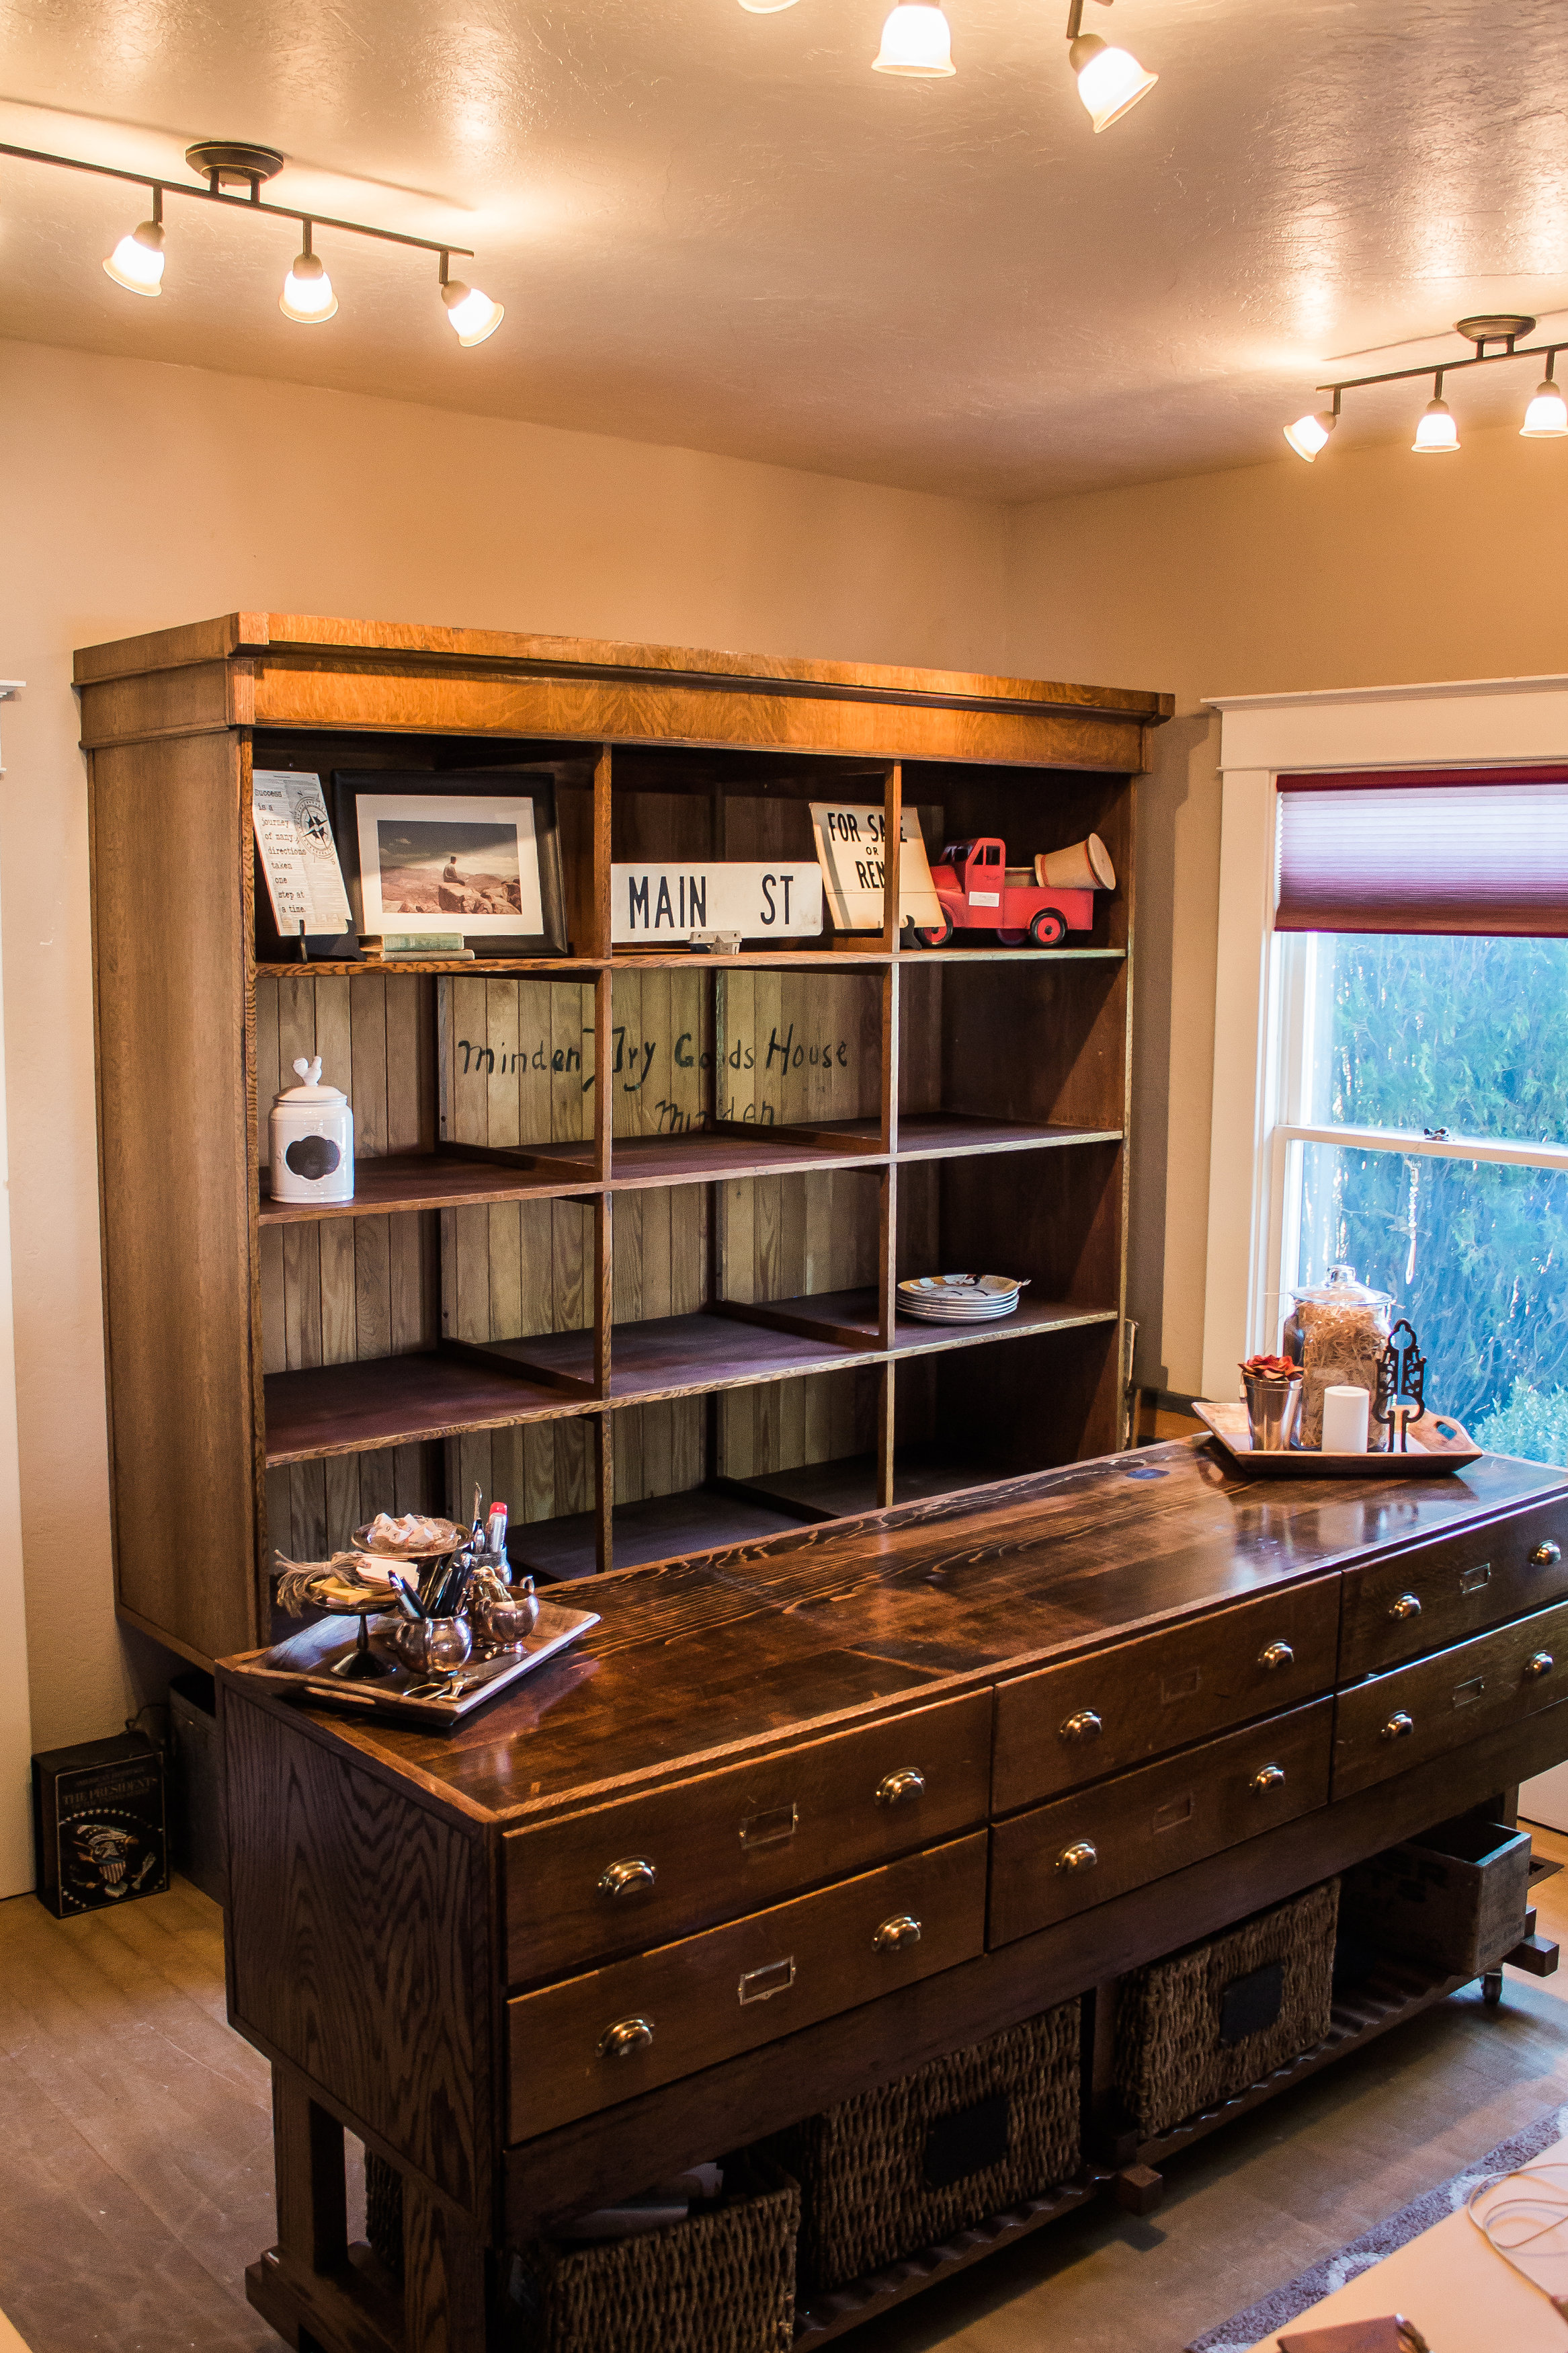
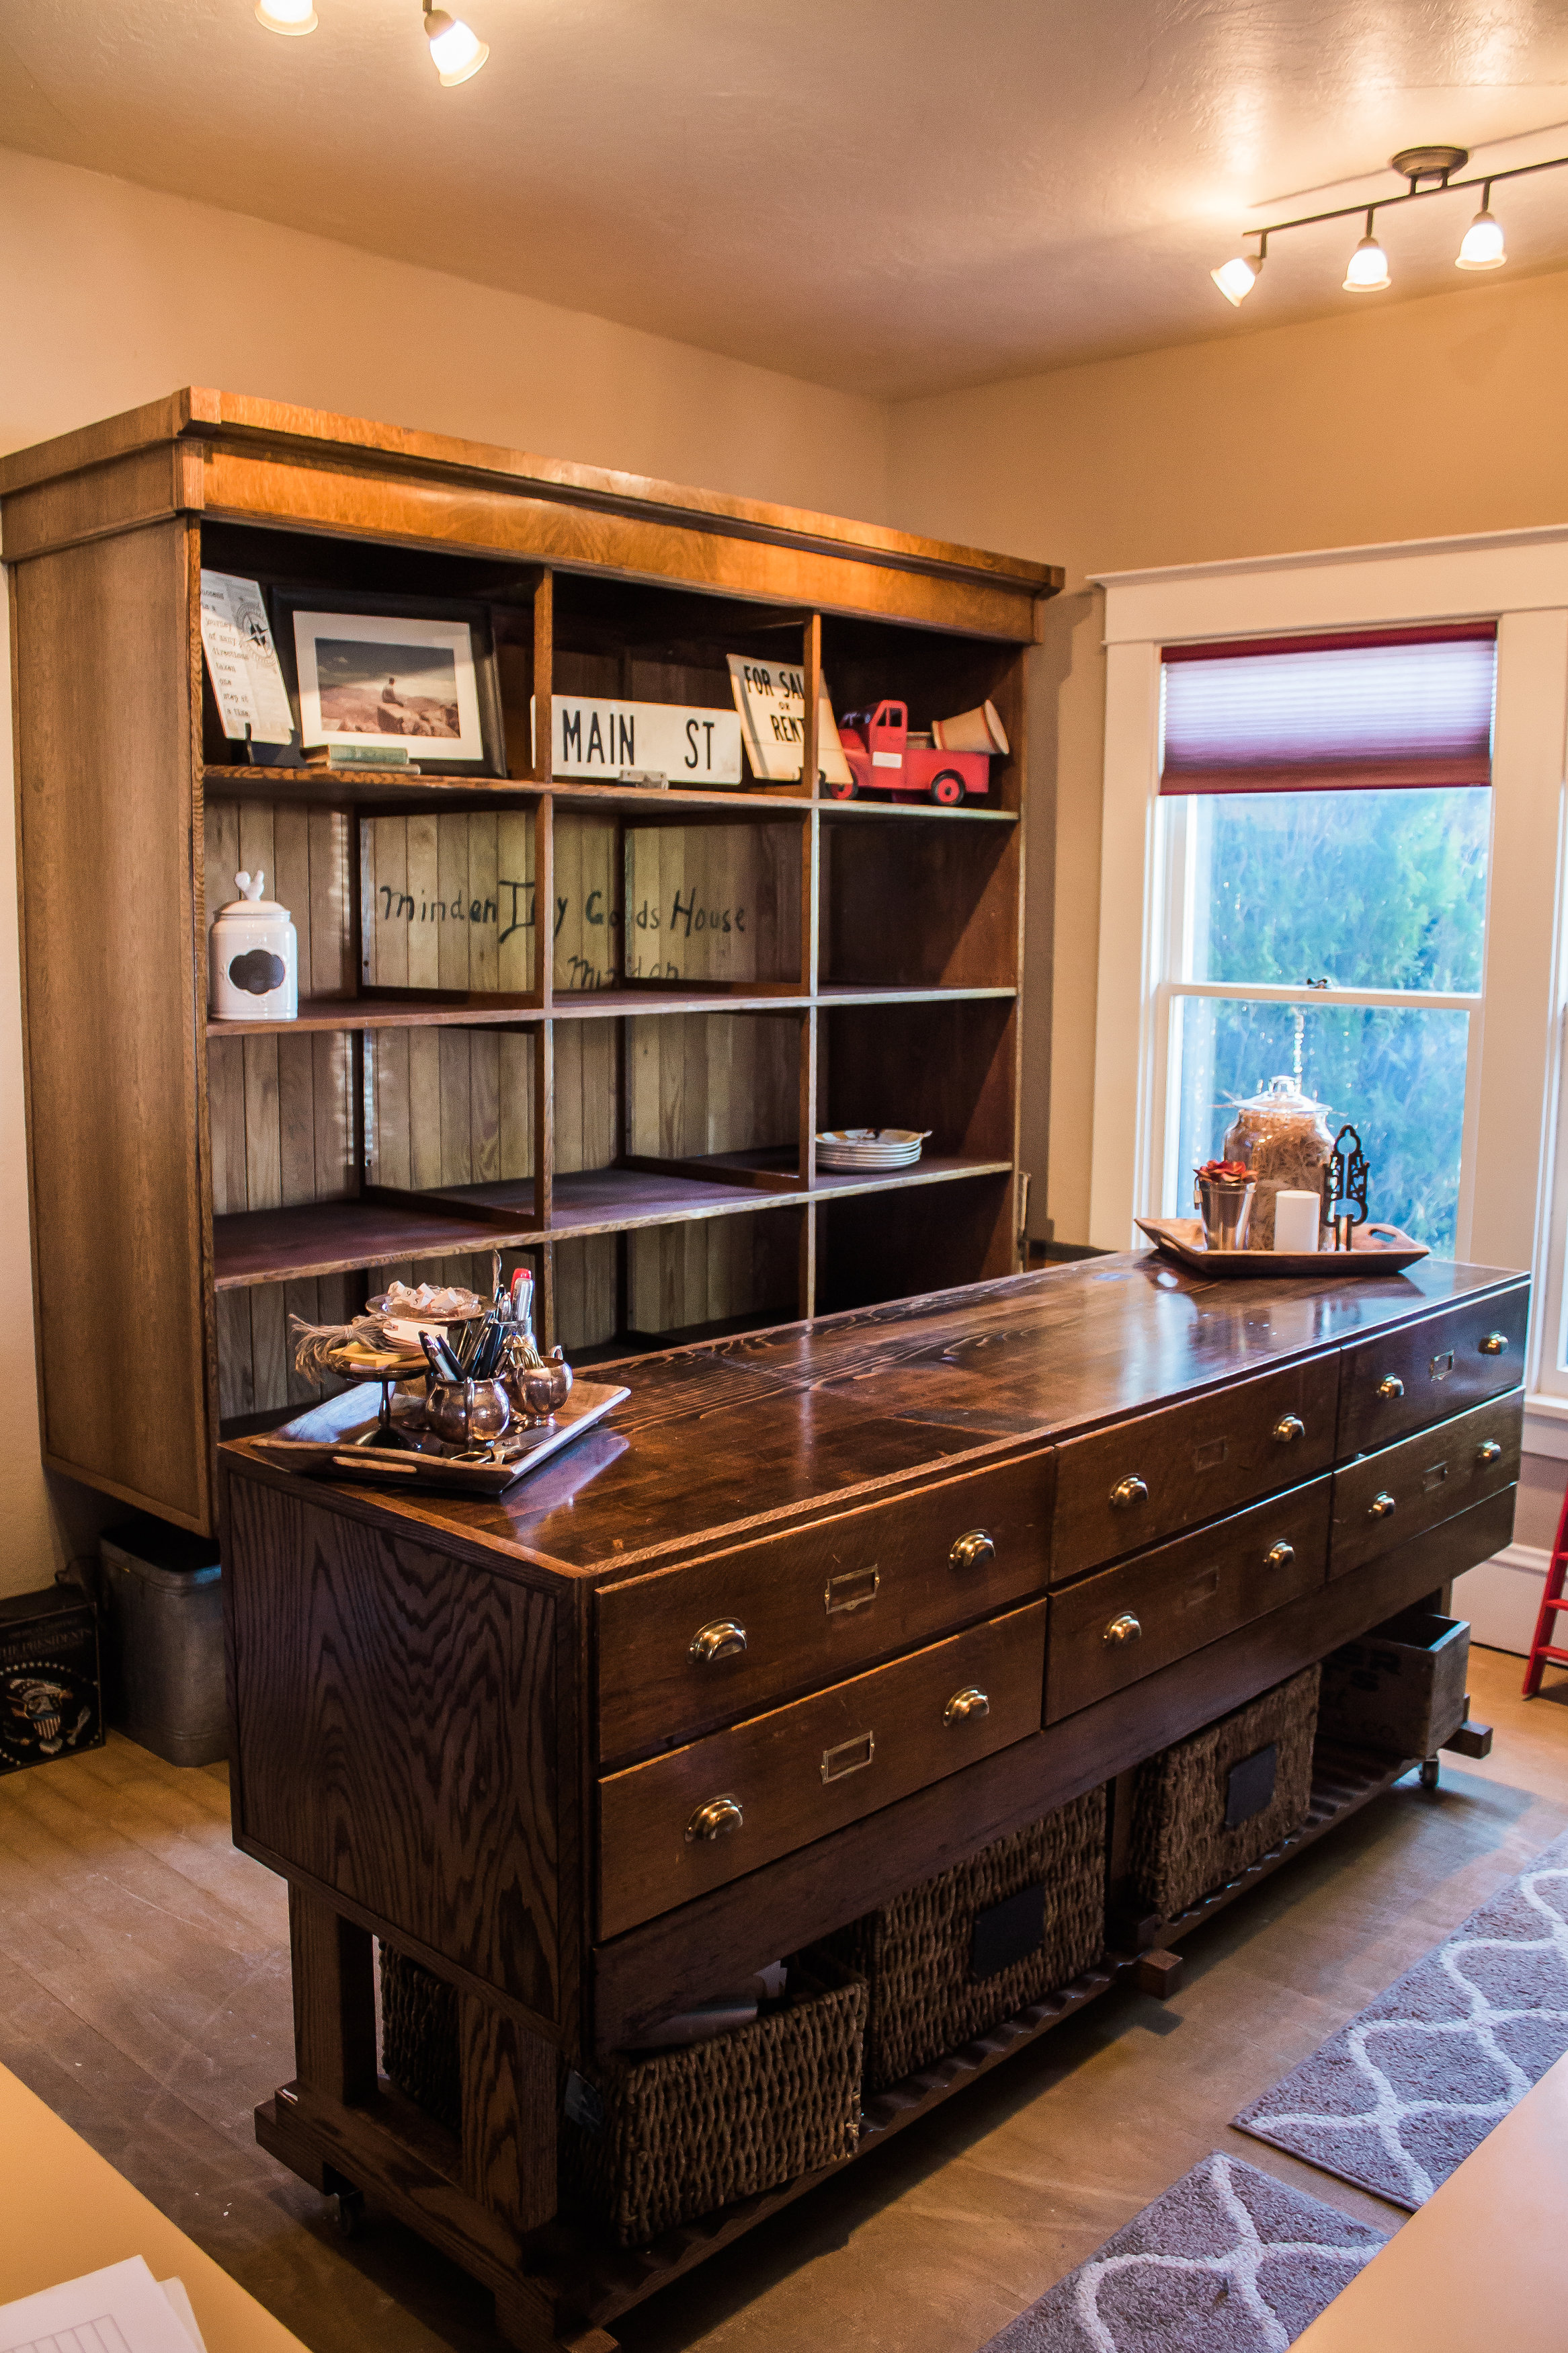
Not only does it look so much better but it actually improves the function of the shop when we are working. People love the idea of having their own little cubby to hold their items while they continue to shop. As a Carson Valley girl, it warms my heart to give these historic pieces a new life. A HUGE THANKS to MW Custom Furniture for making my vision a reality (https://www.facebook.com/MikeWentzCustom) and to Blank Slate Imagery for capturing its beauty (http://www.blankslateimagery.com/)! Be sure to check out the cabinet next time you visit us! We will be open again March 18-20. It's going to be hoppin!